

Hi! I am Amanda from Jedi Craft Girl! I am so totally excited
to be a Summer Contributor here at Ginger Snap Crafts.
to be a Summer Contributor here at Ginger Snap Crafts.
I love Ginger & all her amazing projects & ideas!!

I came up with this project after buying a big bag of hoodie sweatshirts on sale at Kohls. I was determined to make them cute. I am always trying to come up with creative gift ideas that don't break the bank. These are perfect!! I like that they are summer colors: perfect to take to the beach, the lake, or for after swimming. Here is how you can make your own!!
Purchase a zipper hoodie sweatshirt.

Begin with the hood
Lay your fabric out, right sides together. Lay your sweatshirt hood on top like this and trace 3/4 inches around the hood with a pencil. For the face of the hood draw your line along the edge:


Sew the curvy part of the hood using about 1/2 inch seam.

Trim little slits on the curvy part but don't cut into your seam. Press this seams to one side.

Now take the sides that are not sewn and press under 1/2 inch all the way around.

Pin the hood inside the hoodie matching seams.
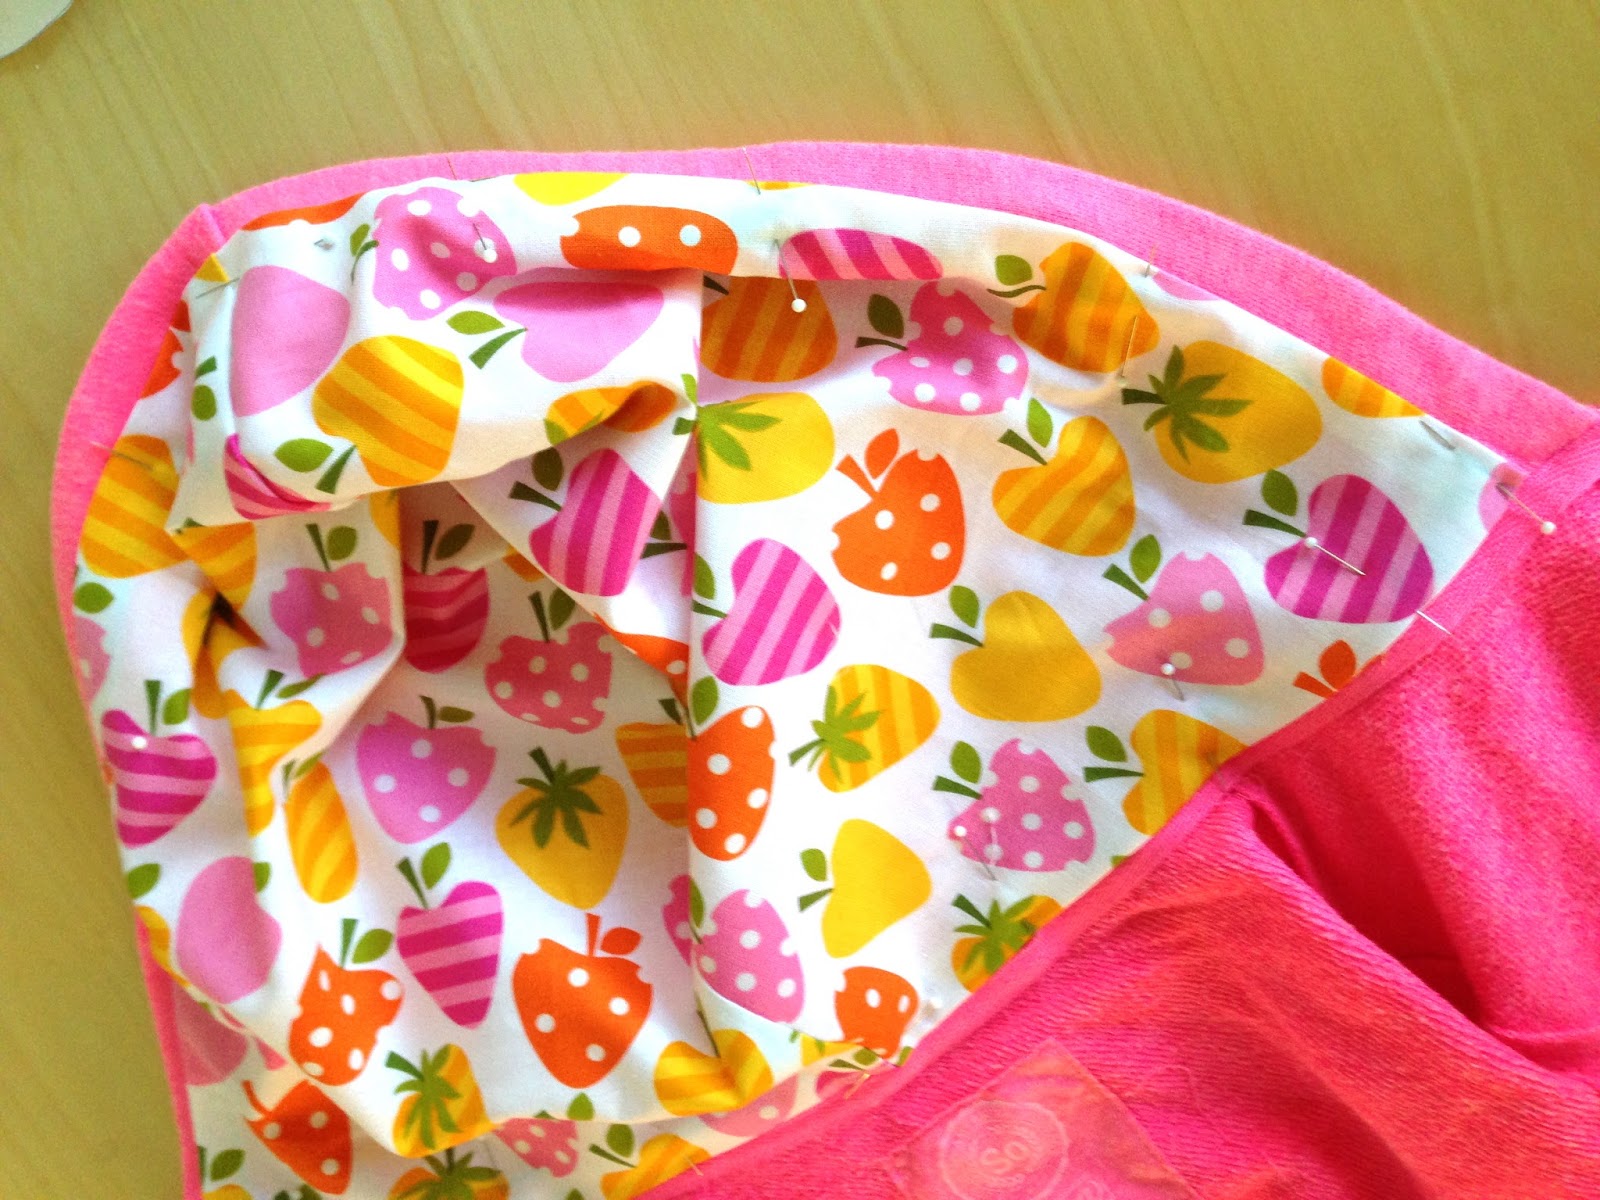

Top stitch a narrow seam using matching thread. Sew around the entire hood.

You will have a seam on the back, I used matching thread
and I don't think it looks too bad.
Most of the time the hoods are down anyway.
and I don't think it looks too bad.
Most of the time the hoods are down anyway.

Super Cute!!

For the Pockets:
Find a piece of plastic from a file folder, plastic protector, or this was from a package of pillow cases. You could also use tracing paper or pattern paper. You need to be able to see through it.

Lay the plastic on top of the pocket. You will be making a pattern for your pocket. Every sweatshirt is totally different and the two pockets on the same sweatshirt can even be slightly different. Trace the pocket how you want it to look finished.

Cut 1/4 inch around your pocket pattern.

With fabric right sides together, pin the pocket pattern and cut.

Make a few little cuts 1/4" in along curvy side. This will help it to lay flat.

Press each side in 1/4". Do this for both pockets.

Pin your pocket piece to the pocket.
If things aren't matching up how you want,
you may need to make adjustments.

Top stitch the pocket piece using a narrow seam.
Leave pocket opening unstitched at this point.
Leave pocket opening unstitched at this point.

To sew the pocket opening, I had to take my sewing platform off my machine.
It's a tight squeeze but you can do it!
It's a tight squeeze but you can do it!


For the appliqué:
I like to add a little appliqué to the front. I choose to do a strawberry since it matched the fabric. I used Heat n Bond Lite from Therm o Web. It's my favorite fusible appliqué medium!!
Draw your image on the Heat n Bond:

Iron the pieces to the wrong side of your fabric:

Cut along the line:

Peel off the paper back and position on your sweatshirt. Press, using a dry iron.

Stitch along your appliqué piece.

Ta Da!!!


Here are a few other sweatshirts I have made:
The navy whale sweatshirt is for me :)


I made 3 of these fishy ones for my daughter and her cousins that love Hawaii & fish.


This little girl one was for a birthday gift.


I just finished this one for my niece:


Amanda, that is the cutest thing ever!
Thank you so much for sharing with us.
Head over to Jedi Craft Girl for some more fun tutorials!
Thank you so much stopping by my blog!
If this is your first time visiting I’d love to keep in touch.


Don’t miss a post! Subscribe by email or bloglovin’.

This project was created for Ginger Snap Crafts by Jedi Craft Girl. Thanks, Amanda! :)
