
Hello Ginger Snap readers! I am happy to be posting here - Ginger Snap has been one of my favorite blogs since I started my own blog last year. This is Amber from Crazy Little Projects. I love to sew and I am addicted to making bags. Especially hot pink ones. So today let's make a cute kids messenger bag ok?


This bag is very similar to my all time favorite project on my blog, the Messenger Bag (adult version), with a few changes. I'm not going to show you the personalization part in this tutorial. I have a separate tutorial for that here.
Kids Messenger Bag Tutorial:
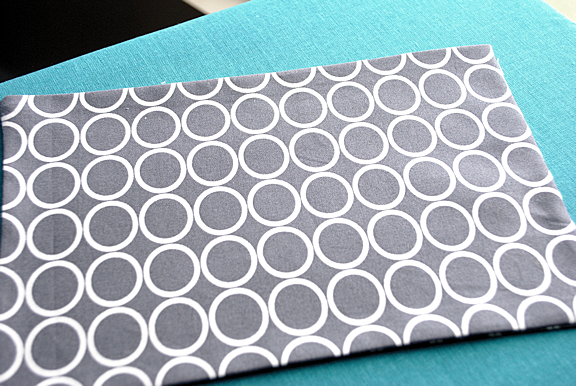
Supplies Needed: 1 yard each of 2 coordinating fabrics (you will have leftover fabric) 1/2 yard of an accent fabric (the gray dots is what I used for this) 3/4 yard of fusible fleece interfacing Instructions: Let's start this out by cutting out our pieces. From your main fabric you need to cut:- 1 piece that is 4 inches by about 40 inches (this is your strap so make it longer or shorter depending on how long you want it)
- 2 pieces that are 12" x 14.5"
- 1 piece that is 6" x 38"
- 1 piece that is 5" x 14.5"
- 2 pieces that are 12" x 14.5"
- 1 piece that is 6" x 38"
- 1 piece that is 10.5" x 14.5"
- 1 piece that is 4 inches by about 40 inches (this is your strap so make it longer or shorter depending on how long you want it)
- 1 piece that is 5" x 14.5"
- Pocket (optional) see details on this below
- 1 piece that is 4 inches by about 40 inches (this is your strap so make it longer or shorter depending on how long you want it)
- 2 pieces that are 12" x 14.5"
- 1 piece that is 6" x 38"
- 2 pieces that are 5" x 14.5"
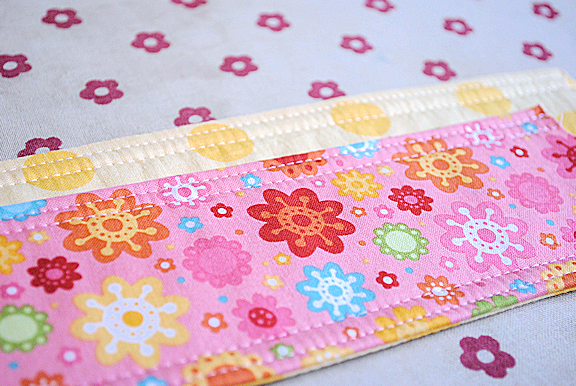
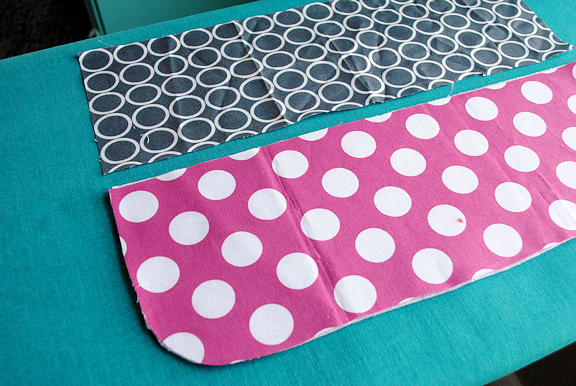
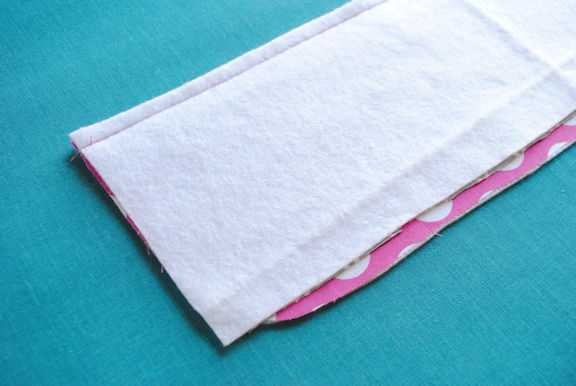
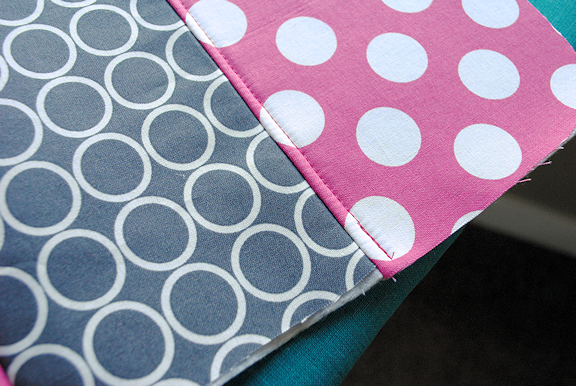
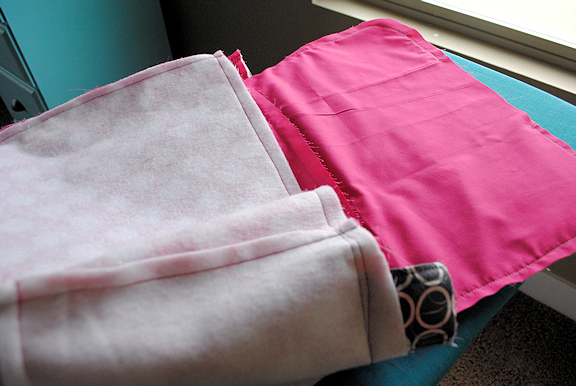
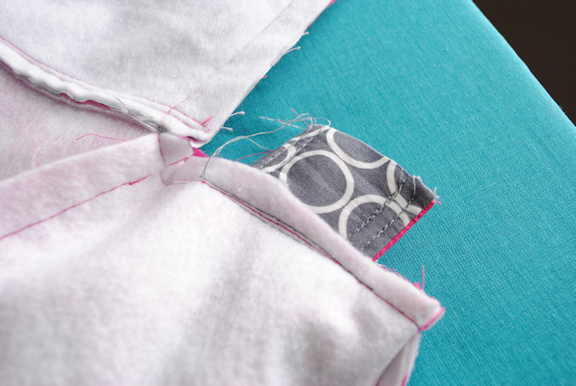
Set your strap aside. Next we are going to make the front flap of the bag. Grab your two 5" x 14.5" inch pieces. Iron the fusible fleece onto them just like you did with your strap pieces. Then, with right sides together sew them together across the middle:
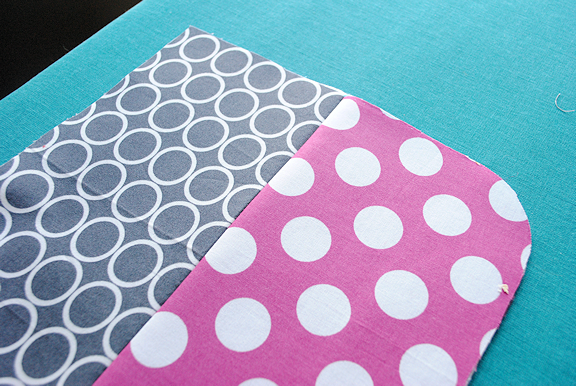
And then top stitch across there making sure to grab the seam from the back into the top stitch just to hold it in place:
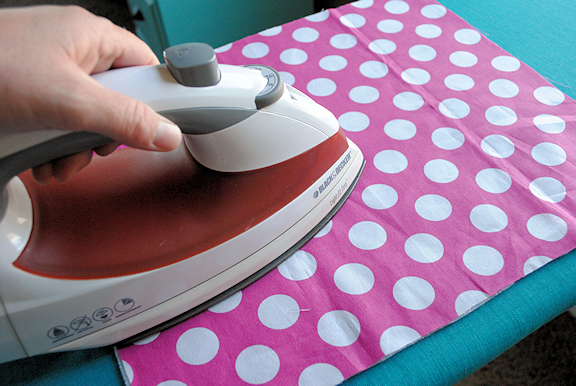
Now iron the fusible fleece to the back of your big 12" x 14.5" piece as well as your long 6" x 38" piece.
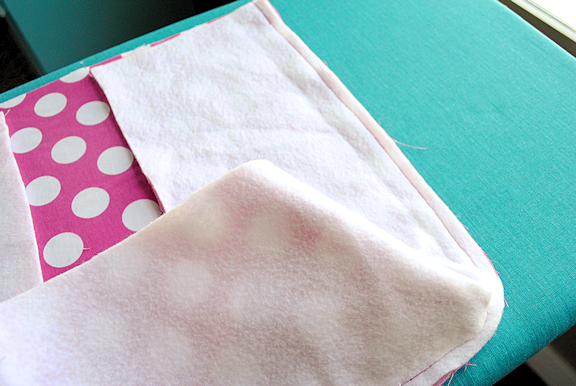
Stitch the flap piece that you already sewed to one of these 12" x 14.5" pieces to form the back of the bag. Pin the 6" x 38" piece all the way the outside edge of your 12" x 14"5 inch piece and then stitch it in place:
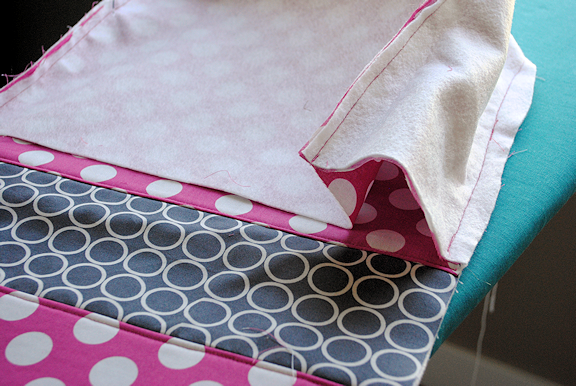
Now grab your back piece which is sewn to the flap piece and pin it in place the same way and stitch all the way around again:
Now get your lining fabric pieces. If you want a pocket for the inside of the bag it's time to create it. Cut a piece of accent fabric to be about 8" by 12." Fold it in half with right sides together and stitch all the way around, leaving a small opening to turn it. Turn it right side out and press it flat:
Now, get your piece of lining fabric that creates the back flap and position this pocket where you want it. Do it just a few inches up from the bottom of it. Sew all the way around the 2 sides and the bottom leaving the top open. If you want to create some compartments just sew vertical lines down the pocket with the spacing you want. Now follow the same instructions that you followed to assemble the outside of the bag to assemble the inside. Once you have that done turn the lining RIGHT SIDE OUT and the outer part INSIDE OUT. Put the lining down into the bag :
And insert the strap so that it is between to the two layers and sticks out the end. Be careful that it's not twisted inside the bag.
Now, starting at the top of the flap sew around the flap, across the front of the bag and back up the other side of the flap leaving a small opening at the top to turn.
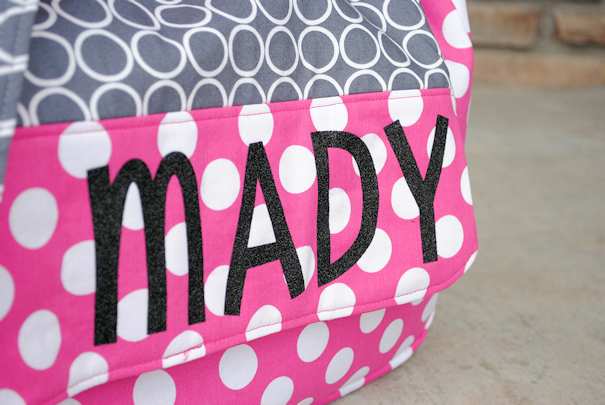
Now turn everything right side out and stuff the lining down into the bag. Press it all nice and flat. I like to top stitch along the flap and the front of the bag to keep everything nice. And you're done! Want to personalize it? Follow this tutorial here.
Like this tutorial and want to see more like it? Come find me over at Crazy Little Projects or also on Pinterest and Facebook. Don't know how to sew but wish you did? Let me teach you!

Amber, thank you so much for that amazing tutorial!
Your kids messenger bag is the cutest thing ever! :)
Thank you so much stopping by my blog!
If this is your first time visiting I’d love to keep in touch.


Don’t miss a post! Subscribe by email or bloglovin’.

This project was created by Crazy Little Projects for Ginger Snap Crafts.
