
at Ginger Snap Crafts sharing my tutorial for this Valentine's Day Pillow.
What I love about this pillow is at first glance it looks like a simple heart pillow.
But if you look closely, there is a zipper in the heart,
and there are little hearts tucked inside.

I am thinking it would be cute to have everyone keep their heart
I snuck ahead and wrote something on each heart so you could see the idea:

Are you ready to get sewing?

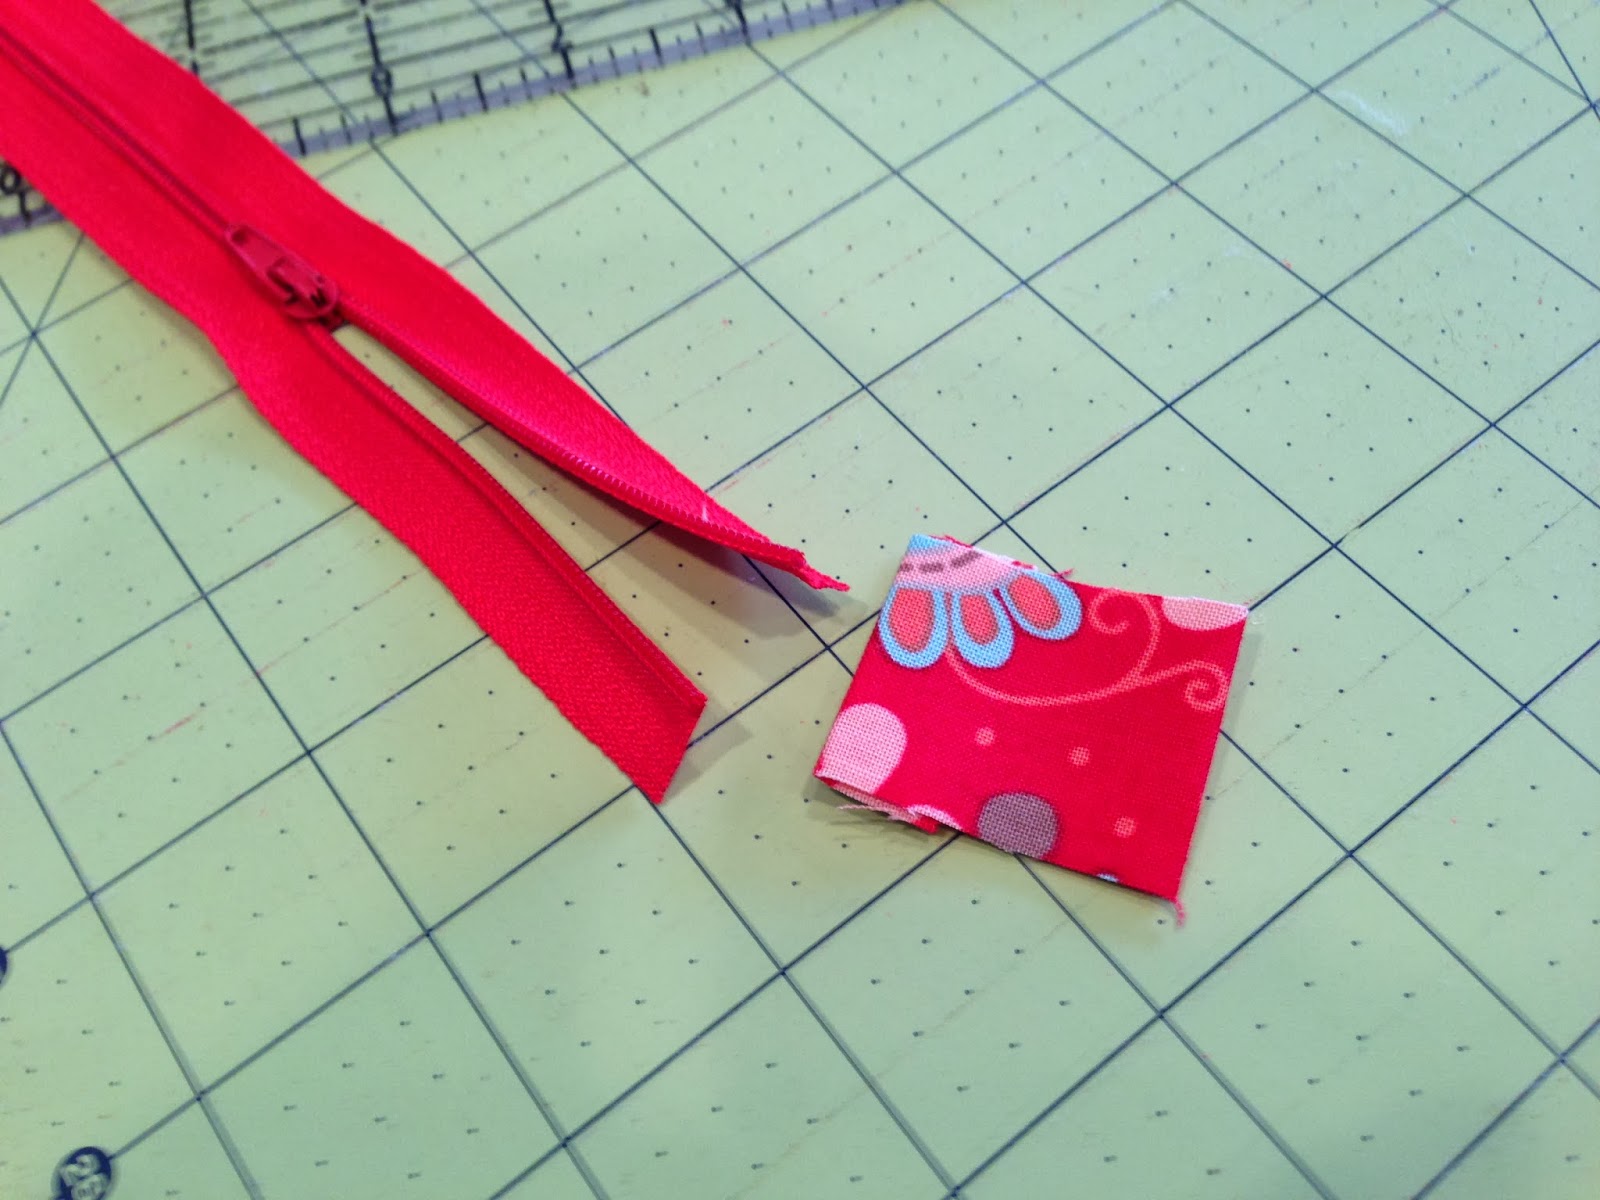
Here's what you need:


Iron the fusible stabilizer to the wrong side of the red fabric.
This will give the heart a little stability since it will essentially be a pocket.

Pin the heart pattern on the red fabric and cut out.

Align the heart on your cutting mat and cut it like this:

Now it's time to insert the zipper.
I added tabs on each side to give the seam some strength.
You can see my zipper is much longer than the heart
- that's ok because we will be cutting it off.
I always buy my zippers too long because I never know what I am going to make!

To make the zipper tabs, cut 2 pieces of red fabric 4" x 1 1/4".
Then press the short ends under 1/4" and press in half, like in the picture:

Clip the metal end off the end of the zipper:
Sandwich the zipper inside the tab and pin.
You will sew a seam right along the edge where it is pinned.

Once you have the one side pinned, measure of the opposite side. Notice my tabs are sticking out farther than the heart - that's totally ok because we will cut them off in just a minute. You want to have about 3/4"-1" of the tab showing. Once it looks even, cut the other side of the zipper off, sandwich the zipper end in the second tab and pin. Now sew a seam close to the edge of the tab where you pinned.

Here you can see the seam it's in white thread.
Take your scissors and cut the fold like this:

Fold the tab back and cut the zipper down to about 1/4".
This makes it so there isn't a bulky zipper in the seam. Do this to both tabs.

Now we will sew the zipper in the heart.

Place the zipper face down and align raw edges like this, pin.

Using your zipper foot, align the edge of the zipper foot with the edge of the zipper and sew. You will have to pause part way through and move the zipper pull.

Once the seam is sewn, press the zipper back and line up the other side of the heart and sew just like above. When you are done, the zipper will be sewn in and pressed like this:

Now trim off the excess tab on each side:


Top stitch next to the zipper seam like this:

Whew - you now have a heart with a zipper in the middle! The hard part is over! Take the basting spray and spray the heart and place it in the center of the 18" square.
(If you don't have basting spray, just pin really good.) The spray is temporary.

Sew around the edge of the heart using a straight stitch.
I went around mine twice. Yea! Pillow front done!

Prepare the back of the pillow.
This is my favorite way to finish a pillow - no hand sewing!
Cut the drop cloth into a 18" x 4" piece and an 18" x 15" piece. Lay out like this:


Align the raw edges of the 4" x 18" canvas, flap and zipper. Pin.
Using the zipper foot sew along this seam.


This is how it should look:

The flap covers the zipper:

Almost done…..
Turn the heart piece over on top of the pillow back - right sides together. MAKE SURE THE BACK ZIPPER IS OPEN HALF WAY! Align the top edges. Don't freak out - there will be excess on the bottom of the back. I did that because everyone's zippers might be different - just cut off the difference. You can see in the photo below:

Turn right side out and poke out the corners. Insert the pillow form in the pillow!

I love the way the back looks!

To construct the hearts…..
Using Spray N Bond fusible adhesive, spray the heart fabric and place it on a piece of cotton batting. Spray the solid color back fabric and place it to the other side of the batting. Use a hot iron and heat set the spray. This will form a permanent bond of the fabric to the batting. (If you don't have access to the spray, just use pins to hold the fabric together.)

Here is how the back looks - you can see the batting in the middle.

Using a water-soluble marking pen trace around the heart.
You could also pin the heart to the fabric and sew around the heart.

Sew along the traced line.

Cut out around the hearts 1/8" from the seam.


Now you are ready to write sweet thoughts about the members in your family!
I am hoping this brings a little more love into our home!! Thanks for reading!


Amanda, your pillow is beautiful!
Thank you for that amazing tutorial. :)
Make sure you visit Jedi Craft Girl for more fun projects & ideas.
Thank you so much stopping by my blog!
If this is your first time visiting I’d love to keep in touch. 


Don’t miss a post! Subscribe by email or bloglovin’.

This project & post were created for Ginger Snap Crafts by Jedi Craft Girl.
