Happy Monday! Soooooo how was your weekend???
I hope it was great & that you got lots accomplished! :)
Today I’m over at How to Nest for Less
helping Erin out with her fun Valentine’s series.
You can check out my {you & me} block tutorial here.
She has lots more planned this week
so make sure you keep checking in! :)
Today I'd love to show you how to make you own
canvas prints for much cheaper than ordering them!
(I shared these over on Keeping it Simple a week or two ago
buuut just incase you missed it thought I’d share it over here, too!)
You'll need:
8x10 print of your favorite photo
paint & foam brushes
mod podge (matte)
8X10 canvas
(I bought mine at Hobby Lobby on sale for a couple of dollars.)
To make your canvas:
I painted the edges of my canvas first
& then I painted about a 1 inch border on the front of my canvas.
After your paint dries, apply a layer of mod podge on your canvas.
Then lay down your picture. I used a cloth to rub over the entire picture.
You don't want any bubbles & for your picture to be nice and flat.
Photo paper is thick, so getting it to lay flat was no problem for me. Yay!
Then I went over the top of my picture with another layer of mod podge.
That gave it a brush stroked look. Annnd don't worry...it dries clear. :)
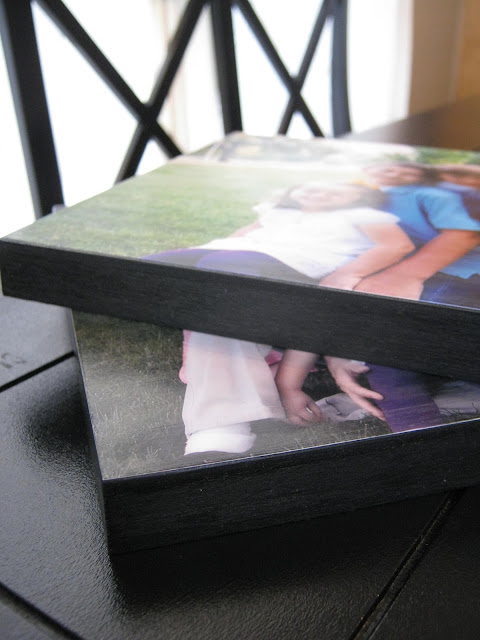
Here are my finished canvas prints! Love them! So easy to do, too! Yay!


