
This is a sponsored conversation written by me on behalf of Cricut. The opinions and text are all mine.
I love my Cricut Maker, and I really love all the fun things it can do! It can cut, score, draw & so much more. I love how Cricut is always coming up with new tools & products for my machine all the time as well. The possibilities are endless. Annnnd one of the newest products that Cricut has launched lately is Cricut Infusible Ink! Now I can make vibrant, pretty, permanent designs on totes, tees, coasters & more. You can find out lots more at infusibleink.com. Buuuut first let me show you how I made this DIY Tote & Coaster Set using Cricut Infusible Ink, my Cricut Maker & Cricut EasyPress 2. Let’s get started! :)


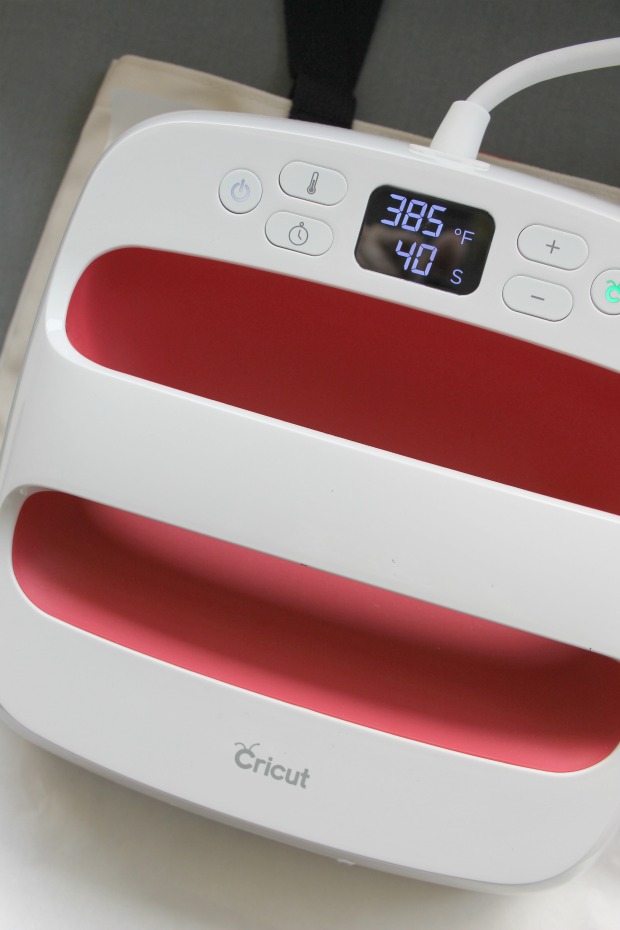
TIP: You’ll want to use an EasyPress 2 with the Infusible Ink. I told you before why you need the EasyPress 2. ;) It’s even heat plate, robust temperature range (up to 400°!) & easy portability (Remember the cute totes?) make it the go-to heat companion for Infusible Ink. It’s cutting edge features ensures perfect Infusible Ink results every single time.

With Cricut Infusible Ink the personalization possibilities are endless. Infusible Ink brings personalization to the next level with its vibrancy & permanence. Yes, permanent! You can wash these again & again & your design will stay put & vibrant. You truly can get professional results with this new product. Yep! You’ll impress all your friends. They won’t believe that YOU made this! :) Let me show you how.
For these two projects you will need:
Cricut Infusible Ink Transfer Sheets (I used this animal print one.)
Cricut Maker (or Cricut Explore Air 2 or other type of cutting machine)
Cricut EasyPress 2
Cricut EasyPress mat
Cricut Infusible Ink Compatible Tote
Cricut Infusible Ink Compatible Coaster Blanks
tweezers (optional)
Cricut StandardGrip cutting mat
heat resistant tape
lint roller
white cardstock
lint free rag
alcohol pads (optional)
***You can find all the images I used for these projects right here in Design Space.***

First, I opened up Design Space & chose these cute safari inspired designs. TIP: To make sure my designs would fit my coasters, I inserted a circle shape & sized it the exact same size as my coaster, & then I adjusted my designs to fit inside. I did the same thing with the wild about adventure design for the tote bag. Just don’t forget to delete the extra shapes before you send this to your Cricut machine to cut out. :)

Once everything is sized & ready to go send it over to your Cricut machine to cut out. TIP: Don’t forget to mirror your images before you cut. :)

To cut your Cricut Infusible Ink Transfer Sheet you will need a Cricut StandardGrip cutting mat. Place your transfer sheet on the mat ink side up. TIP: Make sure your hands are completely dry & free of moisture or oils before handling your transfer sheets. Ink will transfer to your fingertips if they are wet.

TIP: Another tip is to remove the mat from the sheet, not the other away around, when taking your transfer sheet off the mat. (See the picture below.)

Next, trim your transfer sheet around your design. You’ll want to save the excess for another project, I’m sure! ;) Then carefully remove the excess from around your design. You don’t need to use weeding tools for this. I just used my fingers. You could also use tweezers, if you need to, for the smaller inside pieces.

Once all your design pieces are weeded & ready to go, it’s time for the fun part applying your Infusible Ink to your blank tote! Yay! :) TIP: Only use blanks with the Compatible with Infusible Ink label. These blanks are made especially for use with Infusible Ink, & you will get the best results this way.

TIP: Use the Cricut EasyPress Heating Guide when using Infusible Ink (or any heat transfer materials) with your EasyPress or EasyPress 2. It will walk you through these steps. It makes it so easy! Alright, the first thing I did was slide an EasyPress mat & piece of white cardstock into my tote bag. The cardstock will protect your tote & mat from any ink that could bleed through.

Flip the bag the right way, and then use a lint roller to remove any lint.

Preheat your tote for 15 seconds at 385°. Let it cool slightly. Then place your design ink side down with a piece of fresh butcher paper on top. (The butcher paper comes with your Infusible Ink Transfer Sheets.)

Next you’ll press (with gently pressure) for 40 seconds at 385°.
Remove the butcher paper, let cool & then remove the backing. All done! Note how vibrant the colors are compared to the before. So pretty! Remember these colors are permanent. This design is peel & crack proof, & it’s not going anywhere. The vibrancy will last wash after wash & use after use, too. So amazing!

Alright, let me show you how I made the safari inspired coasters! First, you will need to clean your coaster with a lint free rag. Before you do that you could even swipe the front of the coaster with an alcohol pad. You want to remove any trace of lint or dust. Then you will place the design on your coaster on the shiny side, ink side down.

Place a piece of fresh white cardstock on your EasyPress mat and then flip the coaster design side down. TIP: Use heat resistant tape to secure you design to the coaster.

Next, put a piece of butcher paper on top.

TIP: I used my smallest EasyPress 2 for this project. It was the perfect size. :) You’ll place the EasyPress 2 on the coaster for 240 seconds at 400° with NO pressure. Gently place your EasyPress 2 on top, and then don’t touch it. ;)Once the time is up, gently remove it. CAUTION: The coaster will be extremely hot. Do NOT touch it until it has had time to completely cool down. It will take several minutes.

Once it has cooled down, flip it over. Remove the tape & backing leaving the design permanently infused into your coaster with nice vibrant colors.

Isn’t this such a cute set? I thought it would make a cute picnic bag set for a trip to the zoo or fun travel bag for the kiddos! :)

What would you make with Cricut Infusible Ink? Let me know! :)
Enjoy these other fun Cricut projects. Click the link below the picture for that project’s tutorial. :)

NKOTB Tees


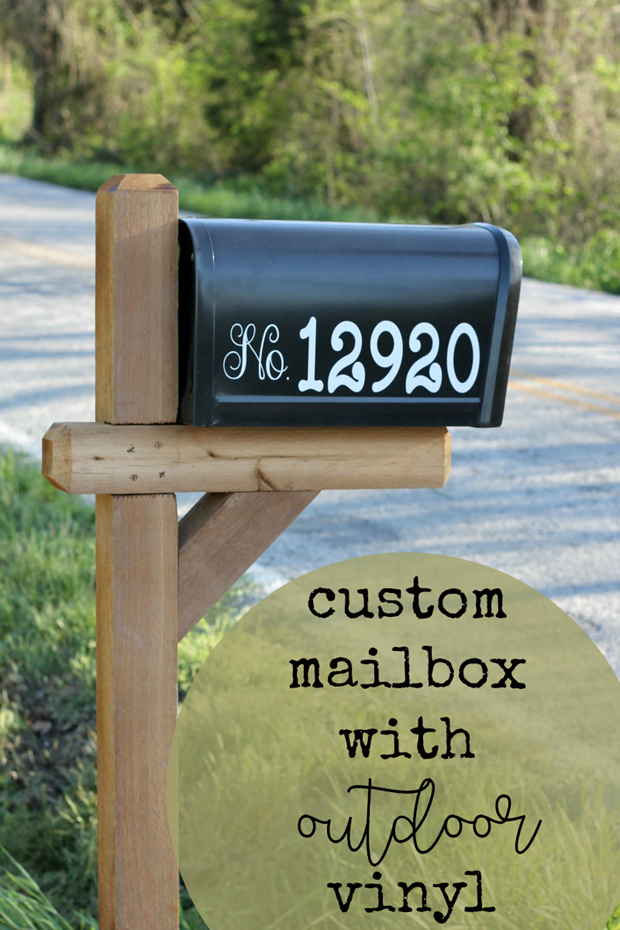
Custom Mailbox with Outdoor Vinyl
Connect with me on facebook or instagram.
Question or comment? Shoot me an email at ginger@gingersnapcrafts.com. :)
Thank you so much for stopping by my blog!
If this is your first time visiting, I’d love to keep in touch.

