
This post is brought to you by Happy Crafters.
Happy Friday! Can you believe that Halloween is right around the corner? Eek! It kind of snuck up on me. ;) So I better get busy! ha! I wanted to make something cute to hang outside our door to greet all of the trick or treaters in few weeks! Our neighborhood gets tons of trick or treaters. I love that about our neighborhood. This DIY Halloween Sign made with vinyl from Happy Crafters definitely does the trick! ha! ;) Plus it was so easy to make, and it cost under $5. That’s pretty spooktacular! ;) So keep reading to see how I did it! :)


You'll need a few supplies to get started:
a Silhouette CAMEO
OraCal 631 Matte Adhesive Vinyl in orange, black, lavender & olive
a Silhouette CAMEO
OraCal 631 Matte Adhesive Vinyl in orange, black, lavender & olive
First you will open up this image in your Silhouette program. Select object & then ungroup from the toolbar. When you do this all the words are independent of each other, so you can move them around.

I cut each set of words in a different color. Witch is olive, devil is orange, monsters is lavender & all the rest were cut in black.

TIP: Even though I was cutting with 12 inch vinyl I left my white roller in the 9 inch placement setting. This prevents your vinyl from sliding around on you. It will stay nice & straight! :)

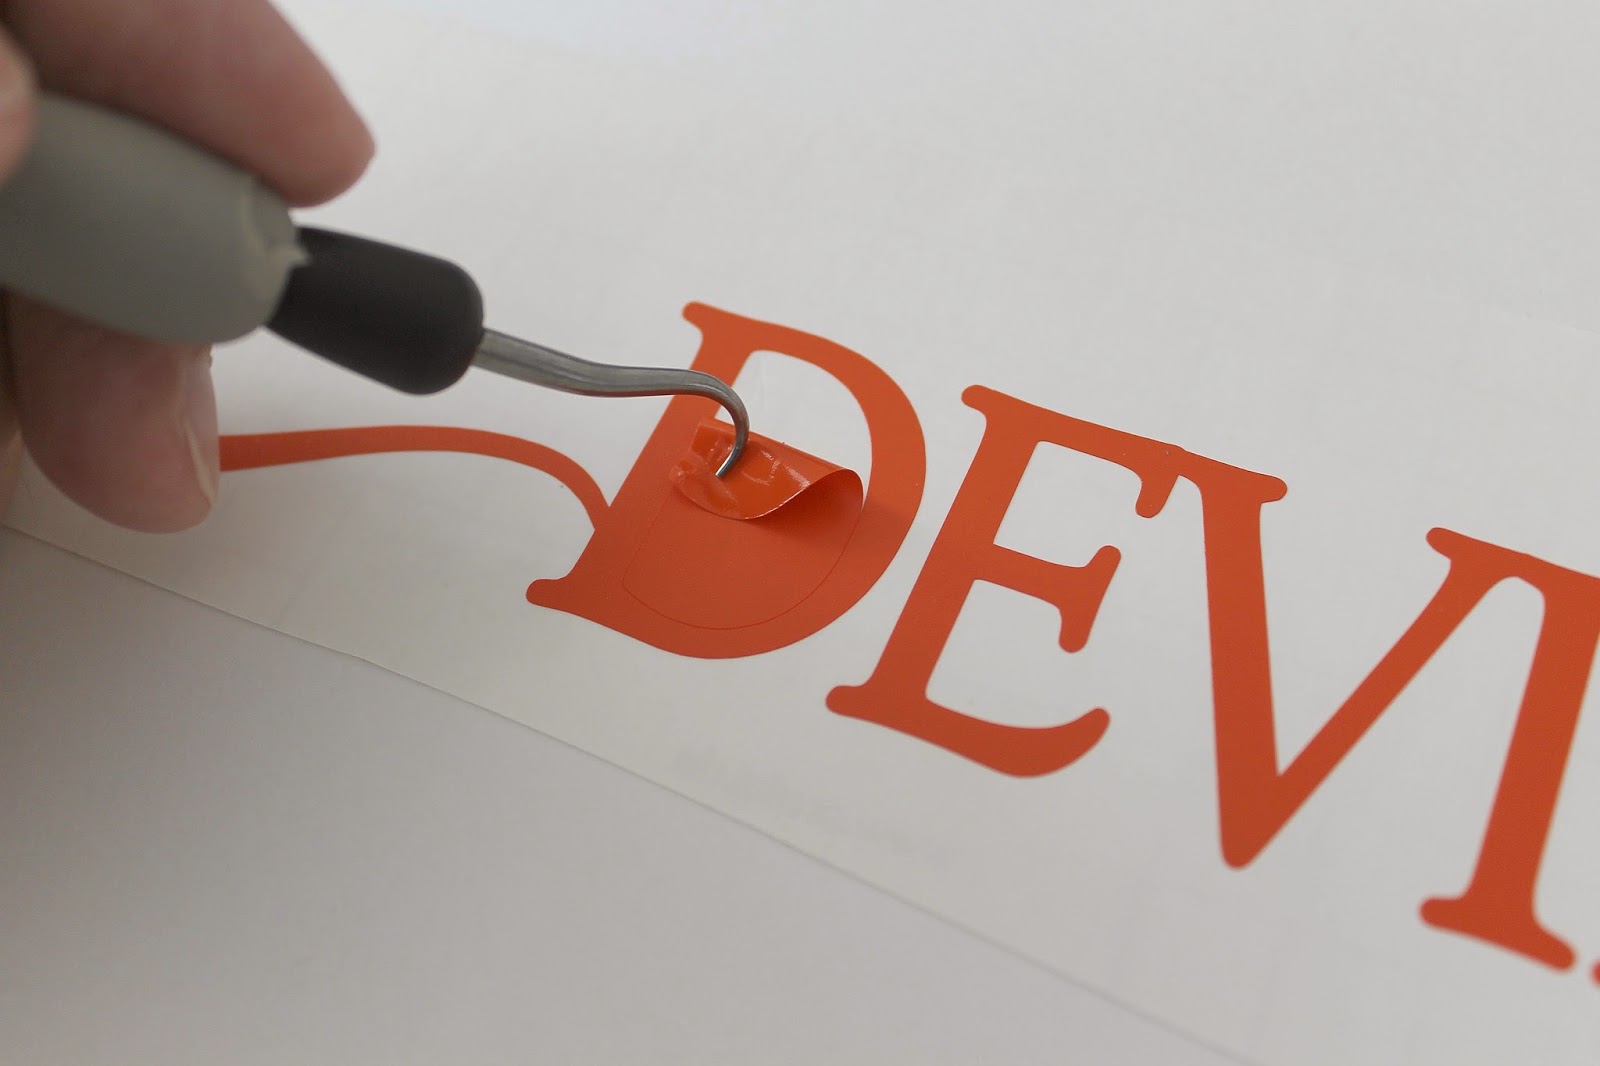
After I cut each word out, it was time to start weeding. Weeding simply means removing the extra vinyl that you don't need anymore leaving your words behind. I actually think this part is kind of fun! ha! ;)

Then use your Silhouette hook tool to remove the tiny pieces of vinyl from your words. This little tool is so handy! :)
After all the vinyl was cut & weeded it was time for my favorite thing to do ~ applying the vinyl! :)

Another tip...you can reuse transfer tape! I used the same 3 inch piece of transfer tape over & over to complete this project. To remove your vinyl lettering you'll put the transfer tape over the top. Smooth it down, and then flip it over. Slowly remove your backing paper leaving your vinyl lettering behind.

Once you remove the backing paper you'll flip it over vinyl side down & transfer tape side up onto the surface you want to apply your letters to. After it's just where you want it smooth it down with your fingers or a Silhouette scraper.

Then slowly remove the transfer tape leaving the vinyl lettering on your surface. Do this slowly. If the letters don't want to stick lay your transfer tape back down & rub a little more. Keep doing this for each group of letters until you are finished.

Soon your spooky plaque will look like this one!

I thought it needed a little something more,
so I added a small bat in the top corner. Too cute! :)
so I added a small bat in the top corner. Too cute! :)

For more Halloween ideas go {HERE} or follow along on pinterest.

Have you started decorating for Halloween?
Do you get on ton of trick or treaters?
I’d love to hear. Leave a comment below. :)
Thank you so much stopping by my blog!
If this is your first time visiting I’d love to keep in touch. 


Don’t miss a post! Subscribe by email or bloglovin’.

This project & post were created for Ginger Snap Crafts by Ginger Bowie.
