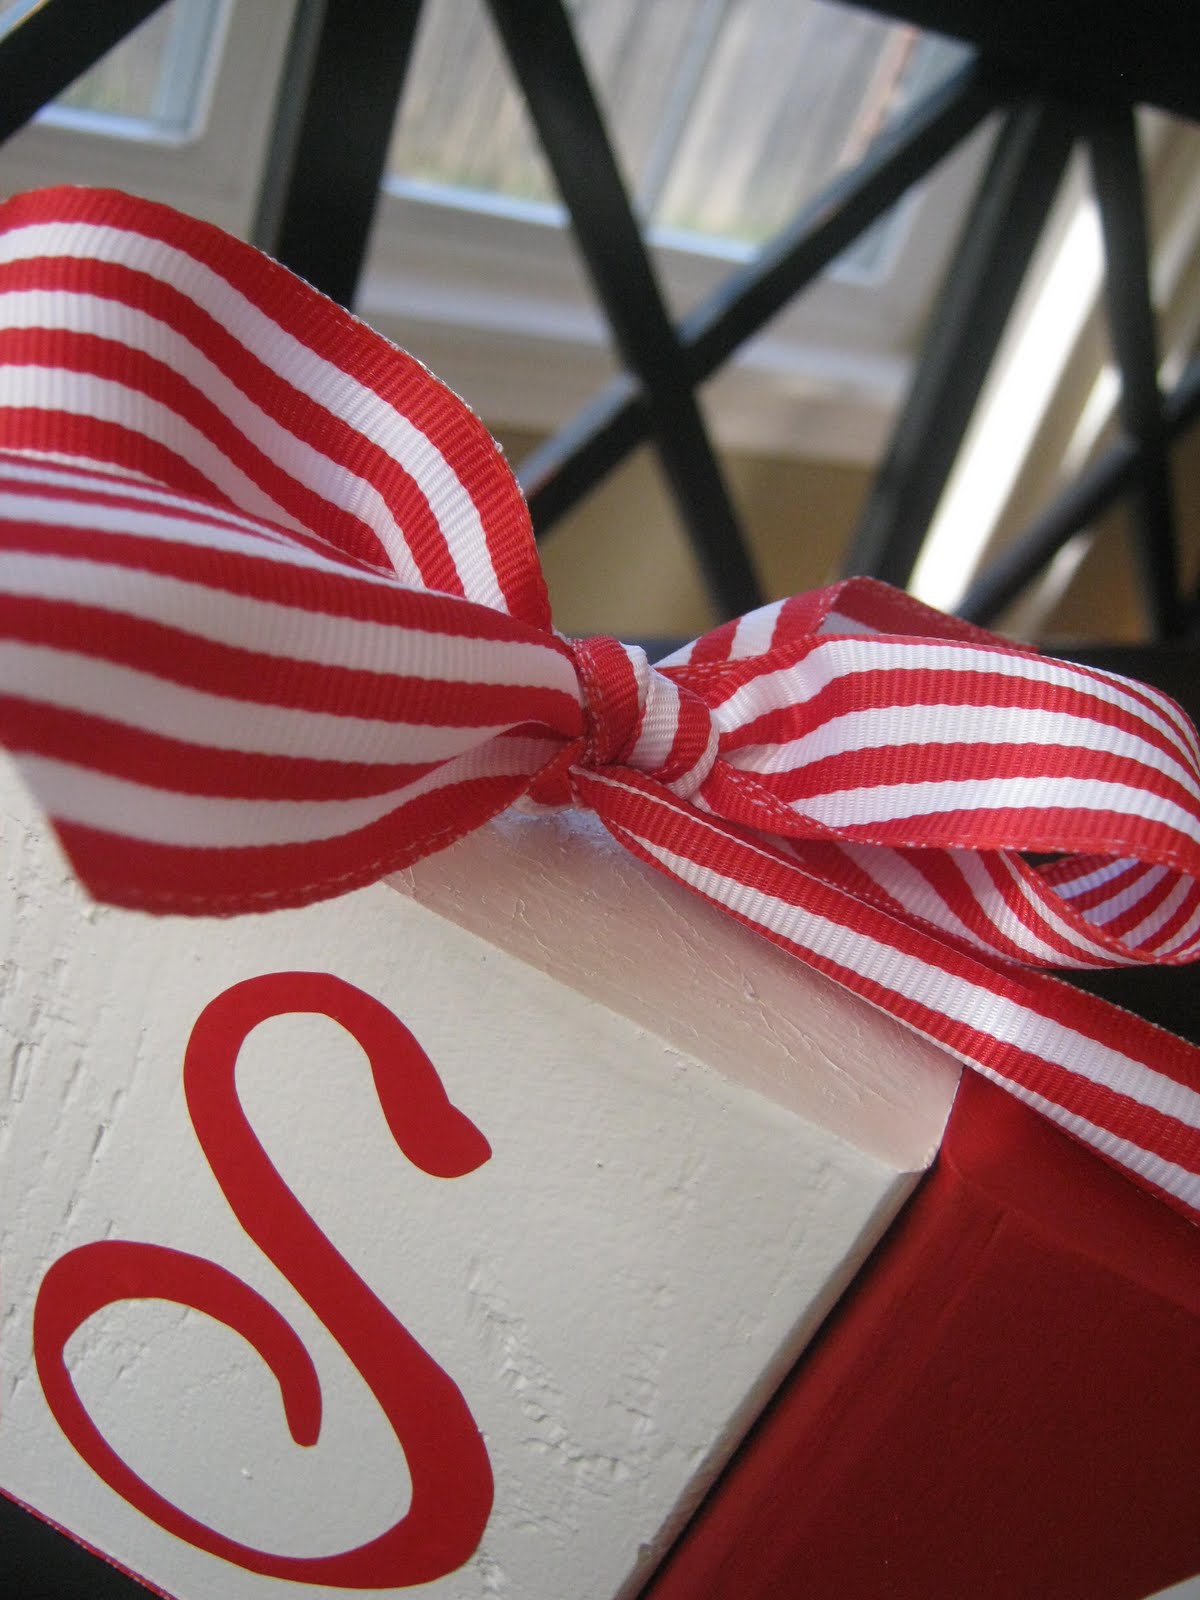
Ginger Snap Crafts: blocks
Showing posts with label blocks. Show all posts

Bloom Spring Blocks {tutorial} #happycrafters

This post is brought to you by Happy Crafters.

Hello! Happy Friday! Have you had a good week? I hope so. :) I am so excited for spring to be here! I can’t wait! :) Even though it is still a little bit cold (It snowed this week!) I wanted to bring some spring into our home. These Bloom Spring Blocks were just the pop of color & happy that I needed. So keep reading to see how easy these were to make with my Silhouette & some fun vinyl from Happy Crafters. I’ll also show you how to layer vinyl. It’s easy! So let’s get started! :)

Spring Blocks with vinyl from Happy Craters #spring #decor

Painted Nativity {tutorial}

This post is brought to you by DecoArt.

Before we get started I just wanted to say Happy Veteran's Day to all the veterans out there ~ especially my dad & grandpas! I really appreciate the example & sacrifices they & all veterans have made for our country.

Ok….now are you ready for this? ha! It’s my very first Christmas tutorial of the year ~ a super cute painted nativity! Yay! I love, love Christmas. One of my favorite decorations to bring out are my nativity sets. Yes, I have a few. ;) I love having ones that my kiddos can play with! Last Christmas one of my best friends, Robyn from Create it. Go! sent me an unfinished nativity set. I didn’t have time to get it done last year so I was super excited to get to work on it this year in plenty of time for Christmas with the help of some fabulous Americana Acrylic Paints. ;) I love acrylic paints. They dry super fast, and they are perfect for a project like this one. I’m also going to share two of my favorite crafty tips ~ how to make a easy hand sander & how to easily add that distressed look to wood without using wood stain. So keep reading to see all the details. :)

Painted Nativity with DecoArt #Christmas #gingersnapcrafts #ad

DIY {cute & easy} blocks {tutorial}

I love making handmade gift for my kiddos!  Today I’d love to show you how I made these DIY {cute & easy} blocks.  These were so simple & CHEAP to make, and best of all my kiddos loved them! Yay! :)

tutorial {kiss me, I’m Irish block}

kiss me I'm irish block
Pin It

tutorial {blocks that say a lot}

If you follow my blog you’ve heard my BIG news already!
I’m the new Craft Contributor over on Lil’ Luna.
A couple of weeks ago I shared
this post….
thought I’d share it over here just in case you missed seeing it!

blocks that say a lot

Pin It


tutorial {lucky block}

lucky block for st. patrick's day
Pin It

When I first got my Silhouette almost 2 years ago,
my goal was to make a cute, simple decoration for each holiday.
Nothing big or grand just something cute & easy.
Well….two years later I’m still working on that goal! Smile
One of the last holidays on my to-do list was St. Patrick’s Day.
So I thought I’d better get busy!
I actually made two simple projects….today I’ll show you my {lucky} block.
I’ll show you the other one next week….suspense…suspense.
(If you look close you can probably figure it out though.) Smile

UPDATE:  You can check out my other St. Patrick’s Day project here.
IMG_3812

fab friday {4th of July}

4th of July is right around the corner.
Seriously, the 4th of July is my favorite holiday.
Fireworks, cooking out, family time & being proud to be American.
What could be better than that?
{Plus it's 4 days before my wedding anniversary! :)}


Here's how I made my super easy, {cheap!} and of course, very cute 4th of July decor.


Up first is this super cute flag.
I know you've seen 2x4 flags floating around blogland.
So, here's my version.
My hubby used a 2x4 but for the "stripes"
he cut them in half,
 trimmed them 
& made them fit together perfectly.
{Isn't he smart & like I've said before so handy!}


I painted the pieces red, white & blue.
For my star, I cut a star with my Silhouette & used it like a stencil.
I painted my block white, applied the vinyl, painted it blue & then removed the vinyl.
Voila!  There's a perfect star.  Super easy!


Stack your blocks back up!


Add a bow.


All done!  So easy & cute!


Now for the USA blocks.


For my blocks I just used a 2x4 again {cut it into 4 inch blocks}.
Painted them red, white & blue, of course. :)


Applied the vinyl.
Then you can stack them however you'd like, vertical or horizontal.


Or add a bow like I did.


There you go- all done.


Display them together & you've got a fun, festive 4th of July mantel.
Let the celebration begin!  Happy Birthday, America!


Did you notice my follower count is creeping ever so closer to the 500 mark?
I am so excited.  I'm amazed and humble at all the support
my little blog has gotten since I started just under 3 months ago.
You guys are awesome.  Thank you so much.

Tomorrow I'll be doing a giveaway for a completed set of the USA blocks.
{So make sure you check back ToMoRoW to enter.}

For today, the first 3 FolLoWeRs who comment on this post will receive the USA vinyl for FreE!!!
All you'll need to do is supply the wood, paint & a little elbow grease & you'll have some cute blocks, too.
{Please leave me your email, so I can contact you!}

Have a fabulous weekend!

Teach Me Thursday: Using Vinyl Negatives

Last week I posted this over at Capital B,
(If you haven't checked out Sky at Capital B yet...
go now..... she just posted
the cutest bow ties ever! 
(Oh...how I wish I could sew because I
would totally be copying her right now
...I'm slightly behind on
my Easter shopping!  Yikes!)


Anyways, I thought I'd post this
fun spring block tutorial again over here
on my blog because guess what???
Whoopdwhoop is featuring this
same tutorial on their blog TODAY, too!
Go here to check it out!
I am so excited!!! :)

Spring is finally in the air!
(It was a very, very long winter for us!  How about you?)

Time to get out the fun spring decor. :)

I just recently added this fun spring block
to my etsy shop, Ginger Snaps.

(You can buy it finished or as a kit & make your own!)


Here's how I made it:
(Easy!)

1. First cut a 2 x 4 into a block that measure 3 1/2 inches by 7 inches long.


2.  Slightly sand your block, paying special attention to the edges.


3.  Choose a paint color.  I chose a bright purple. :)


4.  Paint your block.  It took me about 2 coats.  Let it dry.


5. You will use the vinyl negative (the part you usually throw away) as a stencil.
You can cut your own vinyl negative using a Cricut or Silhouette.
I used the elise font. (My favorite!)
(You can also buy one from my esty shop!)
Apply your vinyl lettering to your block of wood.


Make sure you press down firmly with your hand or a credit card. 
(You don't want any air pockets or loose areas.)
 

6.  Using bright spring-like colors carefully paint each letter a different color.
(Let them dry between coats.)


7.  After your paint has dried completely.
(I let mine dry over night, just to be sure!)
Carefully peel back your vinyl negative.


8.  Touch up any areas you might need to.
(You'll be amazed on how good a job vinyl can be when used as a stencil! :) )


9.  Tie a matching bow around your block.


10. Enjoy!


Tip Junkie handmade projects