
This post is brought to you by Cricut. All opinions are my own. Affiliate links are used. Thank you for supporting Ginger Snap Crafts. :)
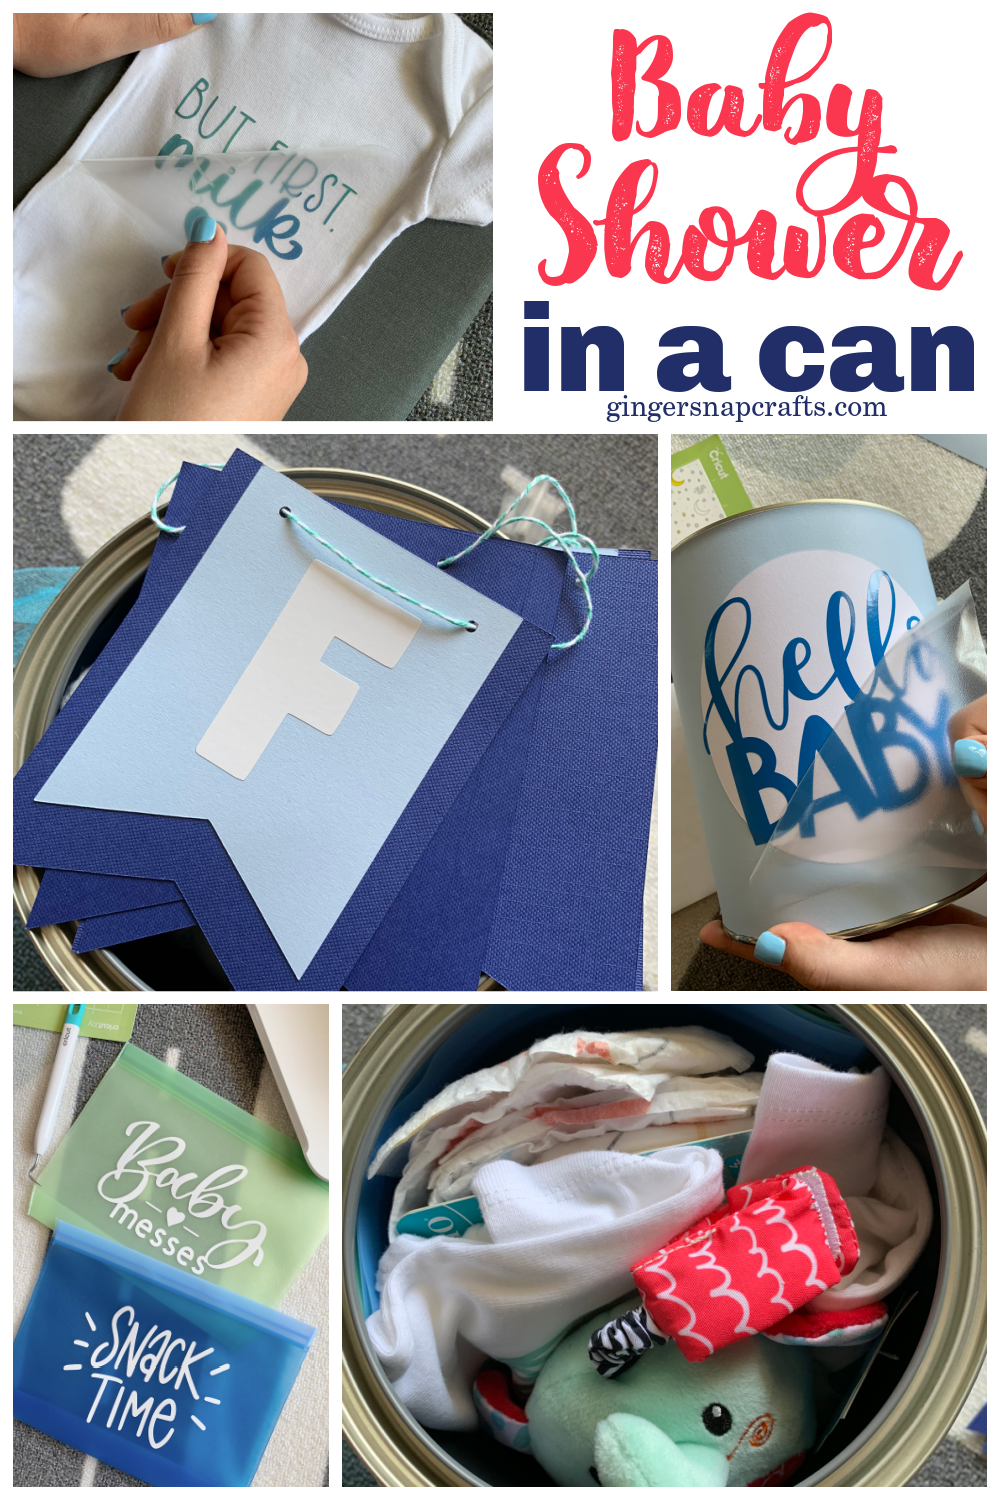
Good morning! My niece & her family just had a sweet baby boy. He was a few weeks early. They live a few states over, and it was so hard because we were so far away! So, I decided to make a cute DIY baby shower in a can creation complete with a banner, gifts, personalized onesies, reusable bags all made with my Cricut machine & Cricut brand materials. Cricut really helps to make for all the special moments in life from birthdays to ball games to weddings and anniversaries to BABIES is all that more special. :) Let’s get started!
First off, I am going to list all the supplies I used right here at the beginning. So as I show you all the things I made with my Cricut for this cute baby shower can, you can just scroll right back up here to find the supplies to make this project, too!
empty paint can (You can find these in the paint section at any hardware store.)
ribbon
paint can opener (also in the paint section)
things to fill your can (cake mix, icing, cake cup toppers, baby toys, diapers, wipes, ointments & medicines, clothing, books, snacks for mom, banners, party favors, pacifiers, baby shampoo & powder, etc.)
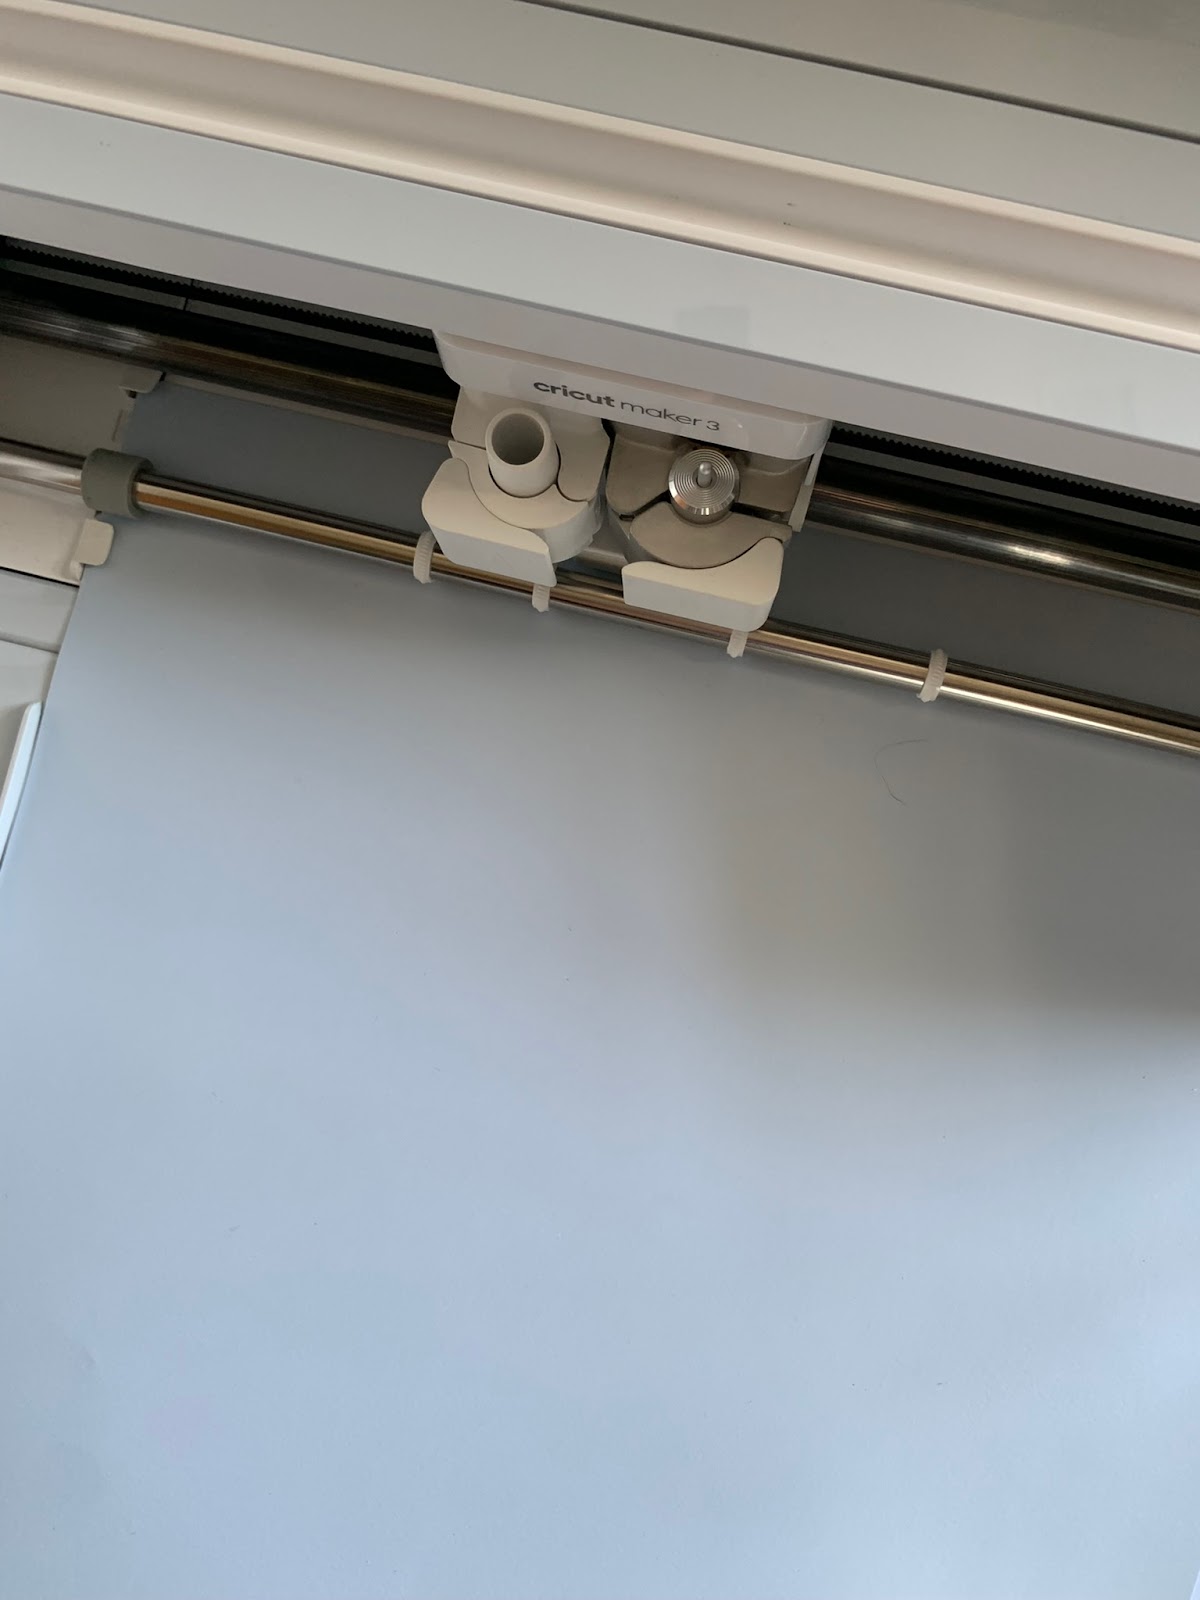
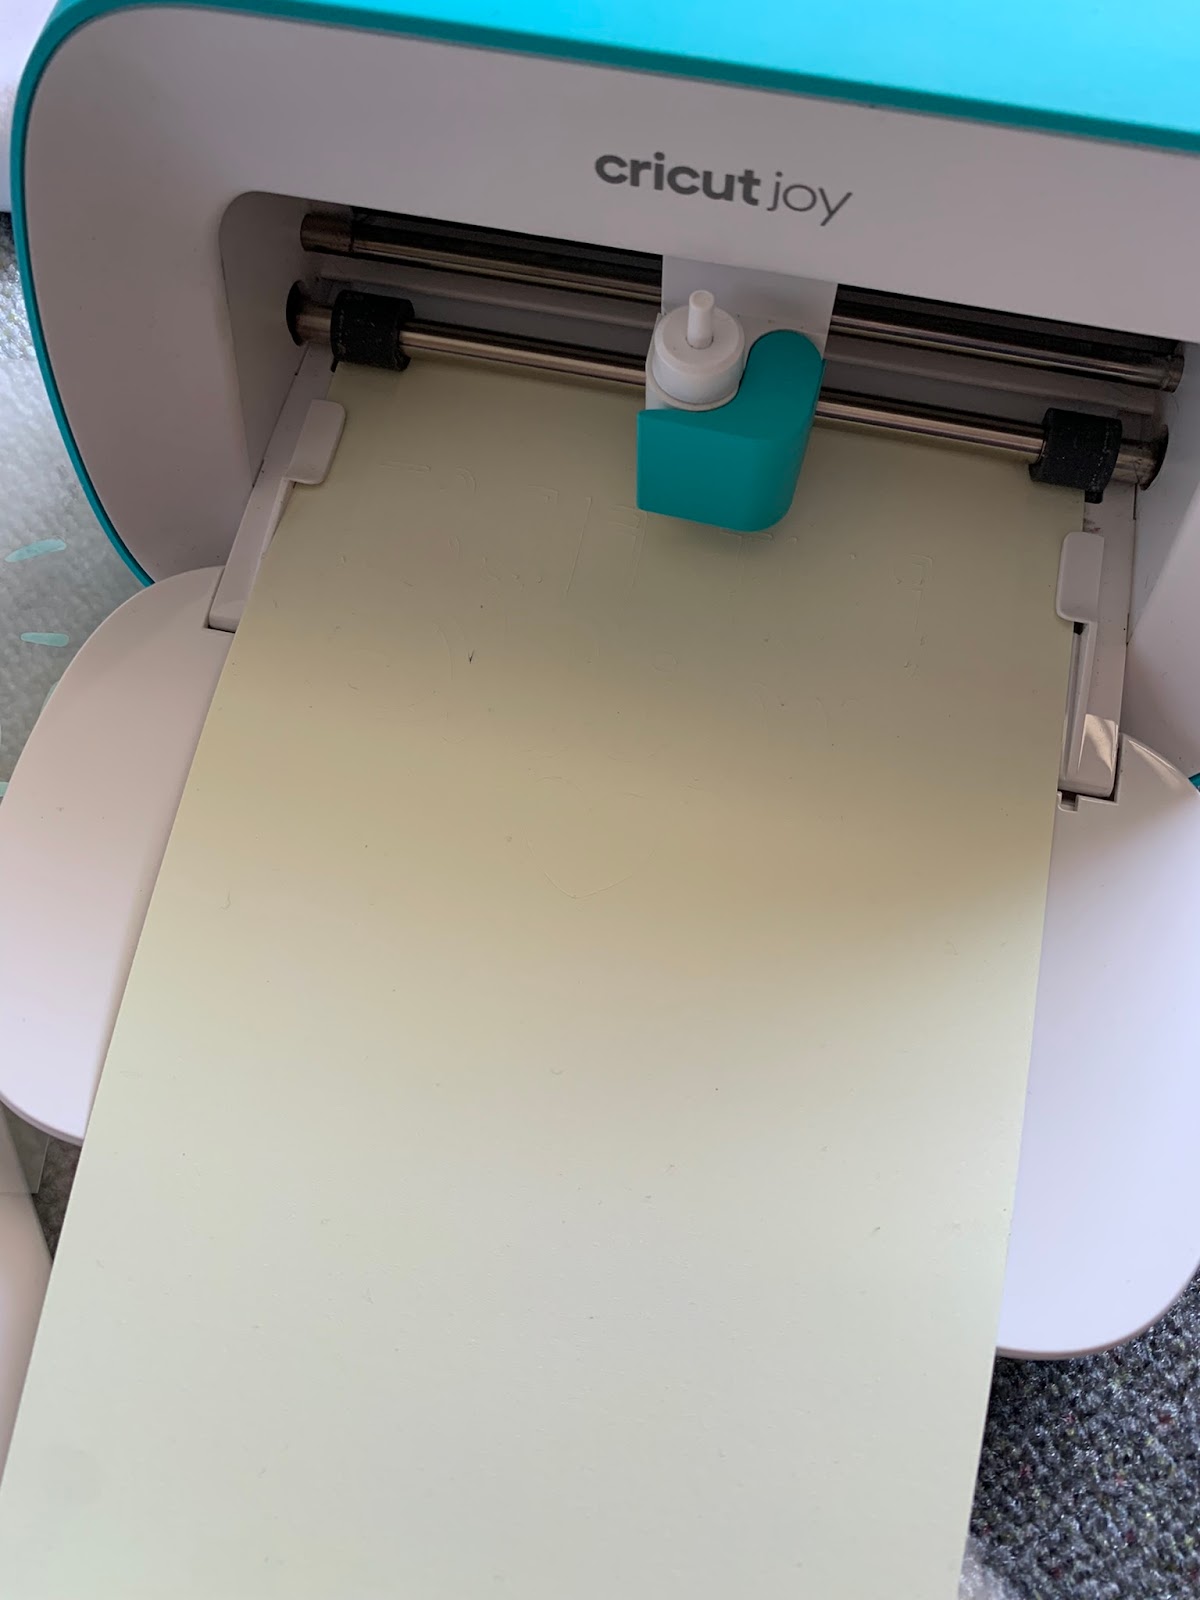
Now that we’ve gathered all the supplies, let’s make this baby shower in a can! :) By the way, all the projects in this post can be completed in 3 simple steps. First, we will create the design in Cricut Design Space. Cricut Design Space is a totally free program that is super simple to use & learn. Then our second step will be to cut out our materials using our Cricut machine. FYI, for this shower in a can, I used both my Cricut Maker 3 and Cricut Joy. Then finally our third step will be to assemble the project.
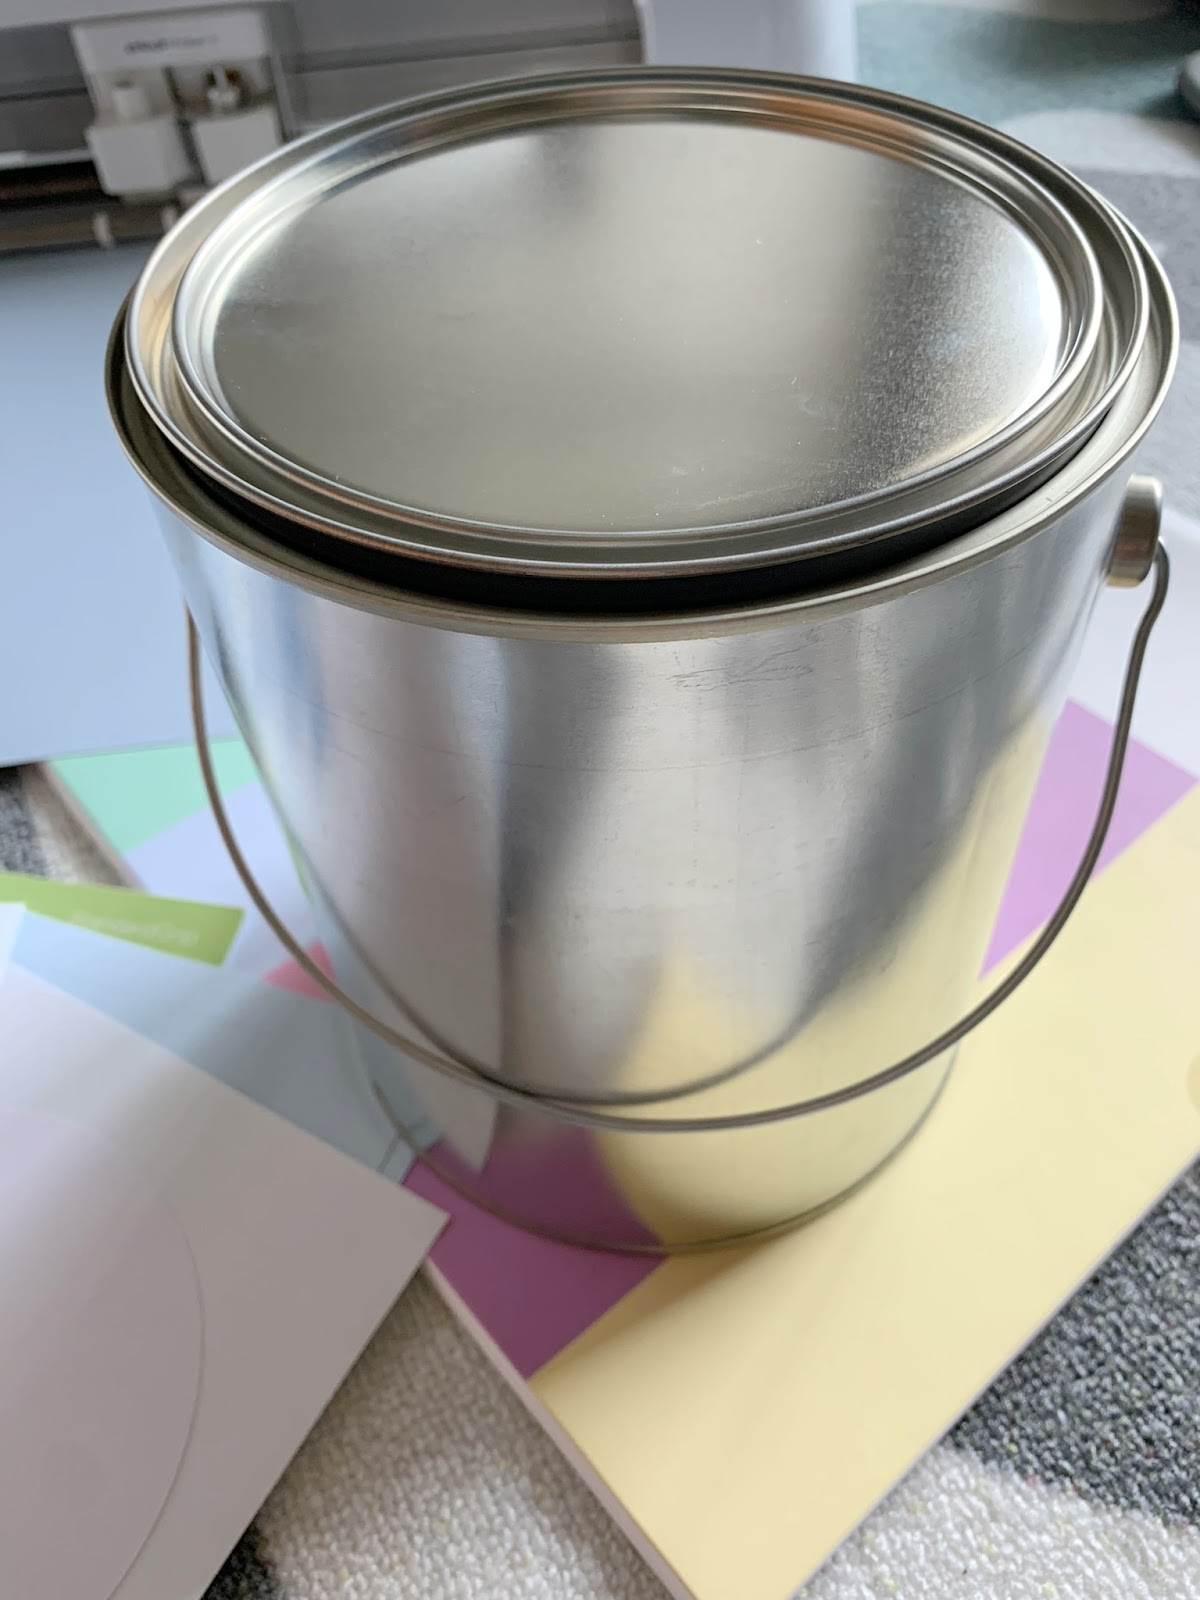
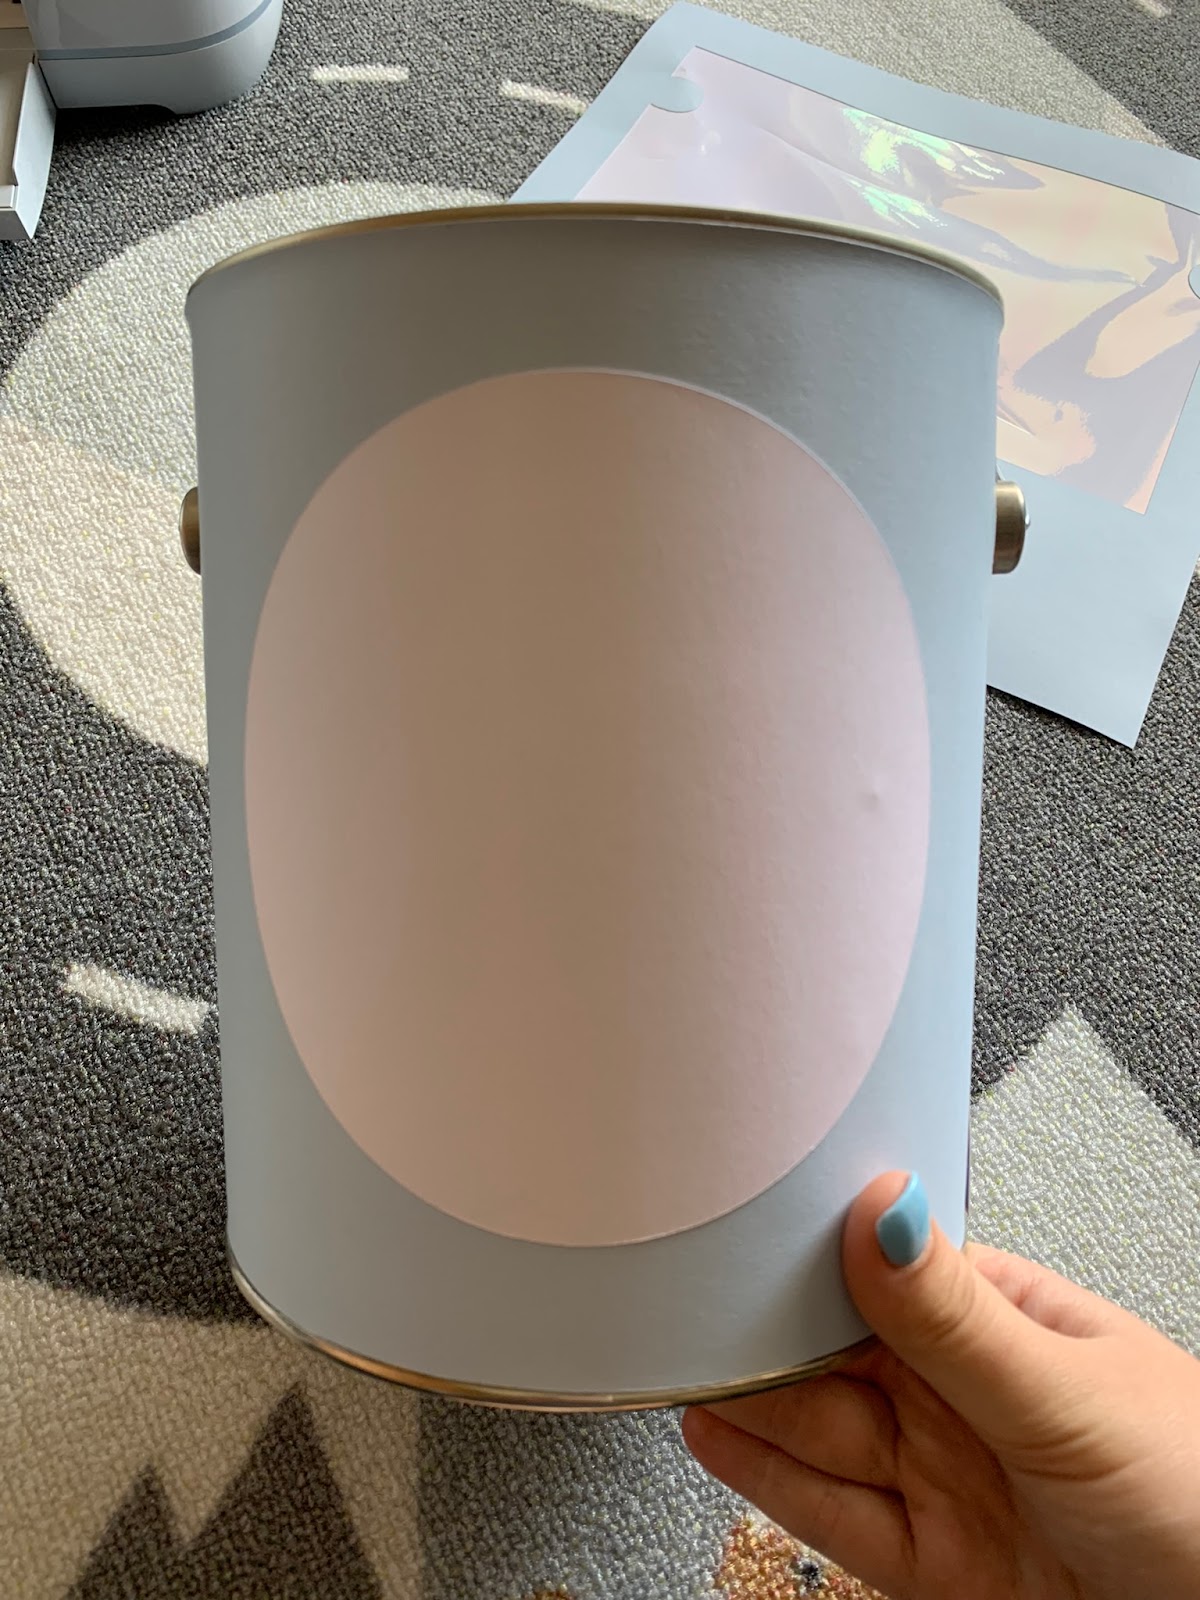
First, I designed a wrapper to use with this paint can in Cricut Design Space. Then I used my Cricut Maker 3 & Cricut SmartPaper Sticker Cardstock to cut out a wrapping for my can. You can get this cut file in Cricut Design Space right here.
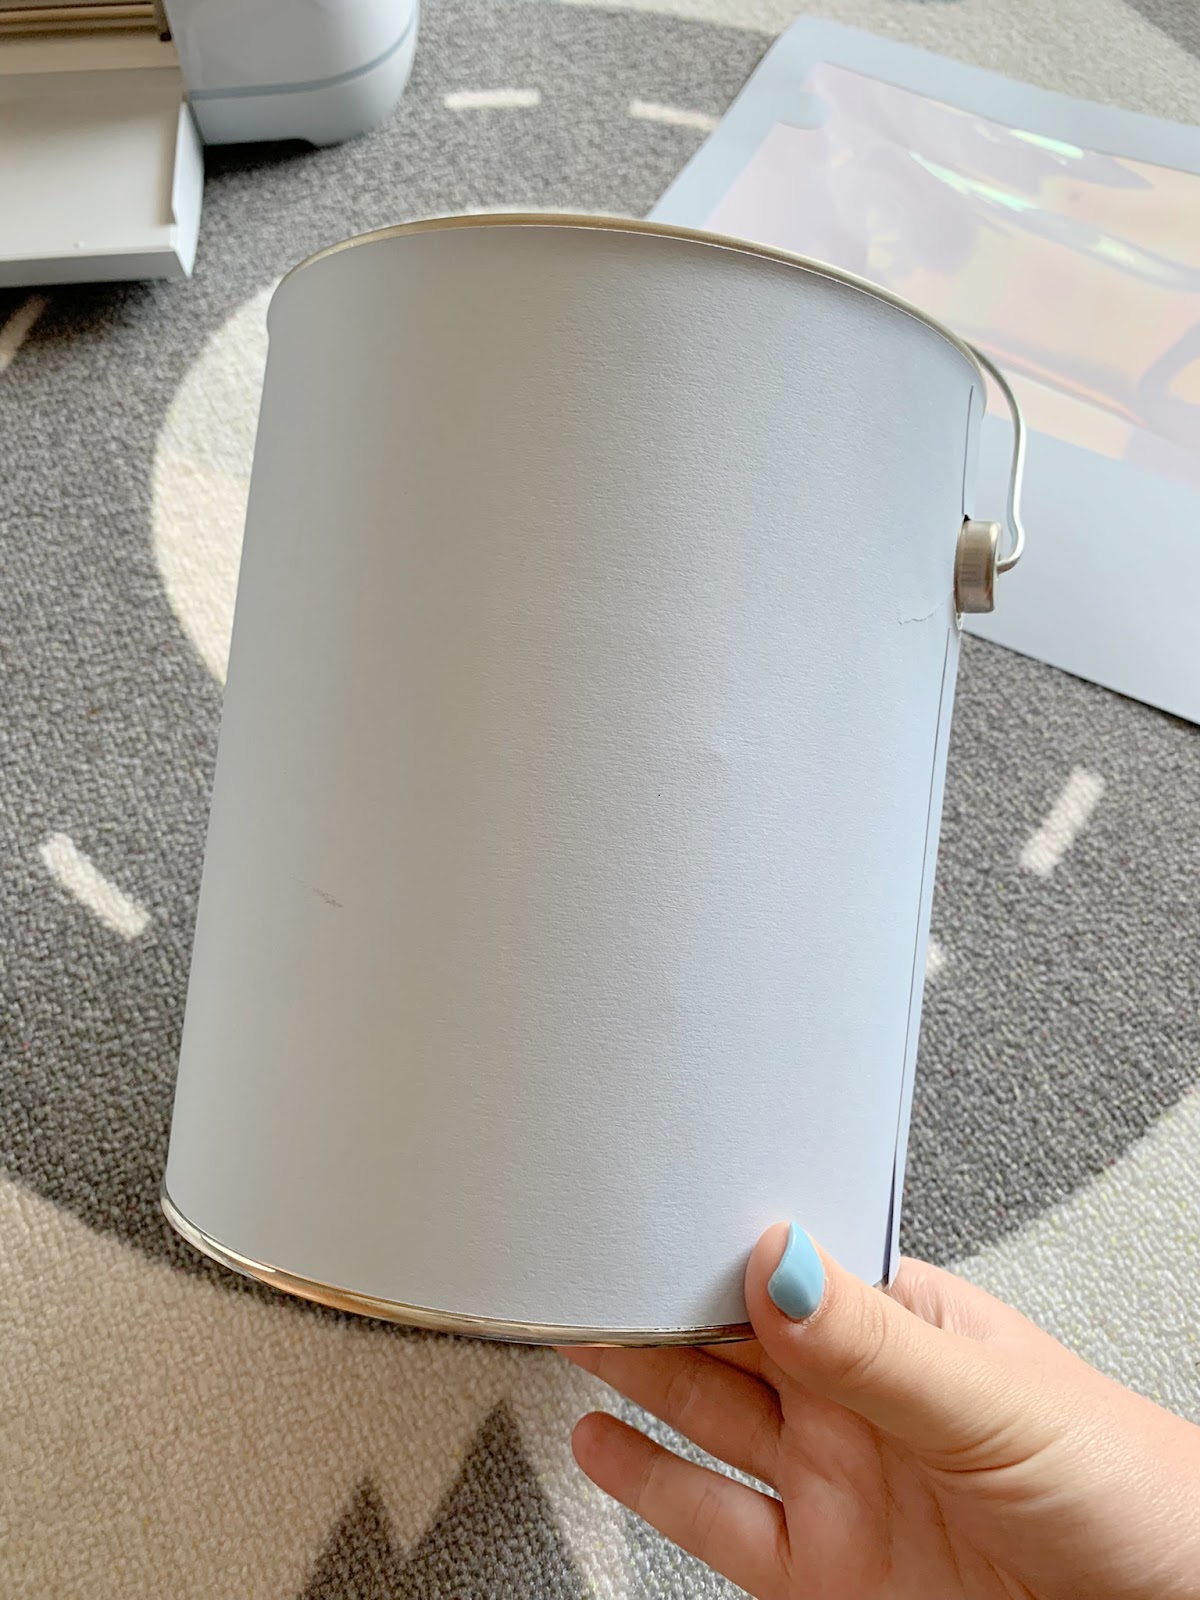
I simply cut it out, and then stuck the wrapper to my paint can.

Now we have a pretty blue paint can! :)

Now it’s time to decorate it!
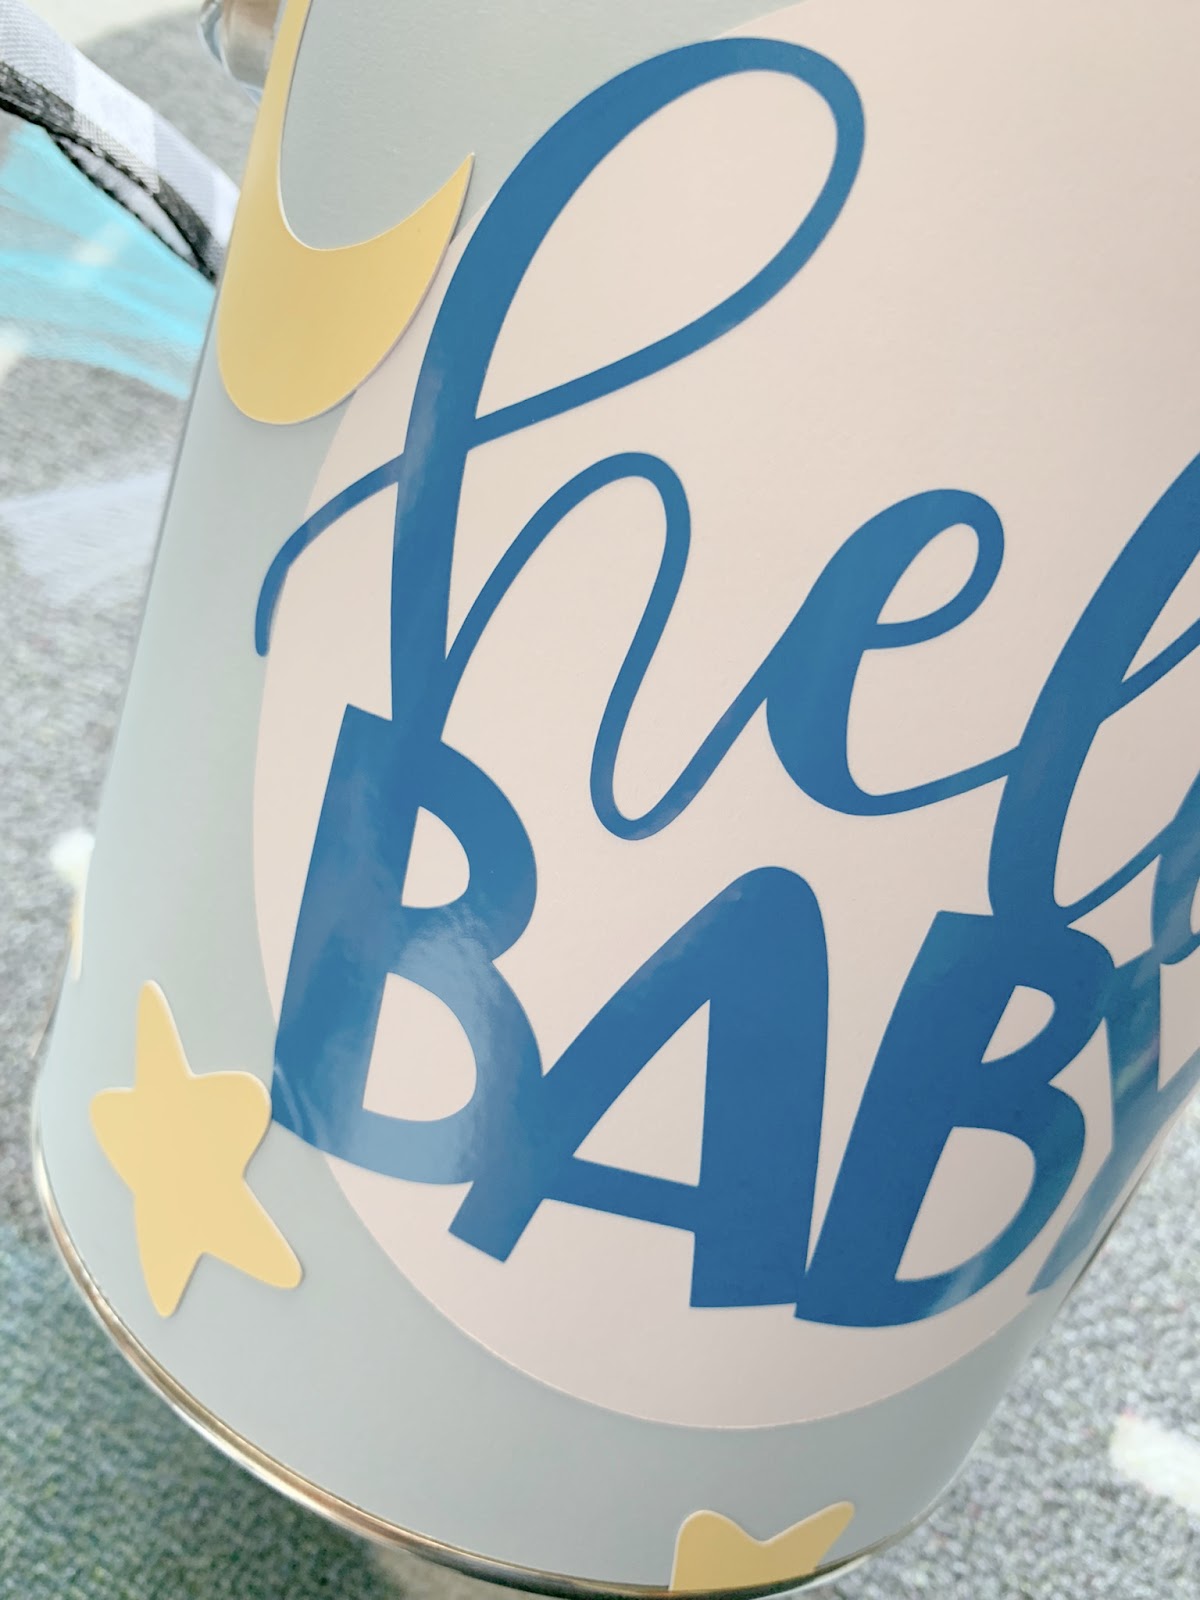
I used some more sticker paper to make a white label and stuck it right on the front.
Then I used Cricut removable vinyl to cut the Hello Baby.
You can get this cut file right here in Cricut Design Space.

Then I simply applied the vinyl to the can.

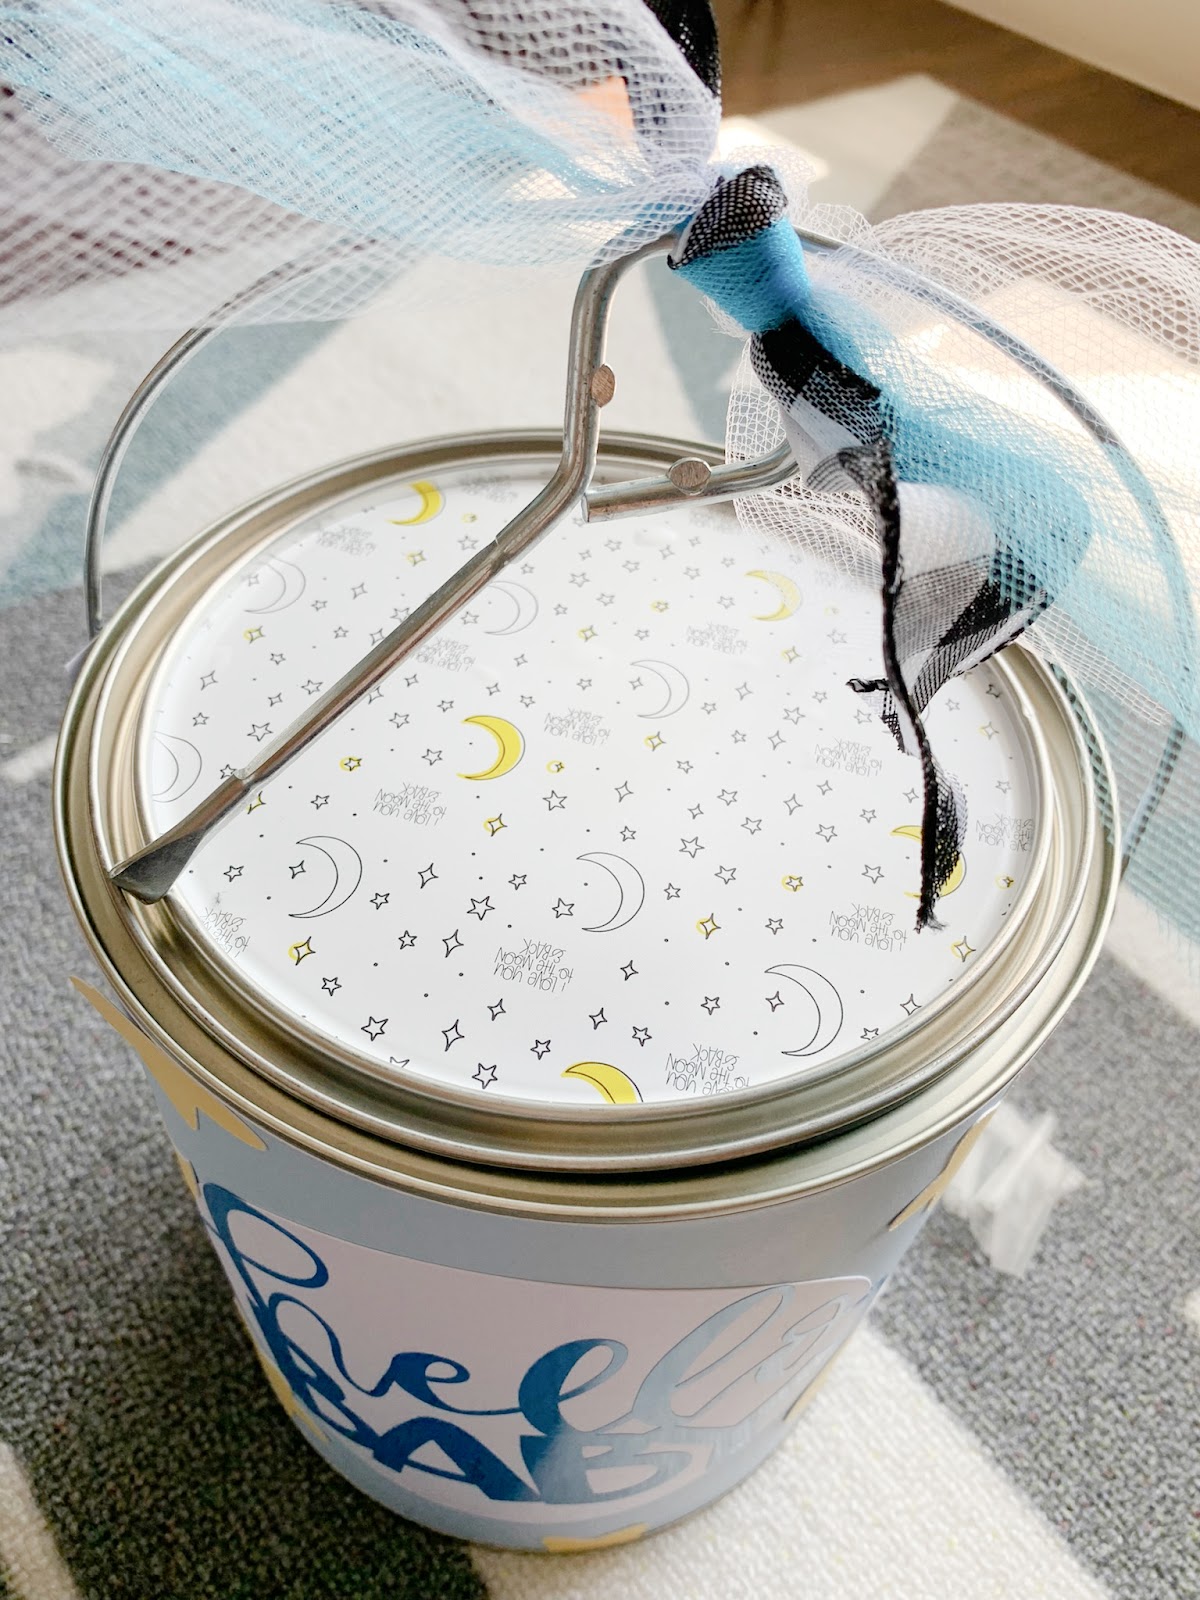
To decorate the lid I used some cute patterned vinyl from Cricut.
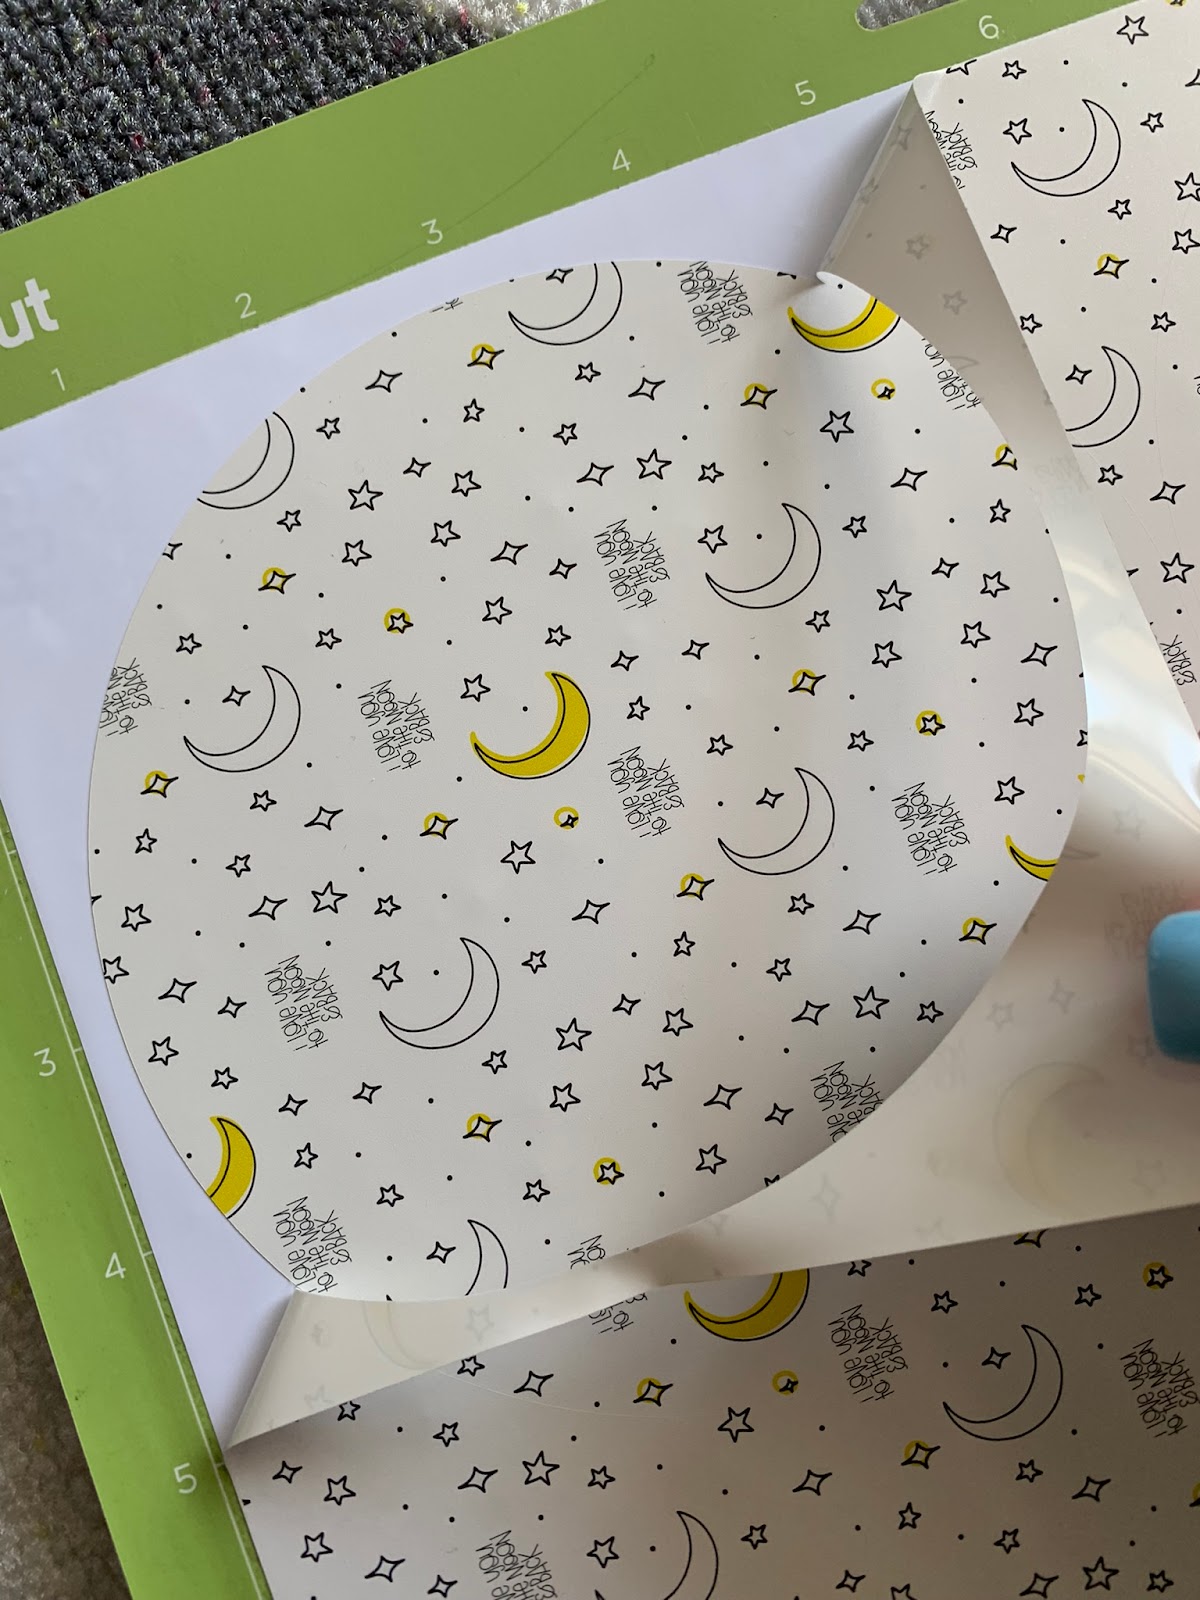
In Design Space, I cut a circle the exact same size as my lid, and then I gently put it in place.
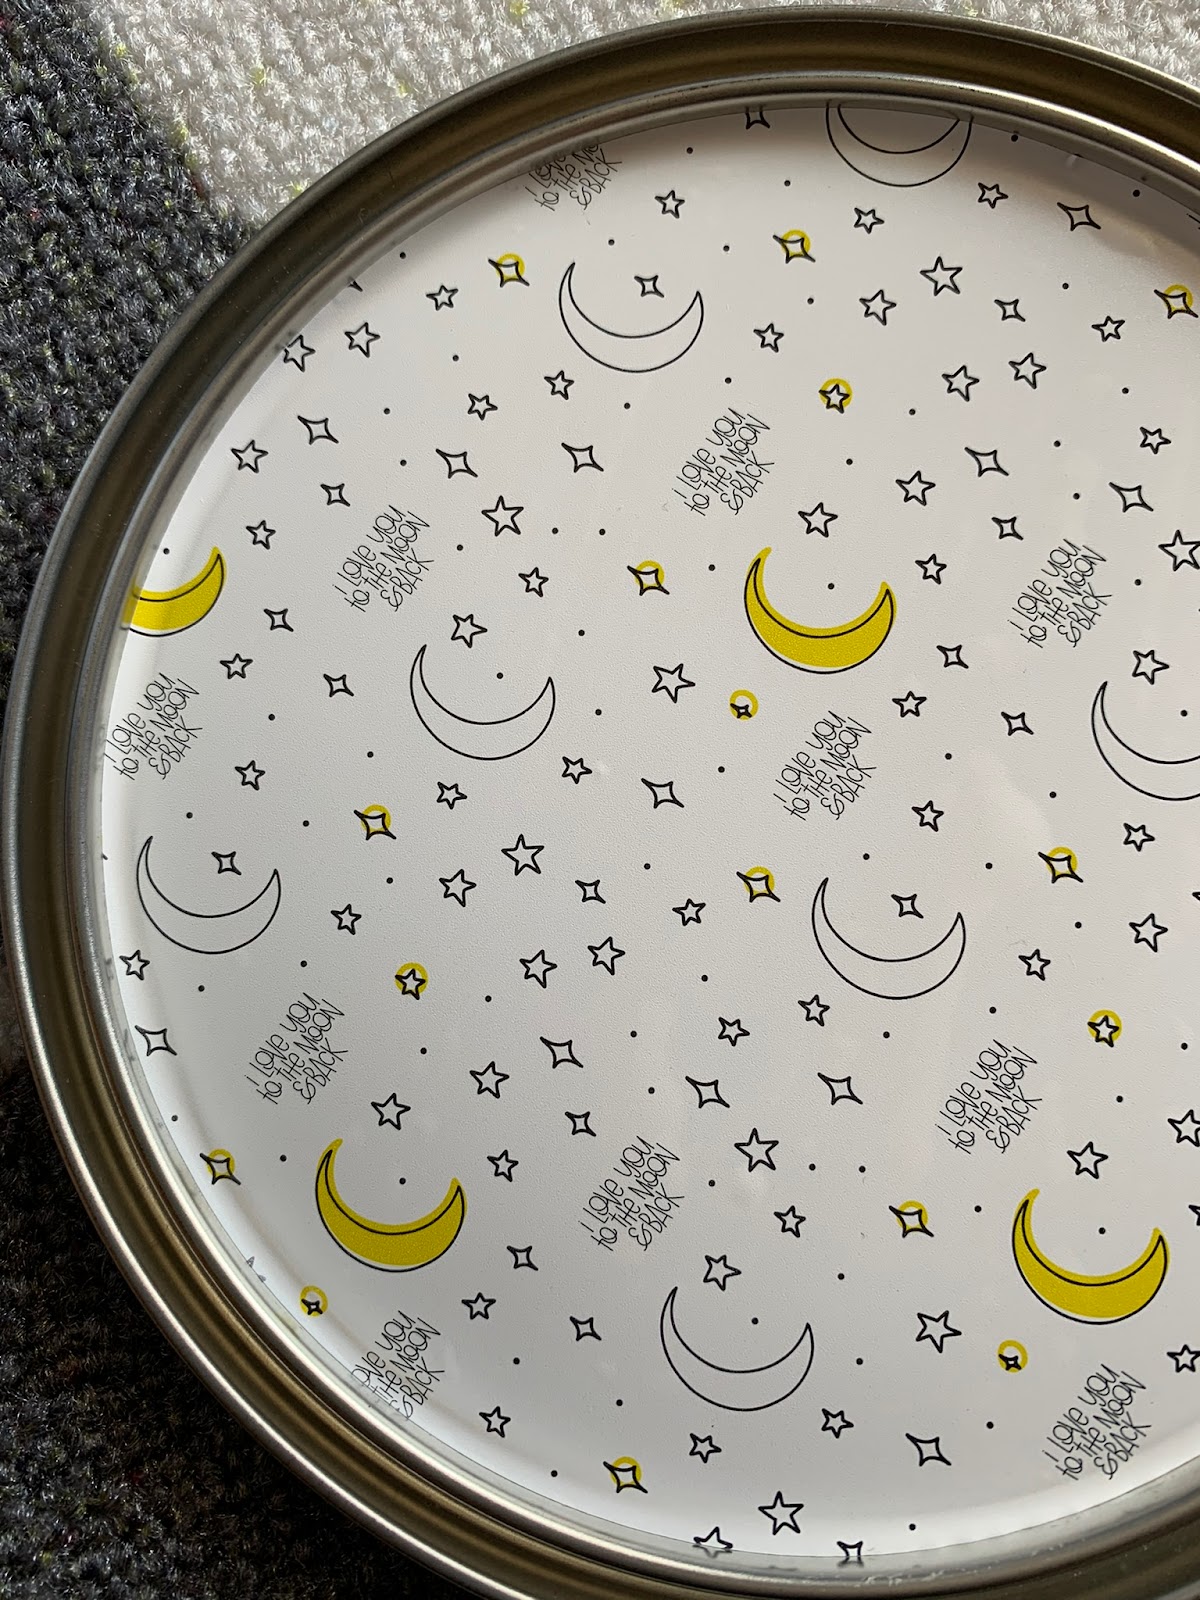
So sweet! Buuuuut it’s missing something!
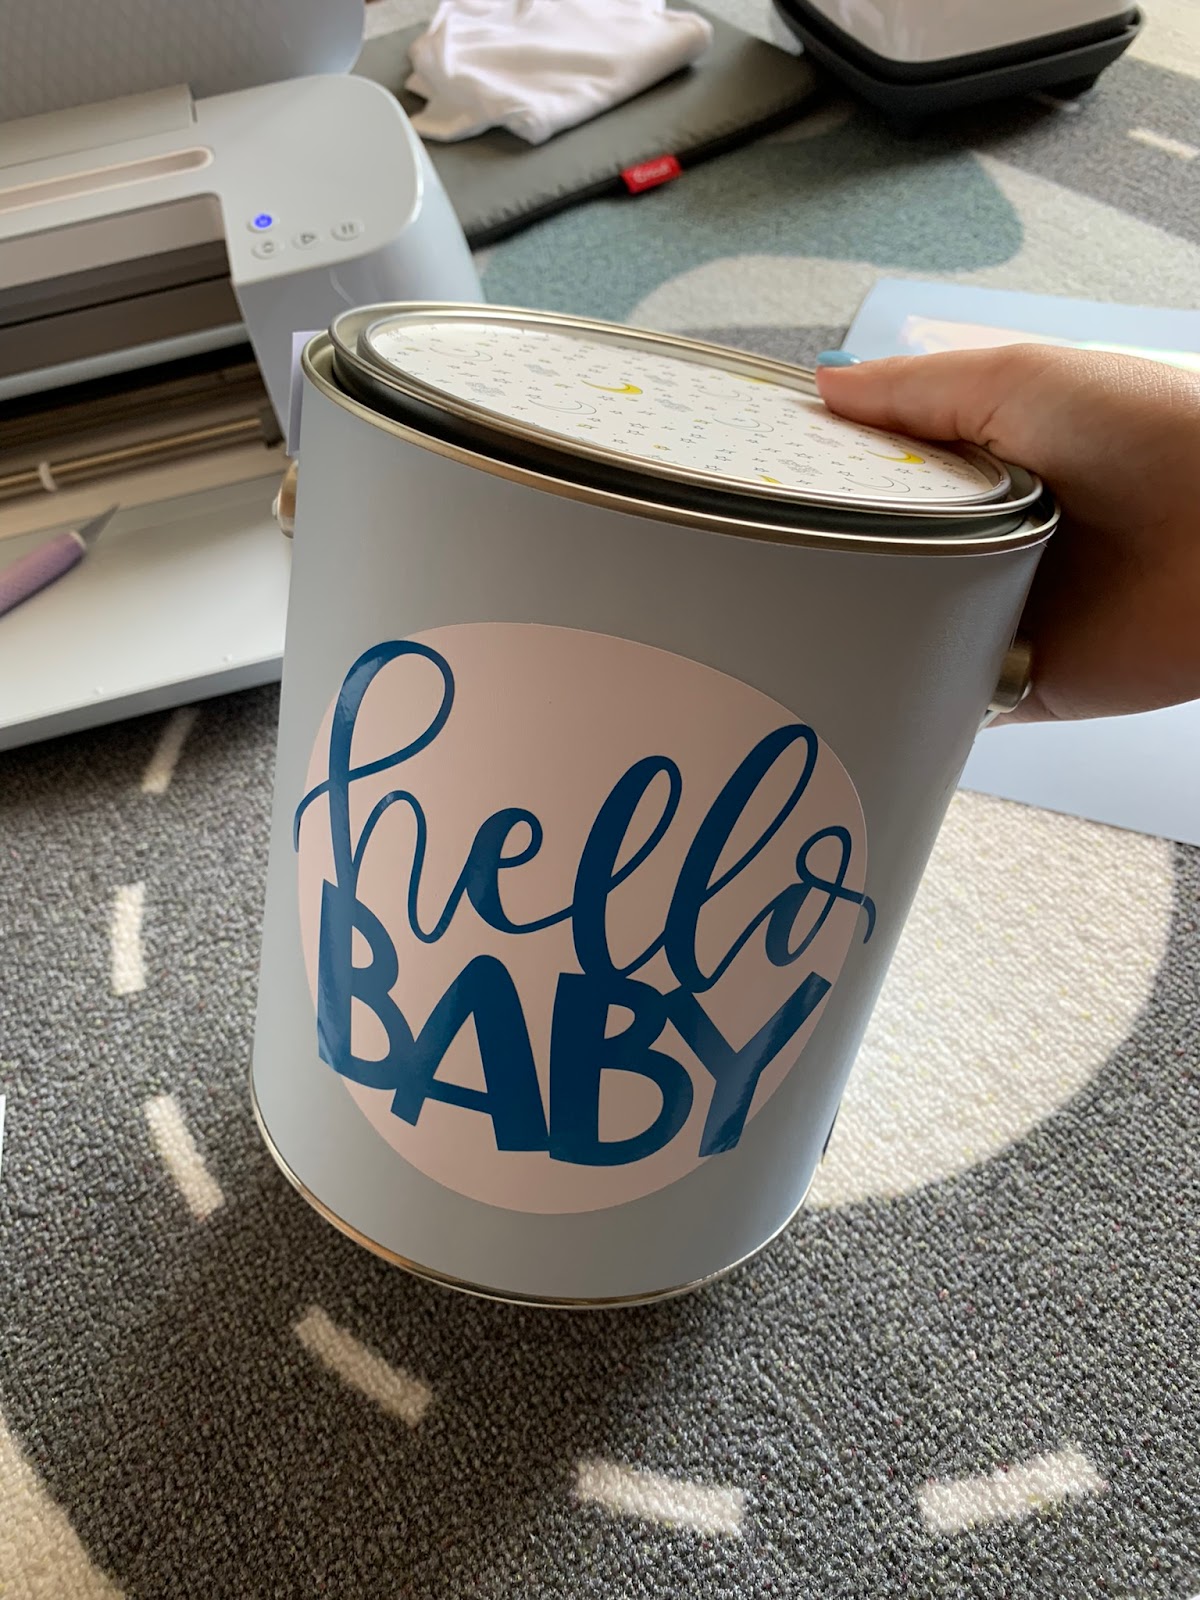
So I added some moons & starts using more sticker paper! Cute! You can get those right here.
Next, I made some personalized items to go inside the tin with my Cricut Joy following the same steps.
Create in Design Space, cut with my Cricut machine & then assemble the project.
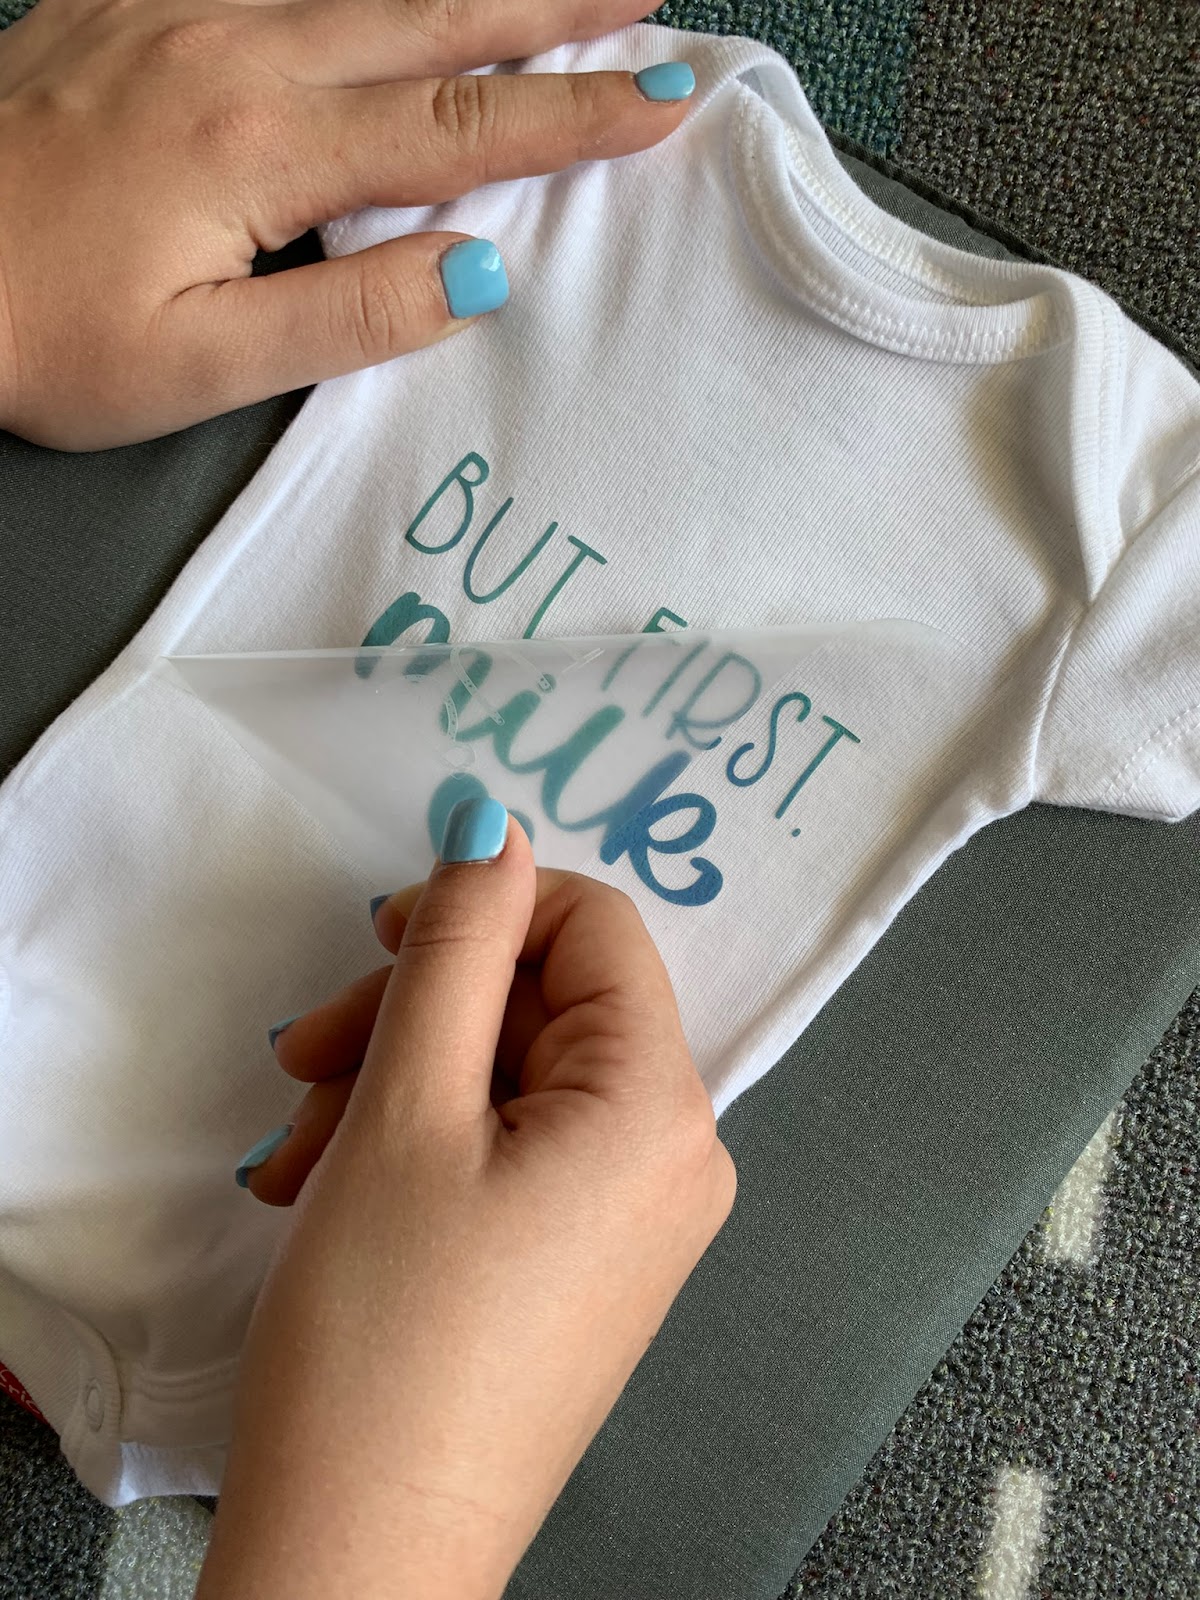
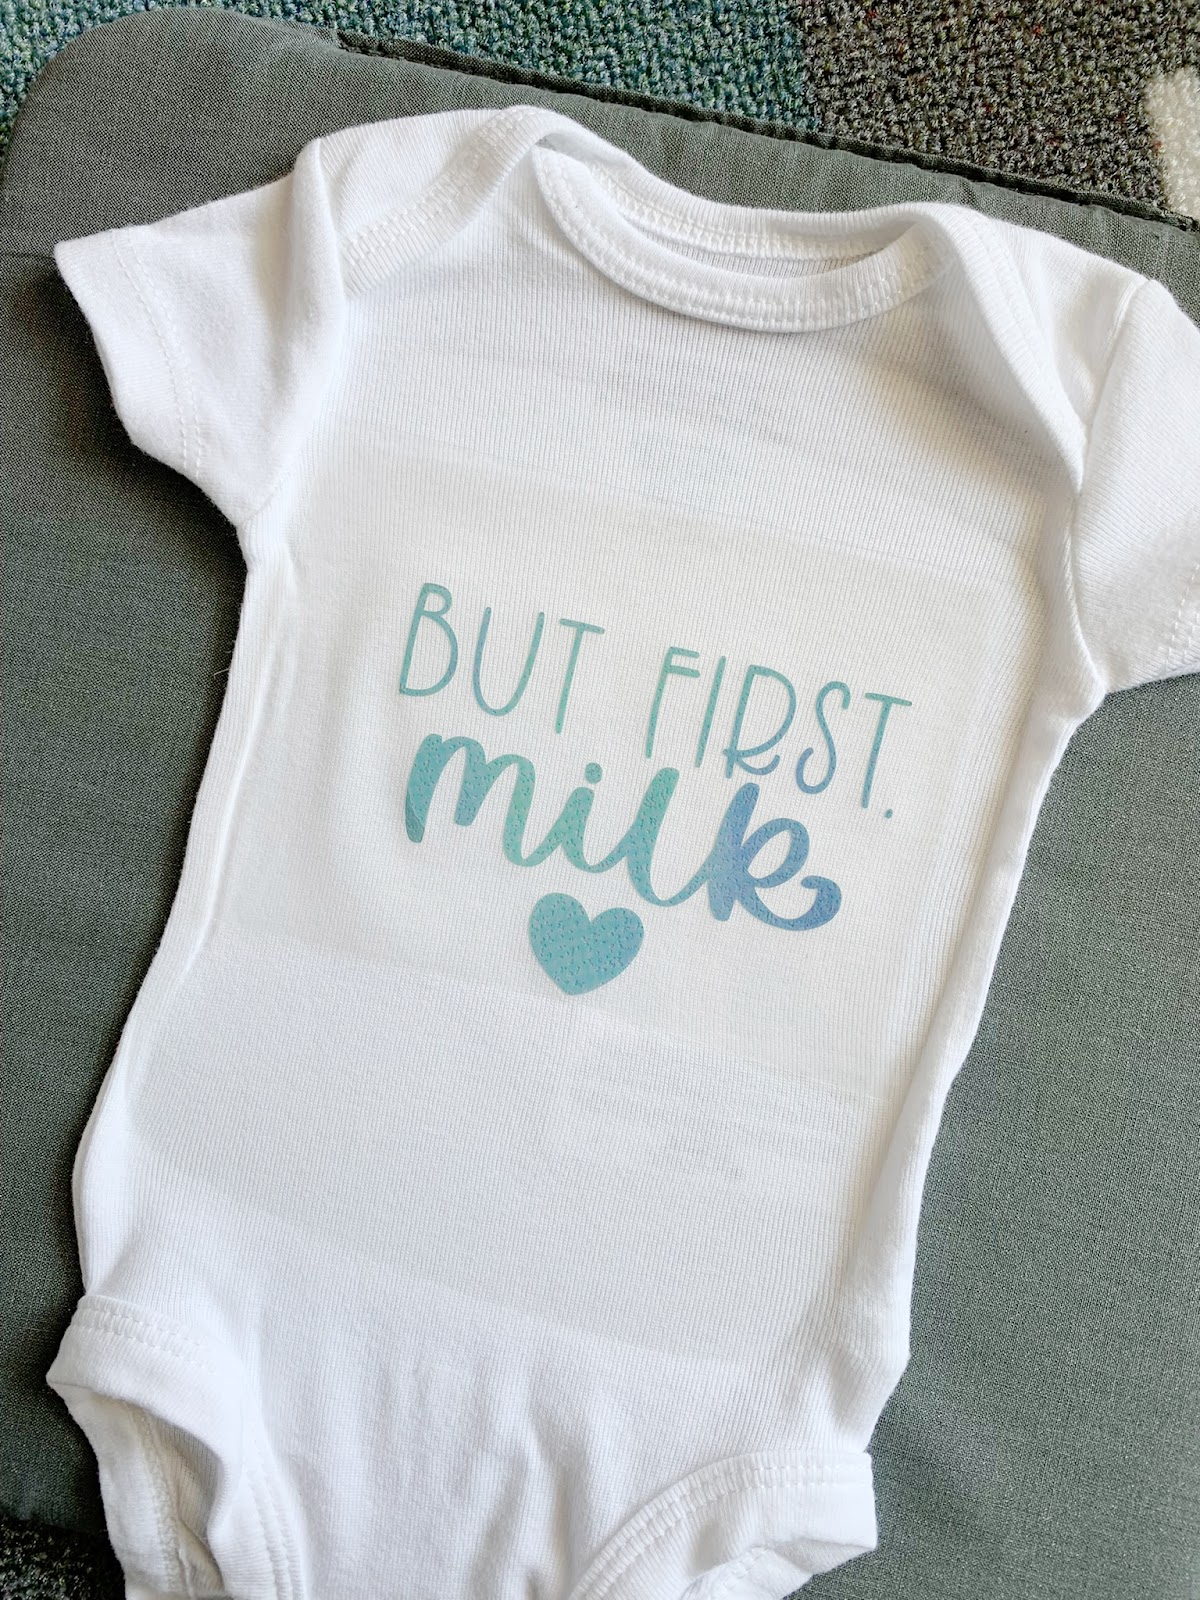
I used Smart Iron-on to make to cute onesies!

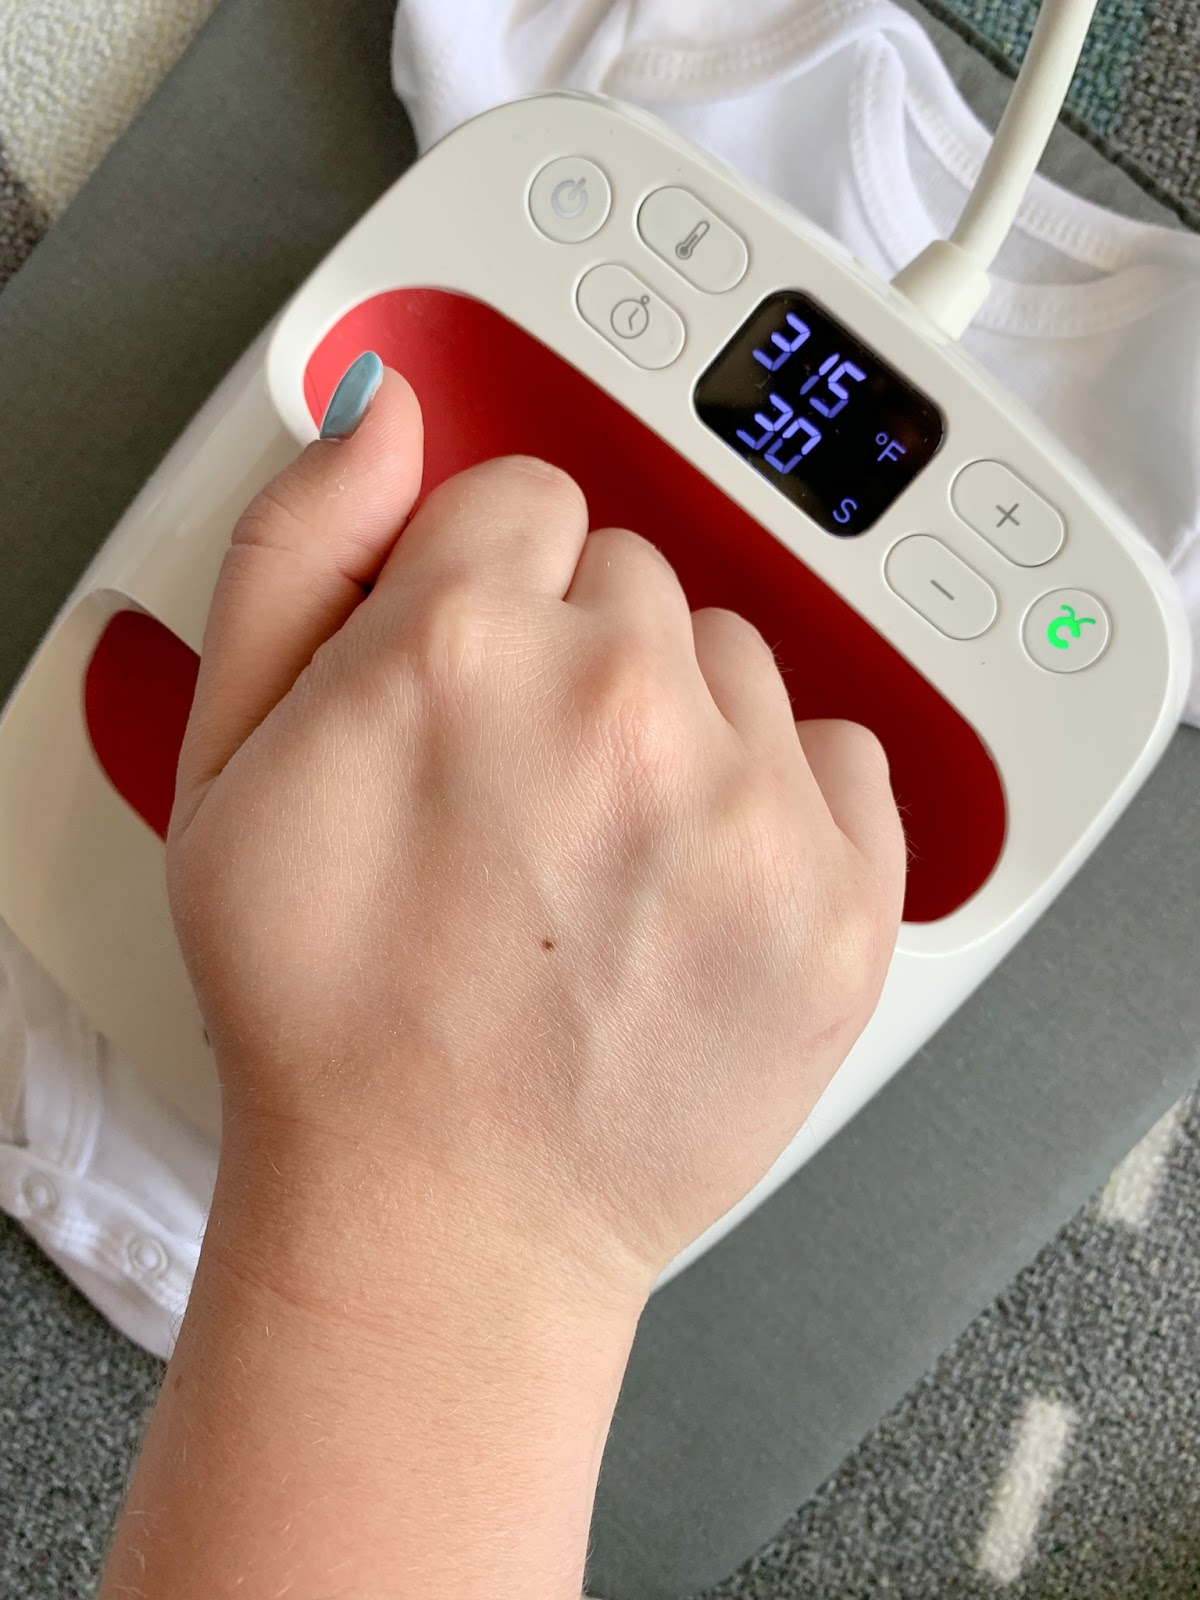
One said but first, milk and the other one said Oh Baby!
You can get those cute onesie files in Design Space by clicking here.
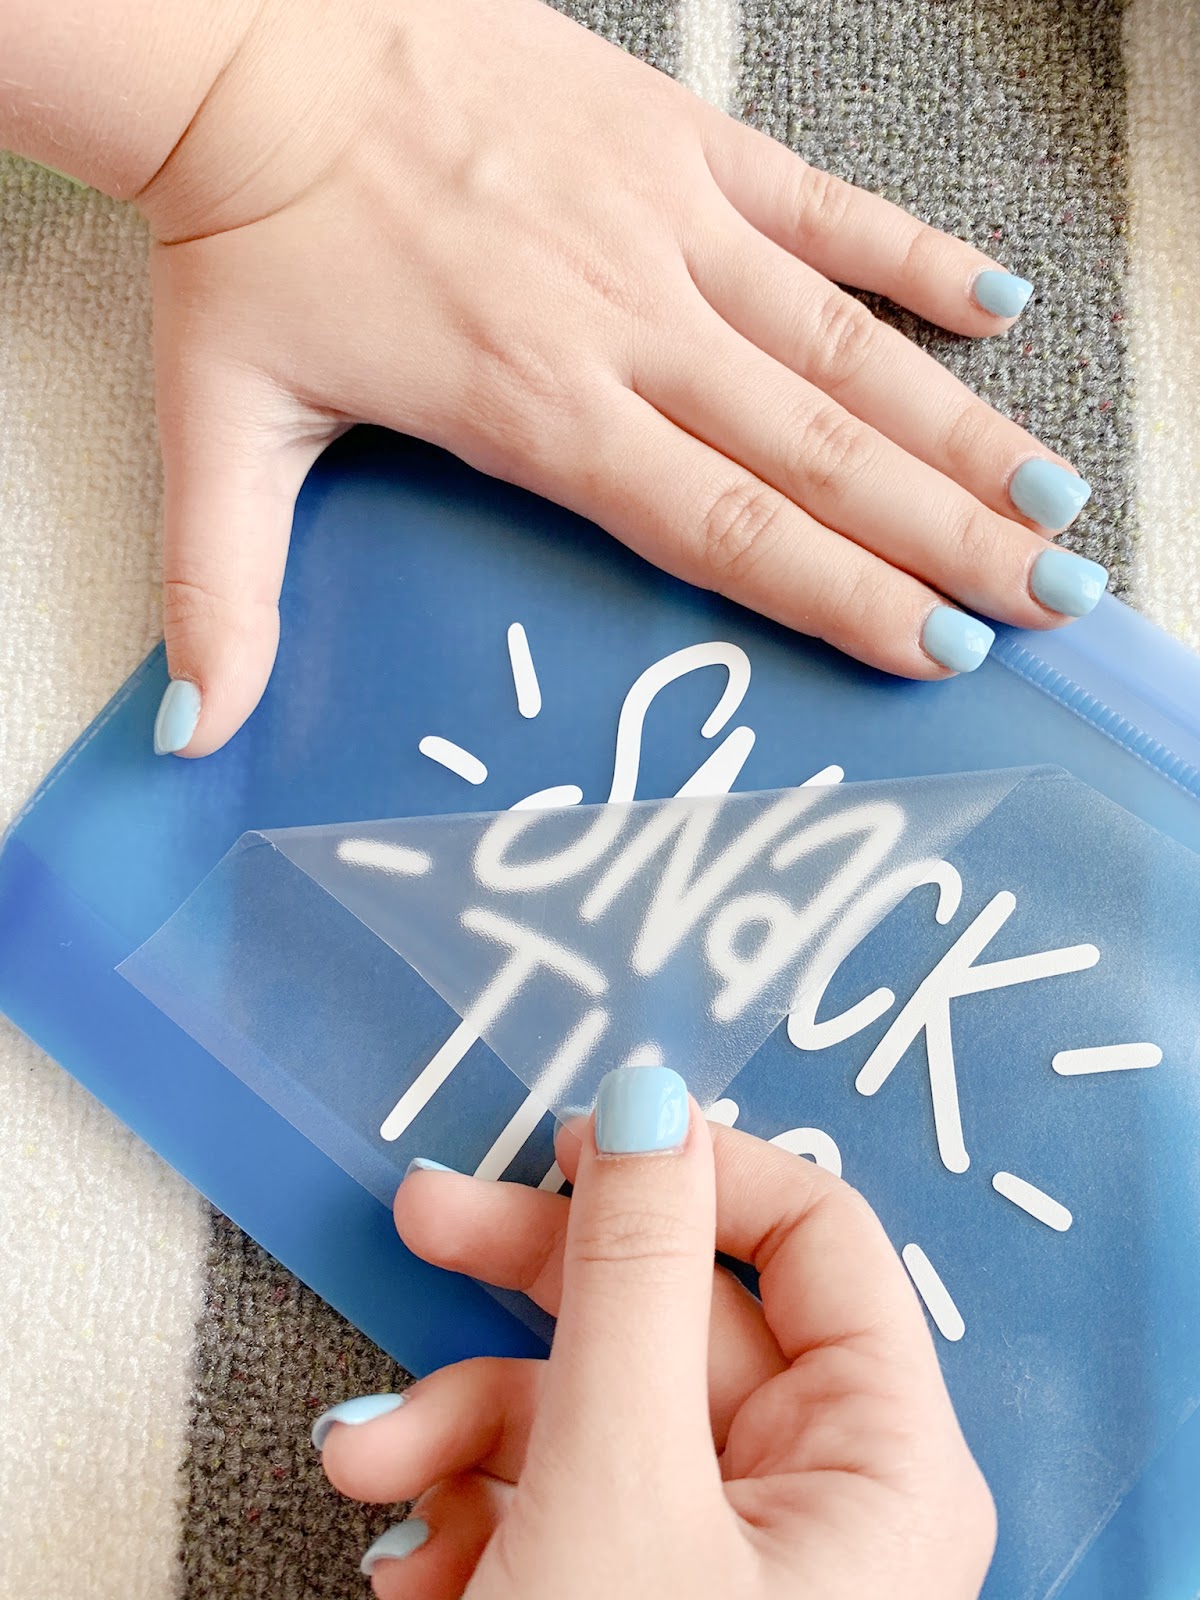
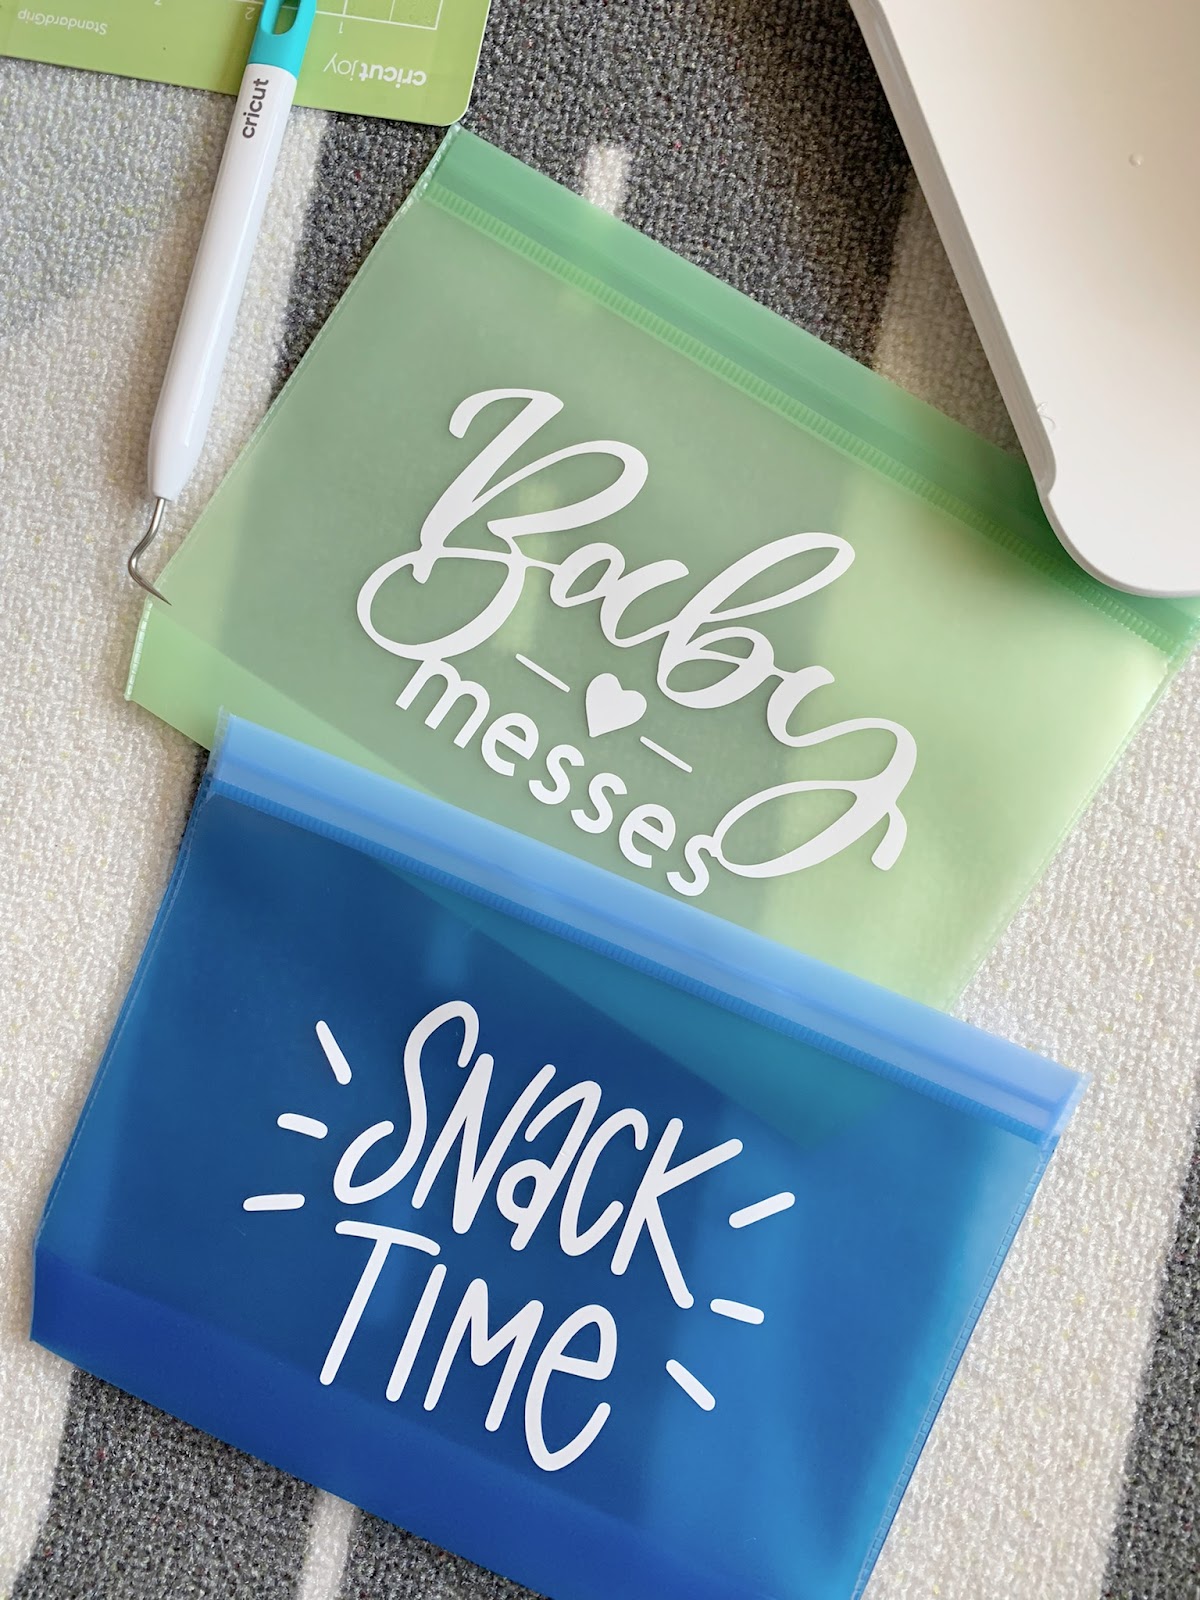
I found some cute reusable baggies in the dollar spot at our local store, and I thought they’d make the perfect snack time bag and baby messes bag! So I cut out some cute vinyl again using designs in Design Space, permanent white vinyl & my Cricut Joy.

So easy! Annnnnd so satisfying! haha! ;)
I also made a cute DIY baby banner! You can get the Design Space cute file right here to make one too!

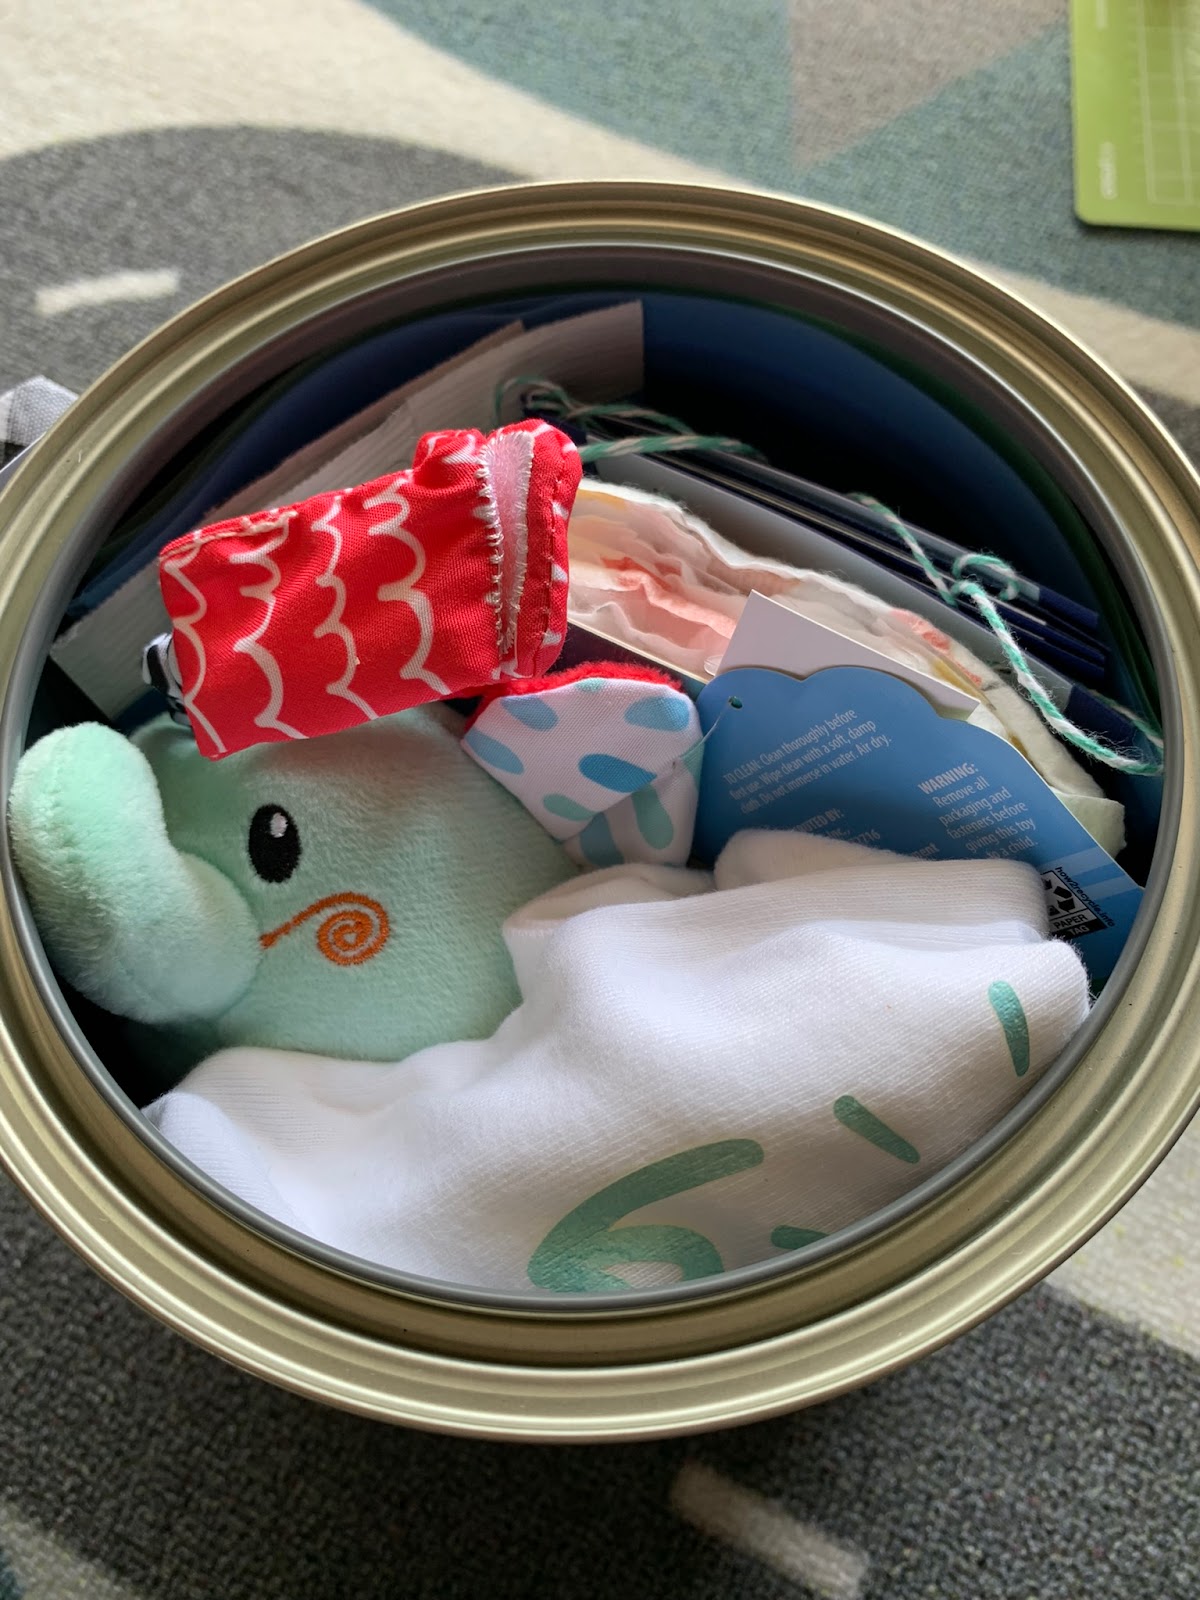
Now it’s time to fill that tin with everything you need for a baby shower!

I put in some toys, diapers, wipes, banner, reusable bags & the onesies.
What’s great about this baby shower idea is that you can personalize it any way you’d like to! :)
Next, seal the lid with a tiny hammer, add some ribbon & tie on the paint can opener.
Now it’s time to mail this baby shower can off to baby Finnley & his momma! :)
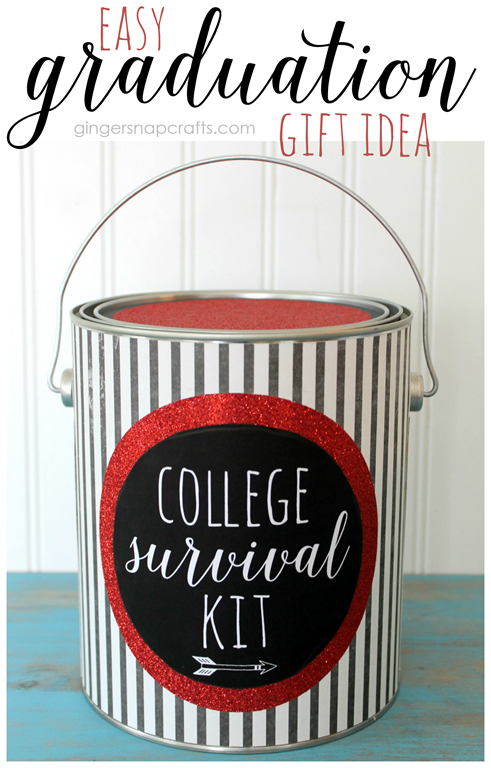
Check out these other paint tin ideas! Do you have any others? I’d love to hear!

Wondering why you should only use Cricut brand materials? Then check out this post. :)
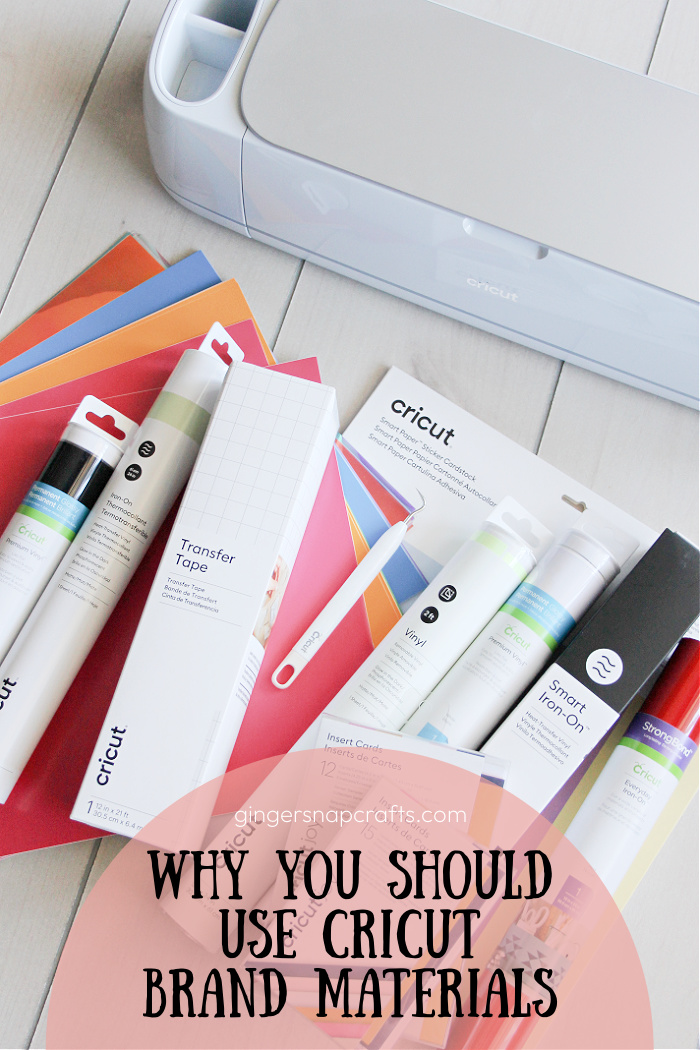
Why You Should Use Cricut Brand Materials
Connect with me on facebook or instagram.
Question or comment? Shoot me an email at ginger@gingersnapcrafts.com. :)
Thank you so much for stopping by my blog!
If this is your first time visiting, I’d love to keep in touch.

