
Good morning! All the Christmas décor is down, and I’m feeling like I have a fresh start! How about you? Which part of your house are you tackling first? The entry way is a great place to start because the entry way is the very first thing people see when they come into your home. It is also the place where your family is coming and going. It needs to be a place where you can have a spot for shoes, backpacks & coats, and it needs to look cute & organized at the same time. That can be a challenge. Trust me! I know. ;) Let me show you how you can tackle this area in our home with this easy shelf & hooks DIY project. Let’s get started! :)

First, let me show you the before. As you may know, we just built and moved into a brand new home a year & a half ago. This is what our entryway looked like when we moved in. Yep! A blank slate! :)

Let me show you an easy way to add some hooks and a shelf to your entryway.
You will need a few supplies:
1x4 board
1x8 board
piece of wood trim
table saw
nail gun
nails
drill
wood screws
stud finder
level
hooks
sander
sandpaper
wood filler
caulk (paintable)
caulk gun
painter’s tape
paint
paint brush
***Use extreme caution and common sense when using power tools. Follow all manufacturer’s instructions, wear safety gear and build at your own risk.***
First, measure your space. You will need to cut a 1x4, a 1x8 and piece of wood trim to fit. Our space was a little bit over 8 feet. Yours might be shorter or longer. Sand your wood pieces well with a hand sander. Using the nail gun, nail the 1x4 piece to the 1x8 (pictured below).

Next, you will use a stud finder and mark each stud on your wall with a pencil. This is important! You want your hooks to be able to hold everything from coats to heavy backpacks. So, you are going to want to screw your shelf into the studs.

Next, you will place your shelf into place on your wall. This in a 2 person job, even though only one is pictured below. :) Use a level to get everything just right and straight.

Next, you will use wood screws and a drill to attach this shelf to the wall. Tip: Screw the screws just under the top 1x4 shelf. When you nail your trim piece in place, all the screws will be hidden!

Then using a nail gun, attach the trim piece just under the 1x4 shelf.

Fill, in your nail holes with wood filler. Let dry & then sand. FYI: We popped a few nails in along the bottom of the 1x8 just to keep it all nice and snug. Next, use a caulk gun and paintable caulk to fill in cracks or spots the boards meet. This will give it the shelf a nice built in look. Once everything has dried, tape off your shelf and then paint. I did two coats of trim paint, letting it dry between coats. After you paint the last coat, remove the painter’s tape & let dry.

Next, I added some wallpaper along the bottom half. This step is totally optional! :)

Then we added the hooks. I found these hooks at Home Depot.

All done! :)

Do you have a spot in your house to add this cute shelf & hooks? I promise it’s a lifesaver & keeps everything so organized & neat. :)

Let me know if you try it out! I’d love to hear. :)

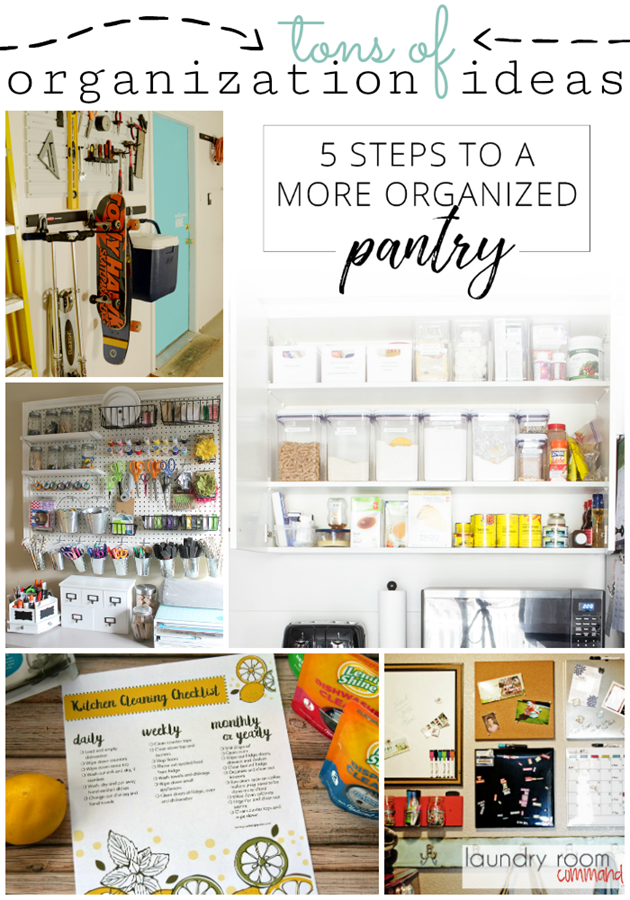
Enjoy these other organization tips. :)

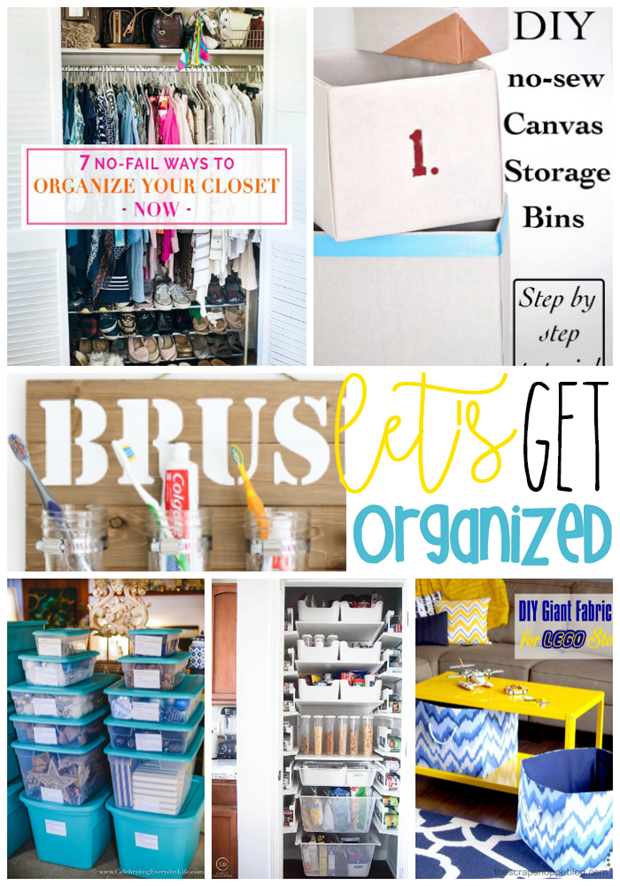
Let's Get Organized! Tons of Ideas CLICK HERE :)
Connect with me on facebook or instagram.
Question or comment? Shoot me an email at ginger@gingersnapcrafts.com. :)
Thank you so much for stopping by my blog!
If this is your first time visiting, I’d love to keep in touch.

