
This is a sponsored conversation written by me on behalf of Cricut. The opinions and text are all mine. Affiliate links are used. Thank you for supporting Ginger Snap Crafts.
Good morning! I am so excited to tackle one of the most common questions I get asked about my Cricut. What is the best beginner project to start with when using a Cricut machine? Annnnd if you know me at all, you know that my favorite (and the easiest project to start off with!) would be vinyl with iron-on being a close second. So, I decided to tackle not one but two baseball inspired crafts that would both be a great (& easy!) beginner craft to tackle, if you just purchased a Cricut machine. One project uses vinyl ,and the other one uses iron-on. Let’s get started! :)


Five reasons why I think vinyl & iron-on make perfect first time projects with your Cricut Machine:
1. Both vinyl and iron-on are easy to work with.
2. The variety of projects you can make with both of these materials is endless.
3. You can find so many colors (& even patterned & glittered!) vinyl & iron-on to use!
4. Vinyl & iron-on projects are quick projects to tackle.
5. You’ll get perfect results every time once you get the hang of it! :)
First up, let’s make this cute baseball sign. :)

For this project you will need:
1x6 board, cut to 6 inches
stain or paint
Cricut Explore Air 2 or Cricut Maker
Cricut vinyl (red & white)
Cricut Transfer Tape
Cricut BrightPad (optional)
weeding tool
Cricut StandardGrip Mat
this Design Space file
First, you will open up this design in Design Space, and then send it to your Cricut machine to cut out. Be sure to adjust your settings to cut vinyl.

TIP: When removing your vinyl, remove the mat from the vinyl to prevent the vinyl from curling.

Next, you’ll cut around the design. Save the unused vinyl to use on another project. FYI: Vinyl scraps are great to use with the Cricut Joy. I keep all my scraps in a box in my craft room.

Next you’ll remove the excess vinyl. I find removing it at a diagonal works best. Slowly pull it back, leaving your design behind.

Then you will use a weeding pick to remove all the smaller pieces of vinyl left behind like inside the o’s and e’s. Using a lightboard like the Cricut BrightPad can help with this! :)

Since this design had two colors of vinyl, I needed to layer them. I did this using transfer tape. First, I laid the transfer tape over the red vinyl & removed it from the backing paper, and then I carefully laid this over the white vinyl. Trim around the edges.

Next, you’ll flip it over & carefully remove the backing paper from the whole design.

Carefully place your design where you’d like it on your board. Rub into place using your hand or tool. Then slowly remove your transfer tape at an angle leaving your design behind.

Removing the transfer tape is so satisfying! It’s actually my favorite part of the whole process! :)

Alright, let me show you how to make this cute baseball tee. :)

For this project you will need:
Cricut Explore Air 2 or Cricut Maker
Cricut Iron-on (orange)
Cricut StandardGrip Mat
100% cotton tee
Cricut EasyPress 2
Cricut EasyPress mat
this Design Space file
First, you will cut your design (the same way we did the vinyl project) using your Cricut Machine. TIP: If you have any words on your design be sure to mirror it before you cut. With this design, I didn’t worry about that. Also, make sure the shiny side is down when putting your iron-on material on your cutting mat. After cutting, weed your design using the weeding pick, and you are ready to go! :)

Then using the Cricut Heat Guide, you will set your Cricut EasyPress 2 to the right settings. Since I was using a 100% cotton tee and using an EasyPress mat I set my press to 315 degrees. I preheated my tee for 5 seconds, laid my design in place, pressed with light pressure for 30 seconds, then flipped it & pressed for 15 more seconds on the back of my tee.

After I let my design cool completely, I gently pulled back the backing leaving my design on the tee.

That’s it! By the way, Cricut Everyday Iron-on outlast 50 washes. So, this tee will last wash after wash. It will probably last past baseball season! Do wait 24 hours before washing for the first time though! :)
Are you ready to tackle your first Cricut project?
Do you want to try vinyl or iron-on? Or maybe another material?

For even more vinyl & iron-on project ideas, click the picture or links below. :)
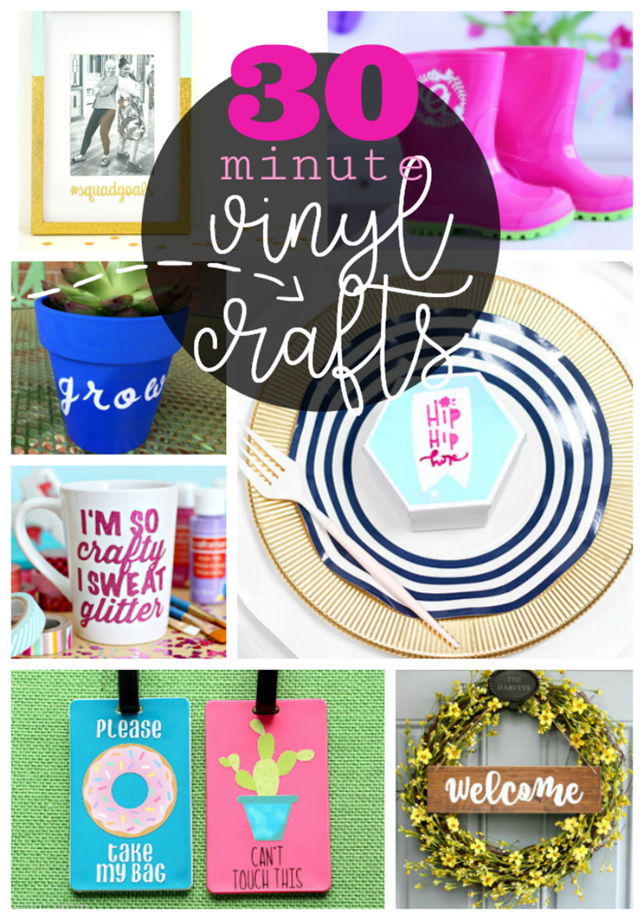
30 Minute Vinyl Crafts with Cricut

Easy Iron-on Projects with Cricut
If you are still deciding which Cricut machine would be right for you, be sure to check out this post.
If you still have questions, please let me know. I’d love to help! :)

Connect with me on facebook or instagram.
Question or comment? Shoot me an email at ginger@gingersnapcrafts.com. :)
Thank you so much for stopping by my blog!
If this is your first time visiting, I’d love to keep in touch.

.
