
This post is not sponsored but affiliate links are used. Thank you for supporting Ginger Snap Crafts.
Good morning! I am so excited to be participating in Creative Crafts: Quick & Easy Easter Crafts for kids edition this month. This would be a cute project to tackle with your kiddos. My kiddos are older. I’m officially a parent of teens & tweens. Oh my! They don’t stay little long! So how we made this craft with the wood stain & a Cricut EasyPress is a little on the advanced side for younger kiddos, but I have some tips on turning this into an easy craft that even the youngest kiddo could totally pull off! Plus, I’m sharing a link to even more quick & easy Easter crafts & sharing some of my favorite Easter crafts, too. So you will definitely want to check all that out. Buuuut first, let’s get started on these easy DIY Bunny Signs.


For this project you will need:
Cricut Maker or Cricut Explore Air 2
Cricut Patterned iron-on vinyl*
Cricut EasyPress 2
Cricut EasyPress mat
white pom poms
hot glue gun
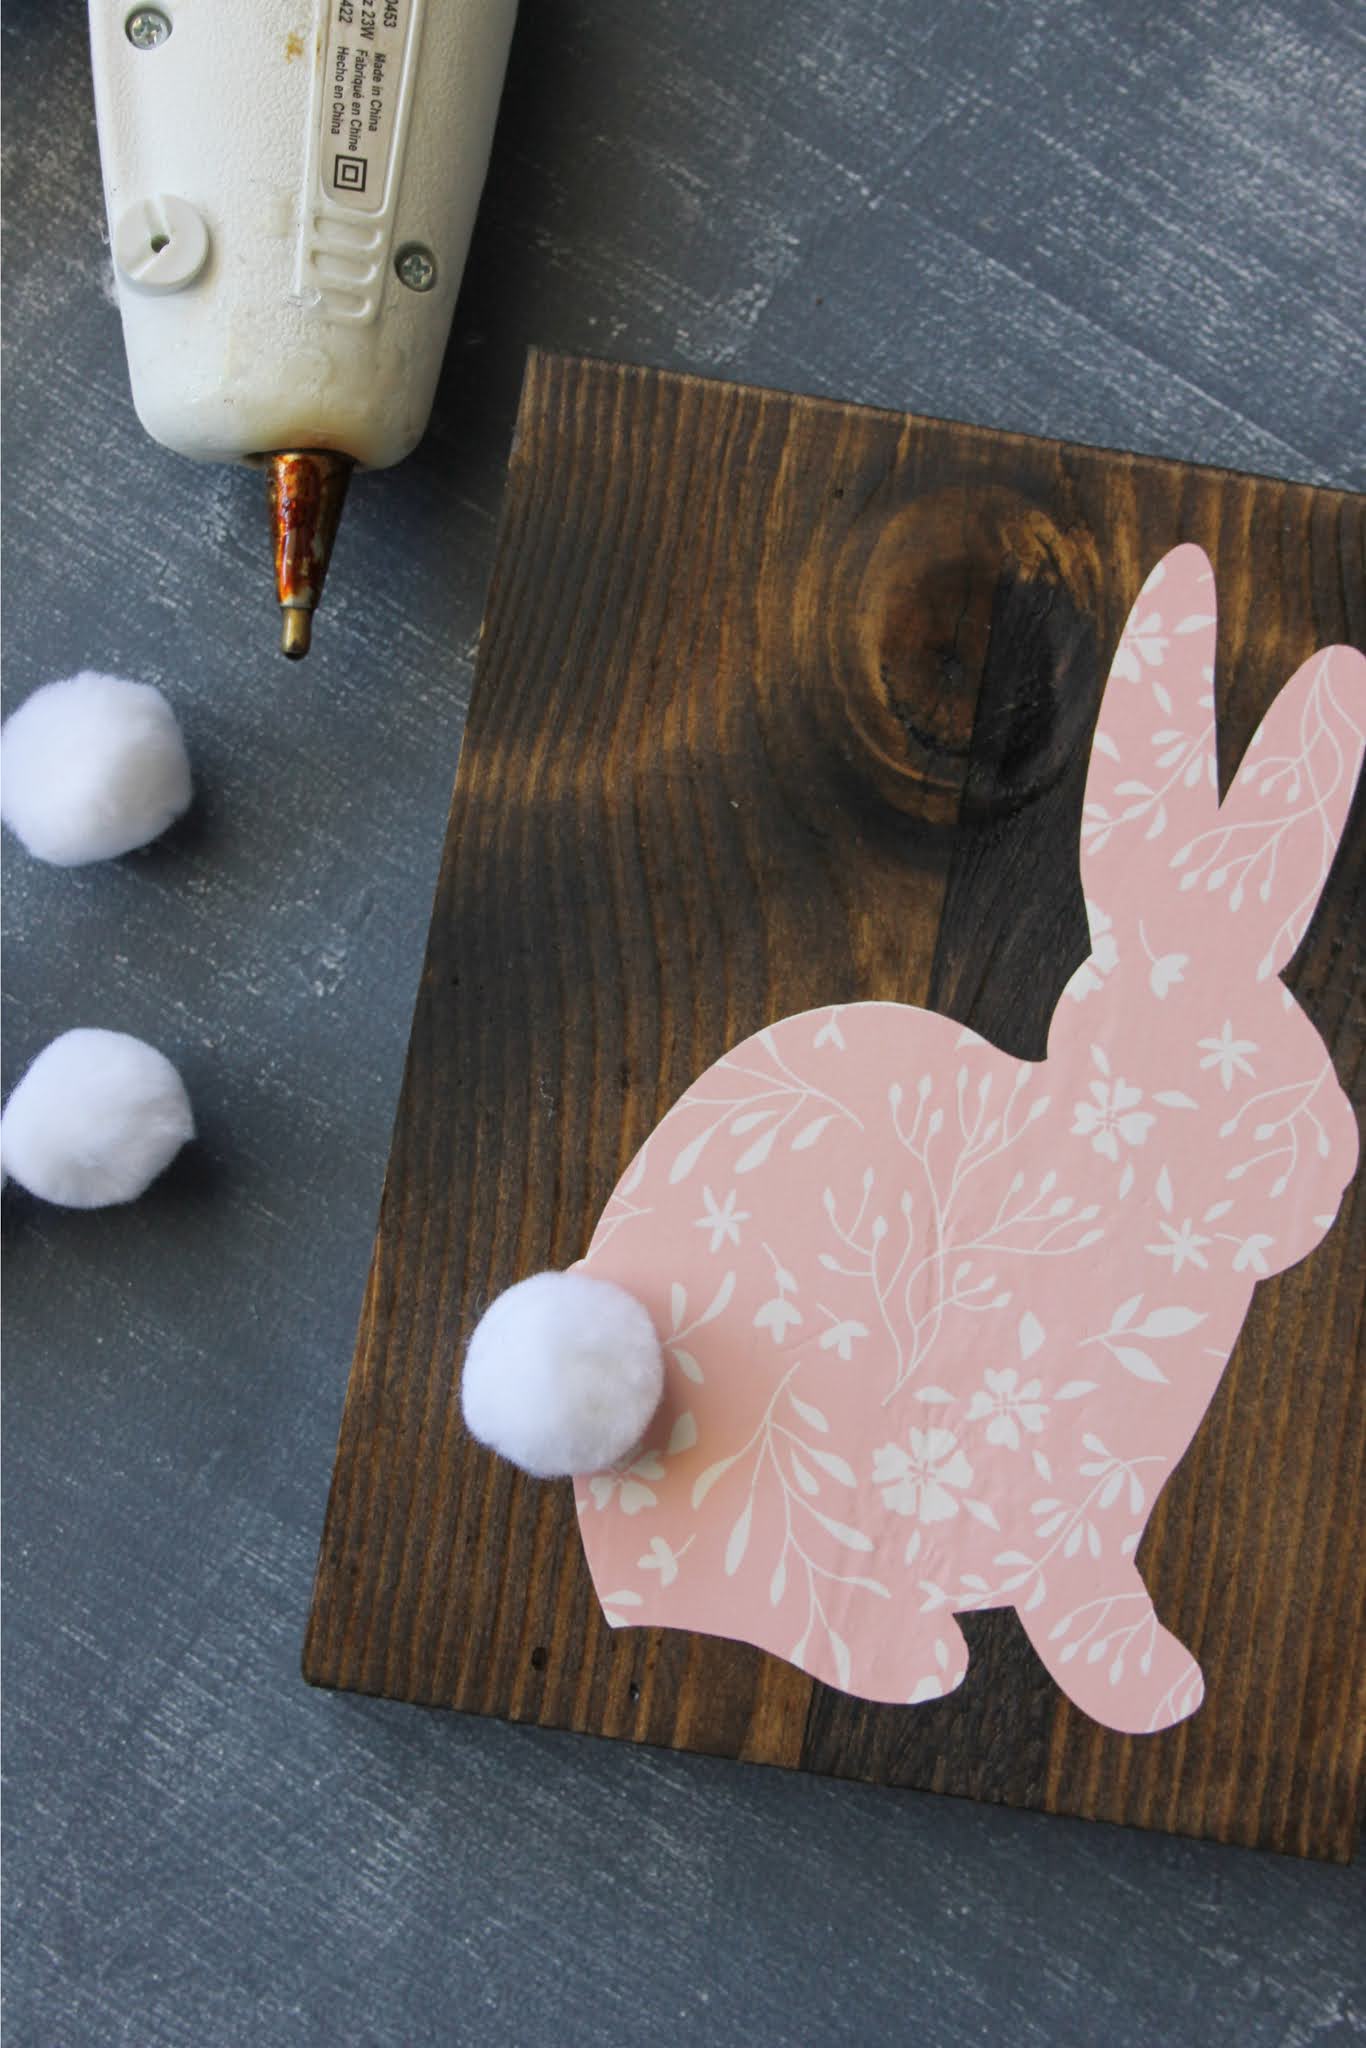
1x6 board cut into 7 inch pieces
wood stain or paint
this Design Space file
*If you have younger kiddos vinyl or patterned vinyl would be the better choice for this project or even floral scrapbook paper would work just as well with a spray adhesive or Mod Podge. Instead of wood stain, let younger kiddos use kid safe paint to paint their boards. Instead of the hot glue, you could use school glue. The possibilities are endless!

First, we stained our boards and let them dry really well. I put my EasyPress mat down first, then I used some scrap fabric on top. I didn’t want the stain to transfer to my mat. I’d rather be safe than sorry! Then I placed our bunny in the middle of the board.

I put another piece of cloth on top of the bunny to protect my EasyPress from any staining, and then I pressed for 30 seconds at 305 degrees. TIP: You can use the Cricut Heat Guide to get just the right settings for whatever material & surface you are working with & on.

Let your design cool completely, then slowly lift off your transfer sheet leaving your design behind. :)

Next, hot glue a white pom pom for your bunny tail. Too cute!
My older kiddos loved making these, and they really do make cute Easter décor! Don’t you think?

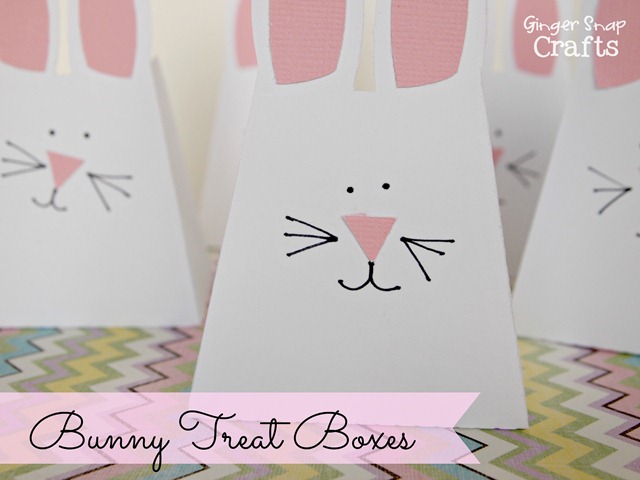
Check out these other fun Easter crafts. Click the picture or the links below to see the tutorial.


Annnnnd be sure to check out some of my favorite bloggers in Creative Crafts: Quick & Easy Easter Crafts for kids Edition. Click the button below. Enjoy! :)
Let me know if you try out our easy DIY Bunny Sign tutorial. I’d love to see yours! :)

Connect with me on facebook or instagram.
Question or comment? Shoot me an email at ginger@gingersnapcrafts.com. :)
Thank you so much for stopping by my blog!
If this is your first time visiting, I’d love to keep in touch.

.
