
This is a sponsored post written by me on behalf of Cricut. All opinions are 100% mine.
Good morning! I know many of you are thinking about getting a Cricut. You might be asking yourself, “Is it easy to use a Cricut?” or “How does a Cricut work?” or “What can I make with Cricut?”. Well, I am here to answer all those questions & more. ;) Annnnd if you have any other questions, let me know those, too! :) The best way to show what a Cricut machine can do is to walk you through a project. I recently made this DIY Teacher Sign (for my brother!) with my Cricut Maker. Let me show you how I made this & answer some of those burning questions! :)

I know when I first began researching cutting machines I had TONS of questions. The first one for me, and the most important was how easy it was it to use. I don’t like super complicated machines. ha! I love something I can plug in & start using right away. With any Cricut machine, I have found this to be the case. Straight out of the box you can be creating in minutes. Design Space (which runs your Cricut machine) is so user friendly. It will literally walk you through each step. :)
For this project you will need:
Cricut Basswood
Cricut Maker
Cricut StongGrip cutting mat
Cricut Knife Blade
Cricut Vinyl
painters tape
paint
foam brush
wood plaque (I found this one at my local craft store.)
hot glue & glue gun
this Design Space file
One of the things that I love about the Cricut Maker is the huge range of materials you can cut with it. For this project I used the knife blade to cut basswood and the standard blade to cut vinyl. So yes, you can cut vinyl to wood and everything in between with the Maker. That’s something to consider when you are shopping for a machine. :)

Soooooo how does a Cricut machine work? Well, let me demonstrate using the knife blade. :) Your Cricut Maker (& the Cricut Explore Air 2) comes with dual cartridges. Meaning you can have two tools going on at once. You can slip in a pen in one and a blade in the other & your machine will draw & cut out at the same time. You can swap these tools in & out depending on what you want to cut. For this project I wanted to cut out “Mr. Ault” using the basswood. So I slipped in my knife blade & we are ready to get started! Let me give you some tips on using this tool. FYI: The Cricut Maker is a more powerful machine than the Explore Air 2. It also had more tools available to use with it like this knife blade. The knife blade only works with the Maker.

First, this blade is sharp! Use caution when handling it. FYI: The new Cricut Tool Organizer is a great way to store all your specialty housings, blades & tips safely & conveniently. :)

Also, when working with the knife blade you will want to use a StrongGrip mat & painters tape. Place your wood on the mat, rub into place & then secure all 4 sides with the painters tape. You do not want your wood slipping during the cut. That would be a mess, & you could possibly ruin your blade.

Next, when deciding what to cut keep in mind that the smallest part of your design needs to be thicker than a pencil. So don’t plan on cutting super intricate designs with the knife blade. Also, cutting with your knife blade is going to take a little longer than cutting vinyl or something similar. The blade will have to make several passes. For this project my knife blade needed to make 20 passes and took about 20 minutes or so to cut. Just be sure to watch your machine closely as it cuts.

Also watch for little pieces of wood that might come loose during the cut. You can see a missing piece below in my design. Gently & carefully remove any loose pieces as your machine is working, so they don’t get in the way of your blade. Also, be gentle when removing your wood pieces after the cut. I accidently broke one of my letters, and had to recut. Ugggh! Not fun!

Also, before cutting be sure to slide your white rollers all the way to the side so your wood won’t get imprinted by the rollers. If you have any questions about the knife blade, let me know! Also, Cricut has a great article all about the knife blade here.

Once I had all my wood letters cut out, I painted them with acrylic craft paint (2 coats) and let them dry. Then I painted my board black, and then I used my Cricut Maker to cut out vinyl for the word journalism and the cute TV camera. Once everything was dry. I applied my vinyl lettering first.

Then I used a glue gun to attach the wood letters.

So cute! I hope my brother loves it! He is starting at a new school this fall teaching journalism. (As you can tell!) :)
The last question I wanted to address is “What can I make with Cricut?” Well, the answer is just about anything you can dream up! :) You can make DIY cards, signs, banners, home décor, holiday decorations, party ideas and so much more! I’m linking some of my favorite Cricut Maker projects below. Click the link under the picture for the full tutorial and the Design Space files. :)


DIY Reusable Back to School Sign
Annnnnd if you are interested in learning more about using other Cricut Maker tools, check out the posts below. :)

Everything You Need to Know About the Rotary Blade

Everything You Need to Know About the Scoring Wheel
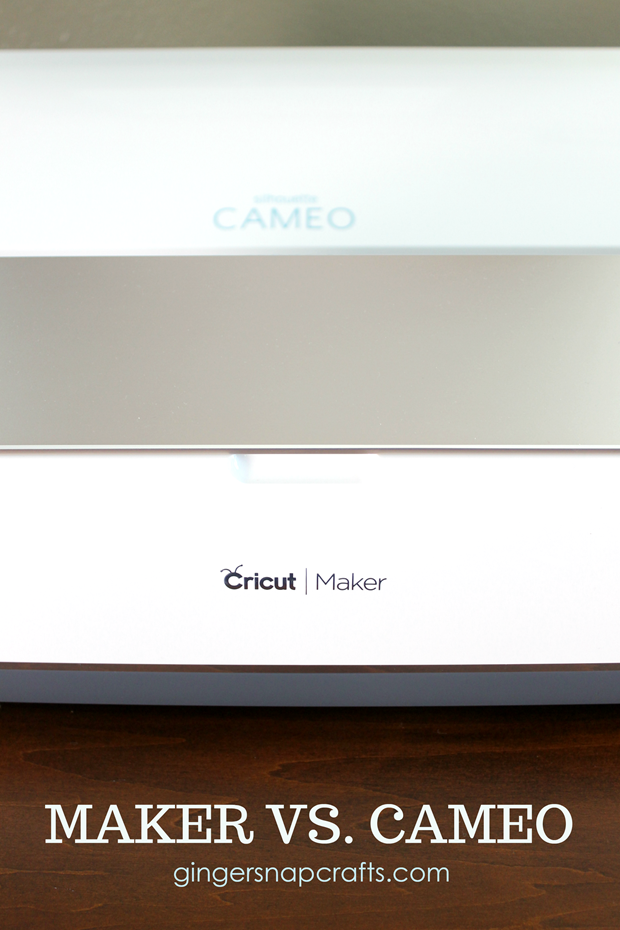
Are you still unsure about what machine to buy?
Then check out this post comparing the Maker to the Silhouette Cameo. :)
I also have a Cricut Question Series that you can check out here.
Connect with me on facebook or instagram.
Question or comment? Shoot me an email at ginger@gingersnapcrafts.com. :)
Pin this post for later! :)

Thank you so much for stopping by my blog!
If this is your first time visiting, I’d love to keep in touch.

.
