Easy Personalized Stockings with My Cricut Explore Air 2 {tutorial}
This is a sponsored conversation written by me on behalf of Cricut. The opinions and text are all mine.
Good morning! I can’t believe the holidays are just around the corner! This year has flown by! I’m kind of in denial that it is already November. So crazy! Buuuut I know that I need to start thinking about Christmas and all the fun holiday festivities that are coming up. We have so many family traditions around the holidays, and my kiddos look forward to them every single year. One of our biggest traditions are stockings. We have a set of stockings that we have been using for a long time, but they don’t really fit our style anymore. I recently found these perfect farmhouse stockings when I was out & about, & I knew they would be perfect for our home. I also wanted to personalize each of them with our names. There is just something special about having your name on something. Don’t you think? That’s why I love having a Cricut Explore Air 2. It makes personalizing things like this so easy! It’s also great for personalized gifts and just about anything holiday related that you can dream up. Let me show you how I made these Easy Personalized Stockings. Let’s go!


For this project, I busted out my Cricut Explore Air 2 machine (again!). :) I LOVE this machine. It’s my go to machine when I’m using vinyl & iron-on especially. (You can see my top 5 reasons why I love this machine right here.) The Explore Air 2 is a work horse, & yet it is so simple to use. I love to keep it simple….especially when I’m crafting. This machine is so easy to use, yet powerful enough to create whatever you can dream up! The Explore Air 2 can cut 100s of materials. It cuts everything from cardstock, vinyl, paper, infusible ink and iron-on to a range of specialty materials like faux leather, felt & more. It has comes with a fine-point blade for cutting a wide variety of your favorite crafty materials. It also has Fast Mode for up to 2X faster cutting & writing. You can also design on the go with your laptop, iPad or iPhone. You can browse & play with thousands of images, fonts & ready-to-make projects in Cricut Design Space. Or you can even create your own design from scratch which I love to do! This machine is ah-mazing! Let me show you how I used it to create these fun personalized stockings.
For this project you will need:
Cricut Explore Air 2
Cricut Iron-on (I used red.)
Cricut StandardGrip cutting mat (green)
Cricut Essentials Tool Set
Cricut EasyPress Mini
Cricut EasyPress Mat
stockings (Make sure they can be used with an iron!)
this Design Space cut file (You’ll have to change the names though!)

First, I cut out my names using the Explore Air 2 & iron-on.
Don’t forget to reverse your image before you cut.

Next, I weeded my iron-on (removed the excess iron-on).

Then I used my weeding tool to remove all the remaining little pieces.

I cut the names apart, & now it’s time for the fun!
Let’s apply these names to the stockings! :)

Since most of my names were pretty small I busted out my Cricut EasyPress Mini.
Isn’t it cute?

It’s the perfect size for small projects like these! :) First, you’ll place the iron-on where you’d like it. You can find the EasyPress Heat Guide right here.

I gently applied pressure for about 30 seconds.

Then I carefully removed the backing paper. If your iron-on doesn’t want to adhere, just lay your backing back down & apply heat again. For this project, it was a warm peel. That meant that I needed to remove my backing paper while it was still warm to the touch. The EasyPress Heat Guide will let you know the settings for your project & if you need to warm peel or cold peel. It really depends on what material your are using &what type of iron-on material you are using. Always check those settings! You can do that here.

I repeated those steps making a stocking for everyone in our family. This is just a few of them! I made 8 in all. I love how they turned out! They almost look hand lettered in a way.

Check out this list of just *some* of the materials you can cut with your Cricut Explore Air 2. Wow!
Just think of all the things you could personalize using some of these materials! What would you personalize or have your personalized with your Cricut Explore Air 2? Let me know! :) Check out some more personalized ideas below. Click the link below the picture to see the full tutorial. :)

Personalized Christmas Pajamas
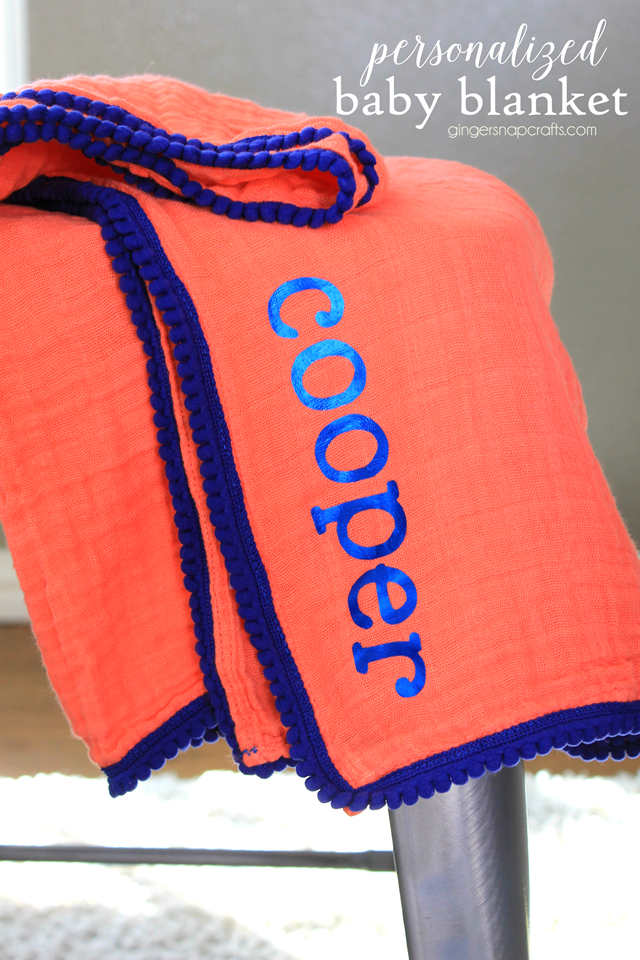
Personalized Baby Blanket

Personalized Family Name Signs
Be sure to check out this post to see why I love my Cricut Explore Air 2. :)

5 Reasons Why I Love My Cricut Explore Air 2
Let me know some of your favorite holiday traditions. I’d love to hear. :)

Connect with me on facebook or instagram.
Question or comment? Shoot me an email at ginger@gingersnapcrafts.com. :)
Thank you so much for stopping by my blog!
If this is your first time visiting, I’d love to keep in touch.

.


