
This is a sponsored conversation written by me on behalf of Cricut. The opinions and text are all mine.
Good morning! A few weeks ago I introduced you to the brand new Cricut EasyPress Totes. They are so cute! They are perfect for toting around your Cricut EasyPress which makes it easier than ever to craft! Yay! ;) Today I would love to show you how I used some Cricut Foil Iron-on & my EasyPress 2 to make these cute customized graduation napkins. My daughter graduates in 5 weeks! Eek! Let’s get started! :)

I’ve used iron-on on wood before & of course, I’ve used it on tons of tees & totes, but I was excited to try it on something new ~ paper! Annnnnd it worked like a charm. Let me show you how! :)
For this project you will need:
this Design Space file
paper napkins
Cricut Iron-on Foil, gold
Cricut Maker (or Cricut Explore Air 2)
essentials tool set
EasyPress 2 (I used the smallest one.)
EasyPress mat
EasyPress tote (optional)
First, I opened up these two Design Space images in Design Space. I liked the hat on the left better than the hat on the right, & I wasn’t crazy about the stars. So, let me show you how I combined these two images. :)

First, I hid the stars, by clicking the little “eye” on the right hand side of the screen.

To get rid of the hat, I clicked the contour button on the lower right & then turned cut off for the hat.

Next, I slid the other hat over to where I wanted it. Selected all & attached these two images together.

Then I sent the image to my Cricut Maker to cut out. Remember to put the shiny side of the paper down on your mat & mirror your image before you cut!

Here’s a close up of the Foil Iron-on. It’s so fun to work with, and comes in so many colors. I used gold for this project. TIP: I love buying these sampler packs, so I have lots of colors on hand.

Next, I weeded the iron-on.


Then it was time to bust out my EasyPress 2. ;) I store all my EasyPresses in tote bags from Cricut. I just love these bags! :) I don’t have a craft room, so these totes are used for storage, and when it’s time to use my EasyPress 2 it makes it super easy to grab. I just love them! It keeps all my iron-on things nice & organized.

To use foil iron-on on napkins, you’ll need to set your EasyPress to 210 degrees for 10 seconds.

Put your napkin on your EasyPress mat, & then place your foil iron-on decal where you’d like it to be.

Press for 10 seconds. Flip your napkin over & press for 10 more seconds.

You’ll want to warm peel (which means remove your backing sheet while it’s still warm). All done!

Cute, huh? :) Imagine all the possibilities with this one!

Check out these other fun graduation ideas! Click the link below the picture. :)

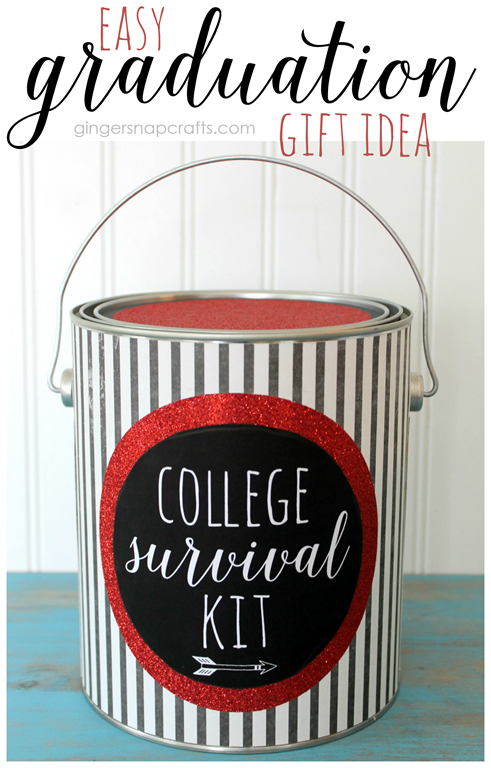

15 Gift Ideas for Your Graduate
Annnnnnnd don’t forget to check out the all new EasyPress totes. I shared all the details in the post below.

Click here to meet the all new EasyPress totes! They are cuuuuuute! :)
Connect with me on facebook or instagram.
Question or comment? Shoot me an email at ginger@gingersnapcrafts.com. :)
Thank you so much stopping by my blog!
If this is your first time visiting, I’d love to keep in touch.

