
Thank you so much to Fairfield World for supplying the products for this post, and to Laura Kelly Designs for organizing this fun blog hop & giveaway. :) Affiliate links are used in this post. Thank you for supporting Ginger Snap Crafts. #fairfieldworldpatioparty
Good morning! I am so exciting to be partnering with some of my favorite bloggers & brands to bring you this fun patio party blog hop full of ah-mazing DIY projects that you can use on your front porch, back porch or patio. For my project, I decided to make this cute DIY State Pillow using the knockout method. Let me show you how I did it! Oh! Annnnnd you’ll want to read all the way to the bottom of this post because I have a giveaway! Eek! :)

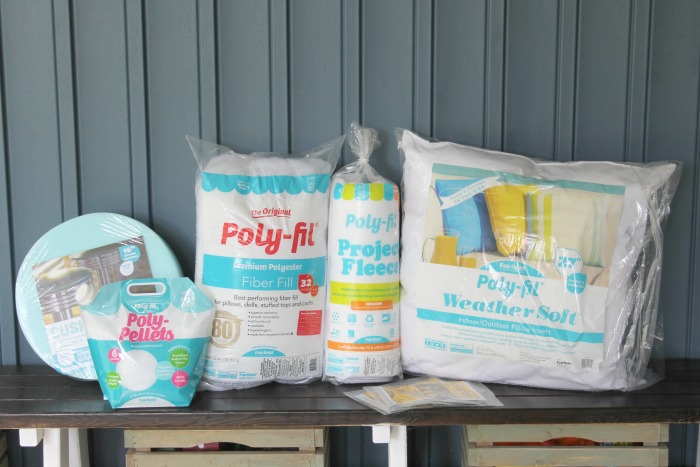
A huge shoutout to Fairfield World for surprising me with this huge box of goodies! Thank you!
Alright, let me show you how to use the knockout method with iron-on!

For this project you will need:
a pillow cover
Poly-fil Fiber Fill
patterned iron-on
red iron-on
Cricut machine
this design in Design Space
Cricut EasyPress
Cricut EasyPress Mat
First, you will cut out your design with your Cricut machine. I used the slice tool to make the word Arkansas in red vinyl. It fits perfectly in the knockout spot on the patterned vinyl. TIP: Don’t forget to mirror your image before cutting out your design. :)

The patterned iron-on goes on at a higher temperature than the regular iron-on.

So, I applied that first at 340 degrees for 30 seconds
and then I flipped it for 15 more seconds using an EasyPress.

Patterned iron-on is cold peel. So I waited for it to cool,
and then I carefully removed the backing paper.

Next, I put the word Arkansas in it’s spot and lined it up the best I could.

TIP: Be sure to put the backing paper from the patterned iron-on back
on over the entire design before applying the heat again.

I applied pressure for 30 seconds at 315 degrees and flipped it for an additional 15 seconds on the back.
Then waited for everything to cool and removed the backing papers. So easy, right? :)

Oh! I love how this pillow turned out! Makes me want to say Woooooooo Pig Sooie! ha! ;)

Pin this post for later! So you can try the knockout method, too! :)
After I had my pillow cover finished, I stuffed it with Poly-fil fiber fill using their handy stuffing tool.

It made it super easy to get the filling all the way into the corners.

Then I used this HUGE Poly-fil Weather Soft indoor/outdoor pillow insert to stuff a cute striped pillow cover that I found on Amazon. I love pillow inserts and how easy they are to change in & out for the seasons. I used one here when I made a cute holiday pom pom pillow for Christmas.

You just stick in the insert & zip up your pillow. Can’t get any easier than that! :)

I really love this little comfy spot on our back patio. Makes me want to curl up with a book. :)

Enjoy these other outdoor projects & tips. Click the link below the picture for the tutorials. :)


How to Grow & Care for Petunias


Be sure to follow the #fairfieldworldpatioparty hashtag for more projects. Enter the giveaway below!
Connect with me on facebook or instagram.
Question or comment? Shoot me an email at ginger@gingersnapcrafts.com. :)
Thank you so much for stopping by my blog!
If this is your first time visiting, I’d love to keep in touch.

.
