
This is a sponsored post written by me on behalf of Cricut. All opinions are 100% mine.
Good morning! School starts in exactly one week for my kiddos! Annnnnd this school year looks completely different from any other year we have had before. Crazy times! That is for sure! Whatever decisions you have made for your kiddos, I hope & pray that this school year goes well for you & your family. Annnnd let’s hope for a completely normal & boring school year next fall. :) Our family is starting out virtually for at least the first half of the year. We will see about the later half. I have a senior this year, so I’m hoping he gets a little bit of normal before he graduates. Time will tell! For my two younger kiddos (5th & 8th graders), we have decided to do an online public school & keep them home. This is actually our 3rd year doing this, so I feel like we were a little ahead of the curve. :) One thing that is not changing this year is the use of my Cricut machine! I love the value, versatility & how easy these machines are to use. I use mine all the time! Let me show you how easy it was to make these easy DIY Personalized Back to School Classroom Labels with my Cricut Joy. I also have a quick pencil pouch tutorial for you, too. Annnnd TONS more fun back to school ideas with Cricut. So keep reading! :)


For this project you will need:
Cricut Joy (or other Cricut cutting machine)
Cricut Joy™ Smart Vinyl™ – Permanent (or vinyl scraps that you already have on hand)
Starter Tool Set
Cricut Joy™ StandardGrip Mat, 4.5" x 12" (if you are using vinyl scraps)
Transfer Tape
this Design Space file
Alright, let’s get to this quick & easy organizing project! :)
First, I cut out my labels using my Cricut Joy. I love this little machine. I brought it right into our school room and set it on the desk. Annnnd in a few minutes we were cutting out our labels with NO mat! Eek! :)

After I cut everything out, I weeded it all. Which means I removed the excess vinyl, leaving the words behind. Then I put transfer tape on top of my design. I cut my labels apart with scissors. Now it’s time for my favorite part ~ applying the vinyl! :)

You simply remove the white backing paper and then position your label on the bin. Rub it gently with your hand, and then carefully remove the transfer tape leaving the label behind. Trust me! It’s so fun to do! :) You’ll want to label everything in your house! haha! ;)

I love how everything has it’s spot!

My kiddos can grab what they need, and then *hopefully* put it right back when they are finished. ;)

While I had my Cricut Joy conveniently out, I decided to make one more cute & easy personalized project for our school room. I personalized some pencil bags for my kiddos to use to store some school supplies.
For this project you will need:
Cricut Joy (or other cutting machine)
Zipper Pouch
Cricut Iron-on (I used yellow & purple.)
Cricut Joy™ StandardGrip Mat, 4.5" x 12"
Cricut EasyPress
Cricut EasyPress Mat
this Design Space file
For this project, you will cut out your design using iron-on. TIP: Be sure to reverse your image before cutting these out! Then use the Cricut Heat Guide to apply your design to your pencil pouch. It will tell you everything to do step by step.

For the material I was using I preheated the fabric for 5 seconds, set my design down & gently pressed for 30 seconds. Flipped my project & did 15 more seconds on the back.

Then I cold peeled (waited until the design was completely cooled) before I removed the protective backing from the design.

Leaving a cute design (with a great message!) behind. :)

By the way, my kiddos loved picking out a personalized message just for them to go on their pouch. :)

Remember you can find all the designs & fonts that I used for these back to school projects in Cricut Design Space. Do you have a favorite back to school design in Design Space? Let me know! :)

Check out these other back to school inspired projects that I made with my Cricut!
Click the link below the picture for the tutorial & Design Space files. :)


Back to School Owl Pillow with Infusible Ink

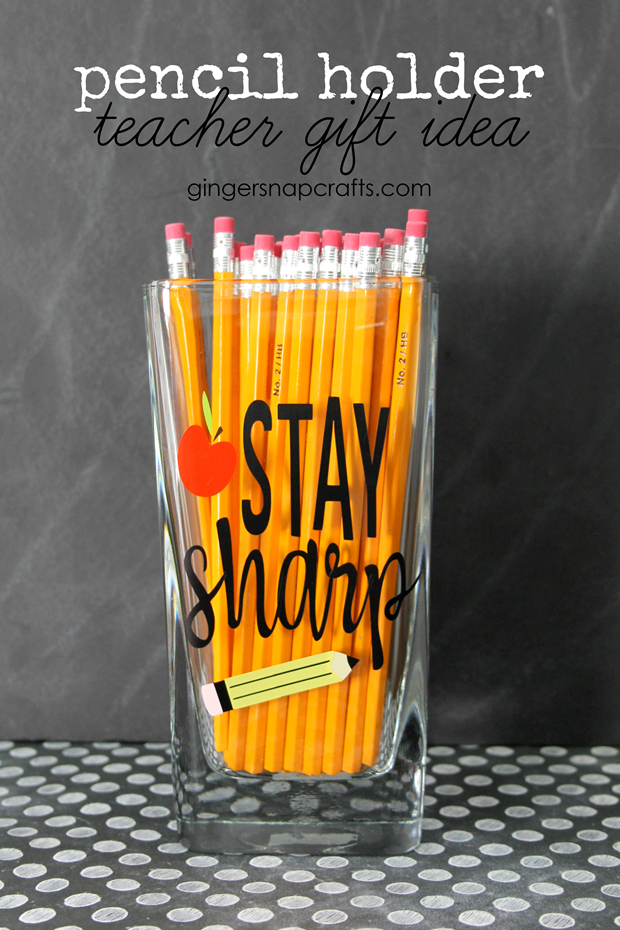
Pencil Holder Teacher Gift Idea

DIY Reusable First Day of School Sign
Annnnnd for even more ways to organize your home with the Cricut Joy, be sure to check out this post!

5 Ways to Organize with the Cricut Joy
Let me know if you have any questions. Please pin the post for later. :)
Connect with me on facebook or instagram.
Question or comment? Shoot me an email at ginger@gingersnapcrafts.com. :)
Thank you so much for stopping by my blog!
If this is your first time visiting, I’d love to keep in touch.

.
