
This is a sponsored conversation written by me on behalf of Cricut. The opinions and text are all mine.
Affiliate links are used for your convenience. Thank you for supporting Ginger Snap Crafts. :) #cricutcreatedGood morning! It’s my most favorite time of the year! The air is getting cool & crisp. I can see a hint of color in the trees. Pumpkins are in the store. Annnnnd all the holidays are coming up! Eek! It’s a crafters dream come true. ha! Annnnd the first holiday coming up is Halloween. I love making cute, simple things for our annual family Halloween party. Annnnd with the Cricut Explore Air 2, I can whip out cute projects in just a few minutes. Today I am excited to share 3 Simple Halloween Projects (starting with these cute Halloween cupcake toppers!) with you ~ all made with my Cricut Explore Air 2. Let’s get started! :)


Before I get to those projects, let me tell you why the Cricut Explore Air 2 is perfect for projects like these! If you love to cut vinyl, iron-on & paper like me, then this machine is the perfect one to go with. It cuts all three of those (and more materials!) beautifully. It also comes in so many colors! I have the mint! I wish I could have one of each color though. ha! ;)

It comes with two tool holders, that you can switch out. I love using pens with mine! :)

It has a turn dial that is easy to use. Just turn it to the material you are working with, and you are good to go!

Alright, let’s get to these fun Halloween tutorials. First up, these cute witch’s feet cupcake toppers.

To make these cute witch’s feet cupcake toppers you will need:
Cricut Explore Air 2
this Design Space project
Cricut cutting mat (green)
scrapbook paper
Cricut vinyl (black)
Cricut transfer tape
coffee stirrers (cut in two)
hot glue & glue gun
small metal brads
First, you will cut out all the pieces using the Cricut Explore Air 2. I cut out the boot with scrapbook paper & the overlay using black vinyl.

I put the black vinyl on top of the scrapbook paper boot.

Then I added a metal brad to look like a buckle on the boot.

Next, I cut some coffee stirrers in half & then hot glued them to the back of the paper boot.

Then simply stick them into the top of some cupcakes. All done! Aren’t they cute??? Looks like a witch crashed landed into the cupcake. ha! ;)

Alright, the next easy Halloween project are making cute tee and body suits using Cricut Iron-on & my Explore Air 2.

There are so many cute designs in Cricut Design Space. It was hard to narrow it down! ;)

To make these cute tees you will need:
Cricut Explore Air 2
Cricut Everyday Iron-on*
Cricut Patterned Iron-on
Cricut EasyPress 2
EasyPress mat
Cricut cutting mat (green)
this Design Space file
tees &/or bodysuits
*Cricut Everyday Iron-on comes with Cricut’s StrongBond™ Guarantee. This means that when Cricut Iron-On is used as directed, you’ll be completely satisfied with the results. If not, they will replace it for free. Yep, seriously! :) Get all the details here.
First, you will cut out all the piece of your design using iron-on. Remember, when you cut out iron-on be sure to reverse your image before cutting. :)

Then I used the EasyPress Heat Guide (that you can find here) to set everything to just the right temperature & time settings.

I simply followed the directions & in a few minutes….
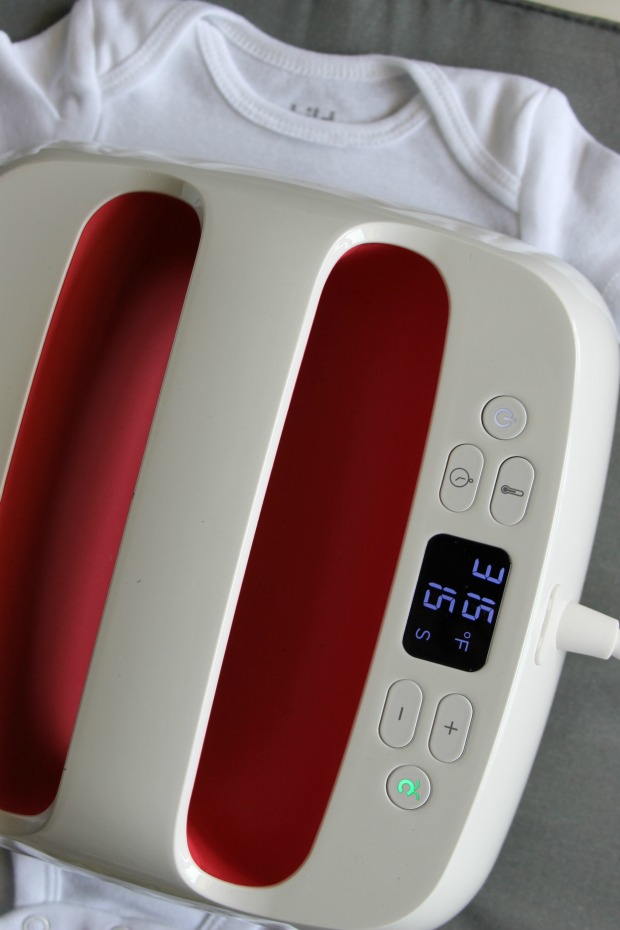
I had a cute personalized tee! I love using iron-on to make tees for just about every occasion. :)

Soooooooo cute! :) Perfect for baby’s first Halloween.

Alright, the last project I’d love to share are these cute Halloween treat bags. :)

To make these cute treat bags you will need:
Cricut Explore Air 2
this Design Space file
Cricut vinyl (black, purple, orange)
Cricut transfer tape
Cricut cutting mat
small paper sacks
treats :)
Vinyl is my absolute favorite thing to cut with my Cricut Explore Air 2. You simply cut it out & apply it your bags. It makes it so easy to make personalized party treat bags that truly look professional! :) It’s also awesome for signs, labels, car decals, wall decor & so much more! I love vinyl! :)

Simply fill your bags with your favorite Halloween goodies, and you have a cute treat bag for your guests.

Let me know what you would make with your Cricut! I’d love to hear. :) Please pin this post for later. :)
Check out these other fun Halloween crafts with Cricut. :)
Monster Feet Trick or Treat Bag


Bob Ross Happy Trees Couple's Costume


Connect with me on facebook or instagram.
Question or comment? Shoot me an email at ginger@gingersnapcrafts.com. :)
Thank you so much for stopping by my blog!
If this is your first time visiting, I’d love to keep in touch.

.
