
This post is brought to you by Cricut. All opinions are my own! Affiliate links are used. Thank you so much for supporting Ginger Snap Crafts.
Good morning! I am so excited about today’s post all about my very first HUGE project with my brand new Cricut Maker 3. I am so excited to share this brand new Cricut Maker 3 tutorial with you on how I made this Giant Hello Sign. Also, in this review I will share all the new features of this brand new machine from Cricut. I will also let you know what my favorite features are & what I am most excited about! Let’s get started! :)


Cricut has a slogan for this new machine….Wildly versatile. Powerfully you. Annnnd I have to agree! This machine is a powerhouse! It is smarter AND faster than ever! Cricut Maker 3 boasts speed, power & precision at up to two times the speed of the Maker and get this…..10 times the cutting force. Eek! What I love though is that your tools you used with the Cricut Maker also work with the Cricut Maker 3. So you don’t have to upgrade everything! By the way….that’s a total of 13 tools (sold separately) for cutting, scoring & embellishing! So awesome! :) The Cricut Maker will cut over 300 different materials including fabric, balsa wood, leather, chipboard and my favorite vinyl. :)
Alright, do you want to hear my most favorite thing about this machine???? Well, actually it’s TWO things. First, using Cricut Smart Materials you can cut with your Cricut Maker 3 WITHOUT a mat! Along with that matless cutting you can now cut up to 12 feet long! Eek! I have been waiting for both of these features for a long time. If you have ever read my review comparing Cricut & the Silhouette Cameo, you know that one of my only wishes was for these two things – the ability to cut without a mat & along with that, the ability to cut longer….much longer. Cricut Maker 3 is really all my crafty/DIY dreams come true! :)
NEW compatible Smart Materials:
Cricut Smart Iron-On
- No cutting mat needed
- Easy to weed and apply
- Wide variety of colors, effects, and material lengths
- No cutting mat needed
- Available in both permanent and removable
- Wide variety of colors, effects, and material lengths
Cricut Smart Paper Sticker Cardstock
- No cutting mat needed
- Skip the glue for hassle-free projects
- Available in a variety of colors

Let’s get to that tutorial for my GIANT hello sign! :)
For this project you will need:
Cricut Maker 3
Cricut Roll Holder (optional….but so handy!)*
Smart Vinyl- Permanent (white)
Cricut Transfer Tape
Cricut Essential Tool Set
wood
sander
wood stain
this Design Space file
* FYI the Cricut Roll Holder keeps rolled material aligned for clean, precise cuts, & it has built in trimmer ensures a nice straight edge every time. :)
For this project, I used Cricut Smart Vinyl Permanent since this sign will be living outside! ;) If your sign will be indoors the removable vinyl would work just as well.

I opened up this design in Design Space, and then I simply sent it to my Cricut Maker 3. Just for reference this image is a whopping 45 inches long by about 10.5 inches wide. Before the Cricut Maker 3 came out you would have to cut this design onto two 24 inch cutting mats and then piece together. Ugh! Now, now problem! Just sent it to your machine, and using Smart Materials you just load your machine & it’s time to go! Yay! :)

BTW…..can I just tell you? This machine is fast! It’s amazing!

Within a few moments my design was cut. I weeded out the excess vinyl.

Annnnnd then applied some transfer tape over the top.
![]()
Now it’s time to assemble my giant hello sign. :) I’ll share how I made my board in just a minute!

To apply the vinyl, flip it over & carefully remove the backing paper
from your vinyl leaving the vinyl on the transfer tape.

Carefully flip it over, position where you’d like. I usually just eyeball it. haha! ;)
Then smooth on the lettering and then carefully remove the transfer tape leaving your design behind.

For my board I used three 1x6 boards cut to about 4 feet long. To hold them all together I used a nail gun and 3 pieces of 1x2 boards cut just a little bit shorter than my board was wide. I sanded it all, and then I stained everything with 2 coats of wood stain. TIP: Let the stain dry completely before applying your vinyl. :)

I love this cheery hello by out front door! :) Annnnnd what a HUGE statement it makes. haha! :)


Connect with me on facebook or instagram.
Enjoyed this post? Never miss out on future posts by following us here.
Enjoyed this post? You might enjoy these other Cricut tutorials as well.
Patriotic Door Hanging Tutorial

DIY Porch Refresh with Cricut Joy


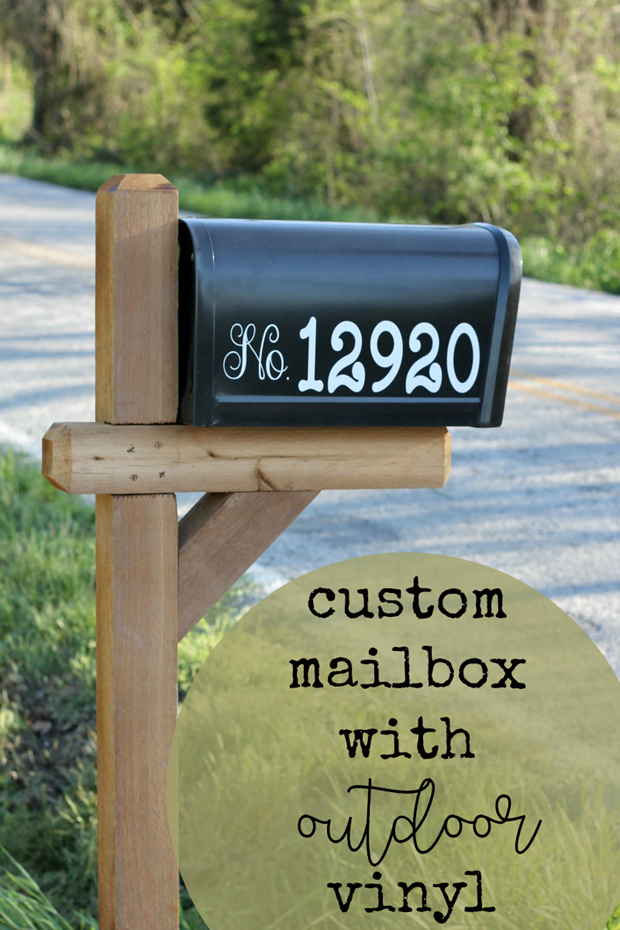
Custom Mailbox with Permanent Vinyl
Question or comment? Shoot me an email at ginger@gingersnapcrafts.com. :)
Thank you so much for stopping by my blog!
If this is your first time visiting, I’d love to keep in touch.

.
