
This is a sponsored post written by me on behalf of Duck Brand. All opinions are 100% mine. #DuckBrand #EasyLiner
Good morning! I have used the Duck Brand® in my home for years. Remember when I reorganized my bathroom using their fabulous Easy Liner® shelf liner. It’s still holding up great after all those years! Anyways, I just received a fun box in the mail full of Duck Brand® liners. Annnnnd with all the new fun patterns, it inspired me to make this fun DIY Door Hanging! Let me show you how! :)


Buuuut first, let me show you what I received in the mail. In my kitchen right now I use the Duck Brand® Smooth Top® EasyLiner®. It is amazing & so durable! It’s a must have in your home. :) Some highlights of Duck Brand® Smooth Top® EasyLiner® are:
- Ideal for cabinets in the kitchen, bath & laundry rooms
- Easy to slide objects across its smooth surface
- Grip bottom keeps liner in place
- Machine washable (Yeeeees!!! I love that!)
I also love the Removable Adhesive EasyLiner®. This liner is perfect for everything from lining your shelves and cabinets to adding a pop of color to your pantry or craft projects. I love that it is removable, too! If you are like me, you like to change it up from time to time. So that’s a huge plus! Some highlights of the Removable Adhesive EasyLiner® are:
- Ideal for covering, decorating, resurfacing & craft projects
- Decorative, removable adhesive
- Wipes clean
Annnnnd I just love all the different options and prints that all of these fun liners come in! So pretty! Check them out below. :)

These prints are just a little too pretty to stay hidden inside a drawer or cabinet! Don’t you think? So, I wanted to display the fun prints for everyone to see. Let me show you how I made this easy & so cute DIY Door Hanging with Duck Brand®.

For this project you will need:
Removable Adhesive EasyLiner®
wood plaque
pink vinyl
cardstock
pencil
hot glue gun & glue
floral wire
ribbon
scissors
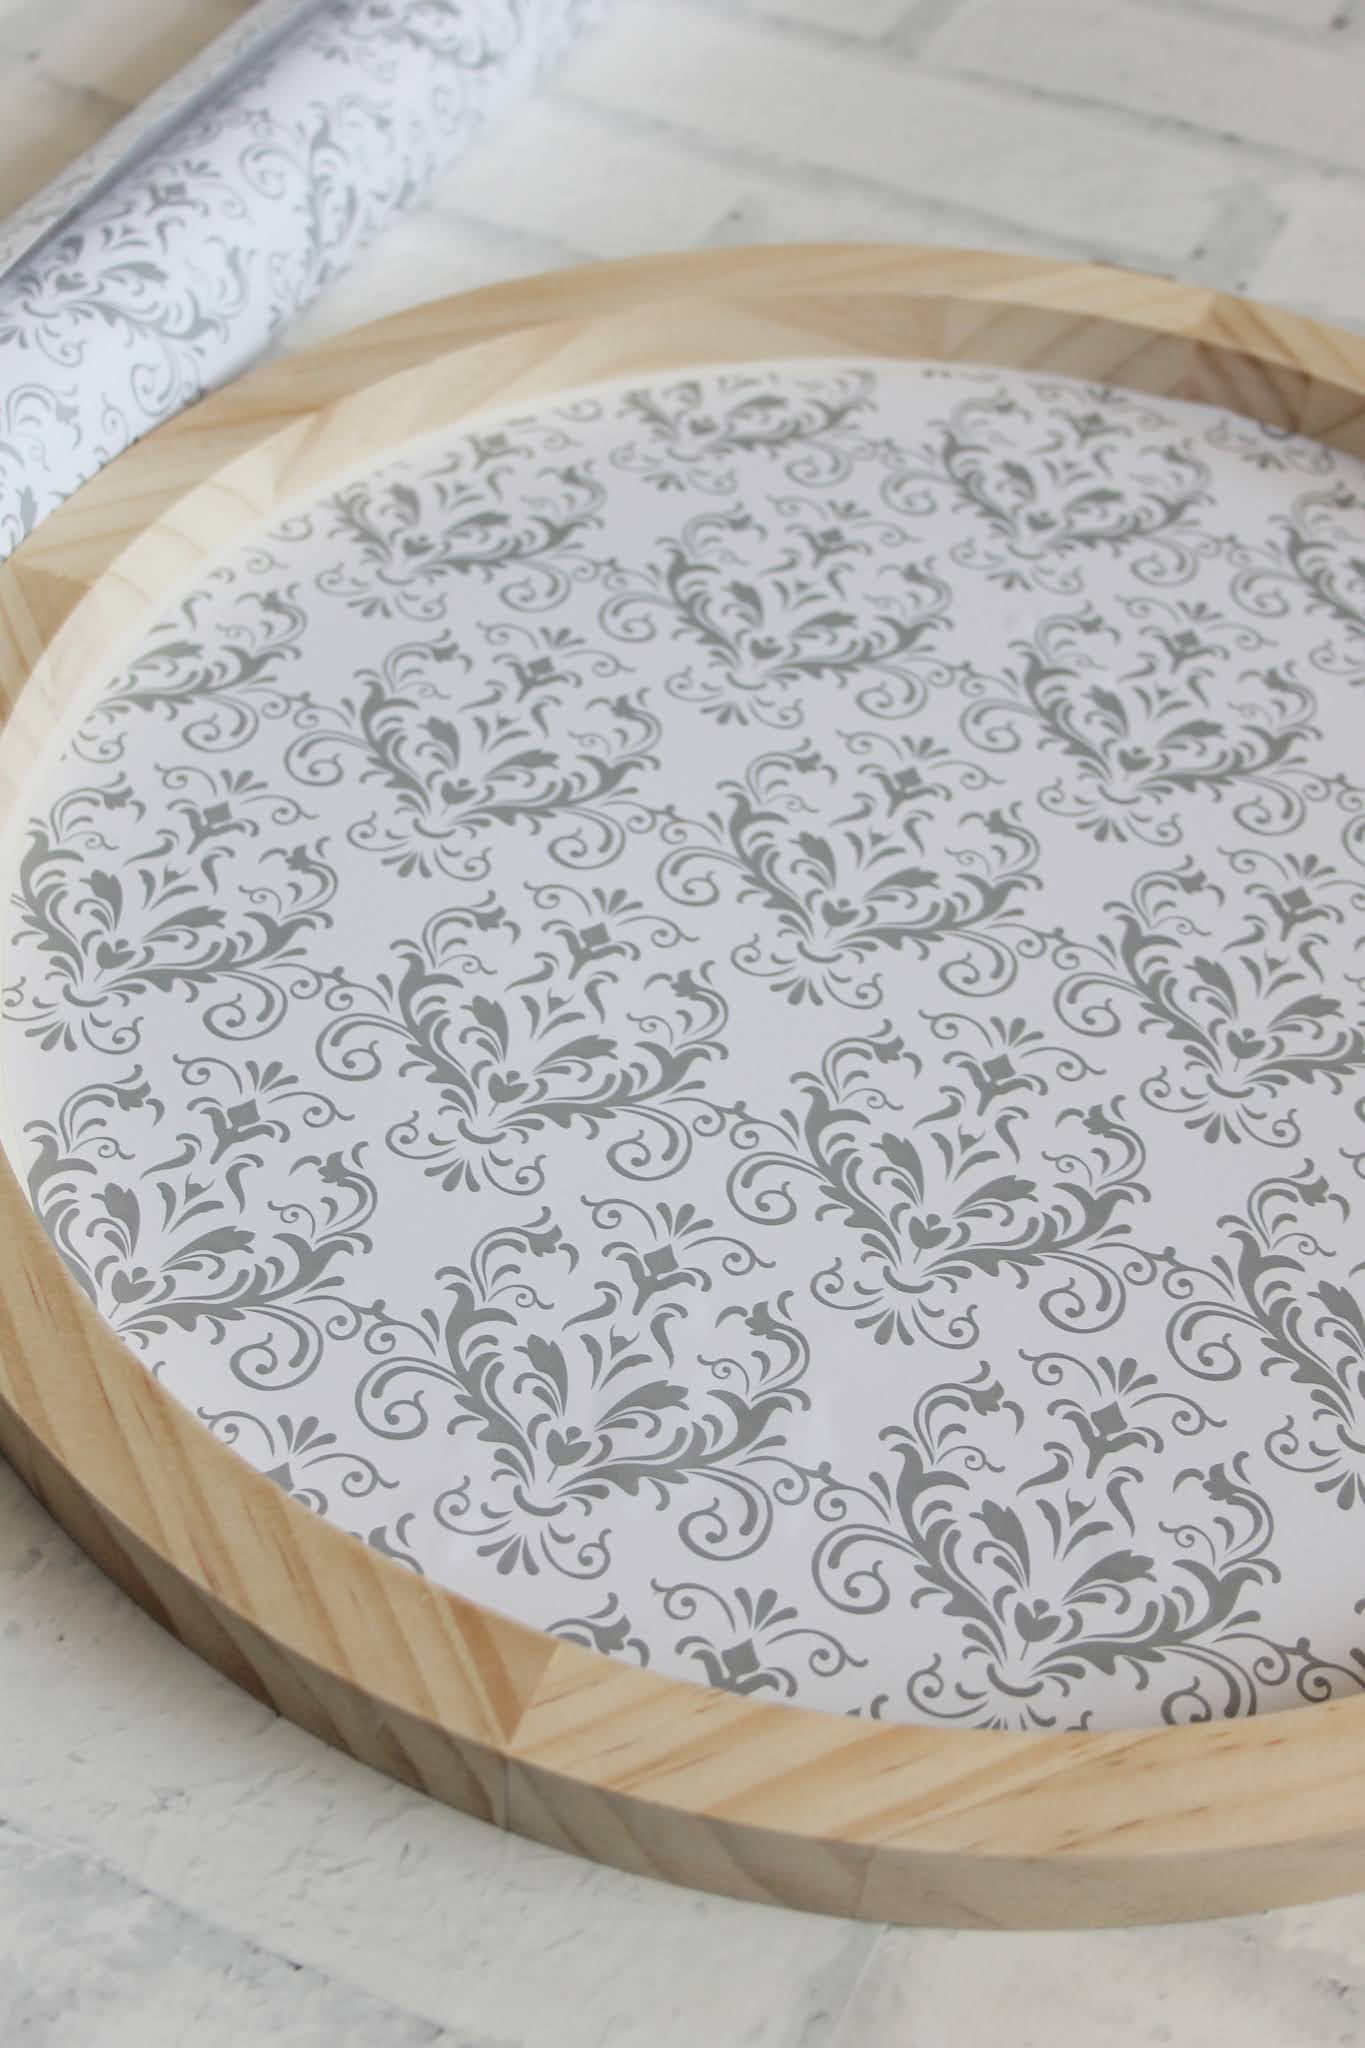
First, I measured my wood plaque and cut a circle pattern out of cardstock to match. My plaque ended up being about a 13 inch circle. I traced that on the back of the Removable Adhesive EasyLiner® with a pencil.

Next, I carefully cut out the circle using scissors.

Next, I removed the backing material & carefully placed the circle inside the wood plaque. TIP: Flatten with your hand as you lay it down to help eliminate any air bubbles. Smooth into place.
Next, I applied my vinyl lettering. You can cut your own or you can find vinyl lettering at any craft store.

Looking good! Annnnnd I love that print on the Removable Adhesive EasyLiner®. Isn’t it cute?

Next I made a bow. I grouped my ribbon all together & then secured with a little bit of floral wire to hold it tight.

Then I hot glued my bow in place! All done! :)

I just love the pink & gray print together. :)


What project or places in your home would you use these fabulous Duck Brand® liners? #DuckBrand #EasyLiner
Enjoy these other Duck Brand® projects. Click the link or the picture for more!


Connect with me on facebook or instagram.
Enjoyed this post? Never miss out on future posts by following us here.
Question or comment? Shoot me an email at ginger@gingersnapcrafts.com. :)
Thank you so much for stopping by my blog!
If this is your first time visiting, I’d love to keep in touch.

