
Thank you so much to Duck Tape for supplying product for this post. :)
Good morning! I hope you are having a fabulous week so far. Our fall colors have starting turning, and the weather is amazing. I love fall! Annnnnnd I love Duck Tape, too. I have done TONS of Duck Tape projects over the years, and my kiddos have done more than that! They love using Duck Tape everywhere! ha! Today I am excited to share this easy Duck Tape Bookmarks tutorial with you. This is one your kiddos will love. Let’s get started! :)


First of all, check out this fun Duck Tape that Duck Tape brand sent me! The llama one is so cute, & I love the other patterns, too. :)

For this project you will need:
Duck Tape (any kind!)
ruler
x-acto knife
mini hole punch
embroidery thread
vinyl lettering (optional)*
*I used this Design Space file for this project. So, if you have a Cricut you can grab them there.

First, you will roll out a little over 12 inches of Duck Tape (any design).

Then carefully fold it in half.

Next, trim your bookmark to 6 inches long using a straight edge & x-acto knife.

Punch a small hole in the top middle.

Tie a knot. All done! :)

Annnnd if you’d like a little bit more on your bookmark add a little bit of vinyl lettering. ;)

My kiddos love making these for themselves & their friends. :)


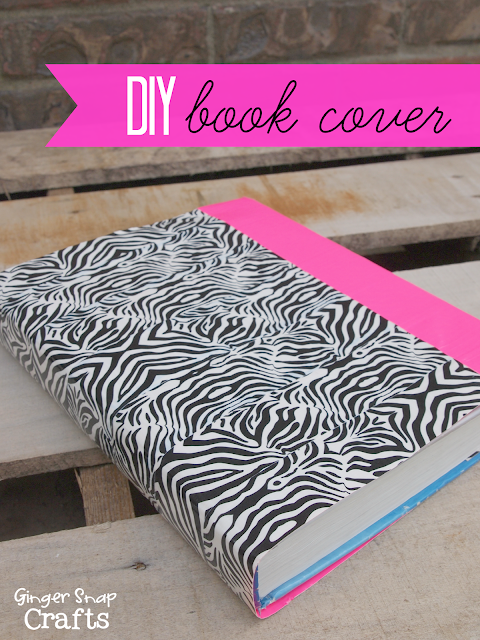
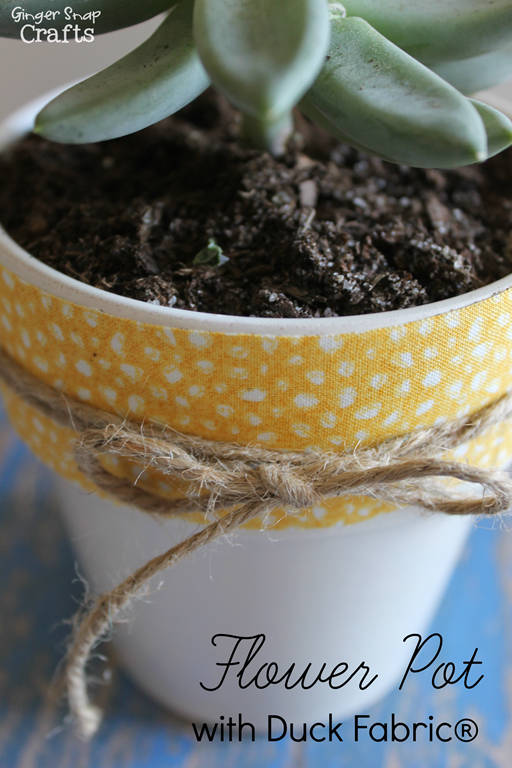
Enjoy these other fun Duck Tape projects. Click the link or the picture for all the details. :)


What do you like to make with Duck Tape? Let me know! :)
Please pin this post for later!
Connect with me on facebook or instagram.
Question or comment? Shoot me an email at ginger@gingersnapcrafts.com. :)
Thank you so much for stopping by my blog!
If this is your first time visiting, I’d love to keep in touch.

.
