
Thank you to Cricut for supplying some product for this post. Affiliate links are used. Thank you for supporting Ginger Snap Crafts. :)
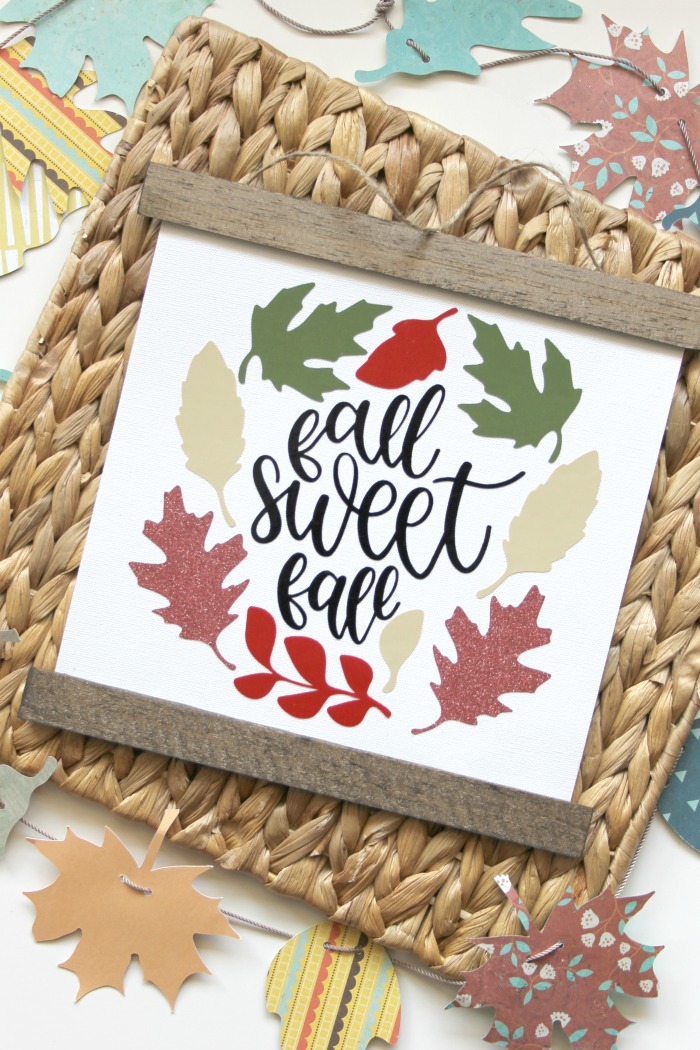
Good morning! I am so excited to be participating in the Creative Crafts Fall Edition! I love partnering with my fellow bloggers to bring you fun crafts. Annnnnd you already know how much I love fall! So, this month’s theme was right up my alley. Yay! :) As I was brainstorming ideas for fall & trying to use things I already had on hand….this cute Fall Sweet Fall DIY Hanging Canvas popped into my head. Annnnd I love, love, love how it turned out. I’m pretty sure soon there will be hanging canvases all over my house. ha! Let me show you how easy it was to put together. :) #bestcreativecrafts


First, I thought it would be fun to show you a little bit of my design process in Cricut Design Space. FYI: This is the file I used. To make sure I sized my image just right I put the dimensions of my canvas & wood pieces into Design Space & was able to “create” my project there. So I was able to size my image just right.

Then I deleted the extra shapes leaving my design perfectly sized & all ready to cut.

Then I sent it all to my Cricut Explore Air 2 to cut out. :)

Alright, now it’s time to put this easy sign together. :)
BTW for this project you will need:
Cricut Explore Air 2 or Cricut Maker
vinyl (I used a variety even a little bit of glitter vinyl.)*
transfer tape
canvas
two thin boards (1 inch x 9 inches)
stain
8 1/2 inch square piece of canvas (You could also use white cardstock or clipboard.)
hot glue & glue gun
twine
scissors
this Design Space file
*After getting started on this project & trying to apply the vinyl to canvas, I realized that using iron-on would of been much easier! Just FYI if you try this project out! :)

I stained my wood pieces & then I glued my canvas to the back of the wood sticks using hot glue.

Then I flipped it over & got all my vinyl pieces together.

Then I started applying my vinyl pieces piece by piece.


Then I flipped my sign over & hot glued a piece of twine to the top.

All done! Isn’t that the cutest thing ever? Annnnd all the possibilities! You could make one for every season. :)
Enjoy these other fall crafts. Click the link or picture for more. :)
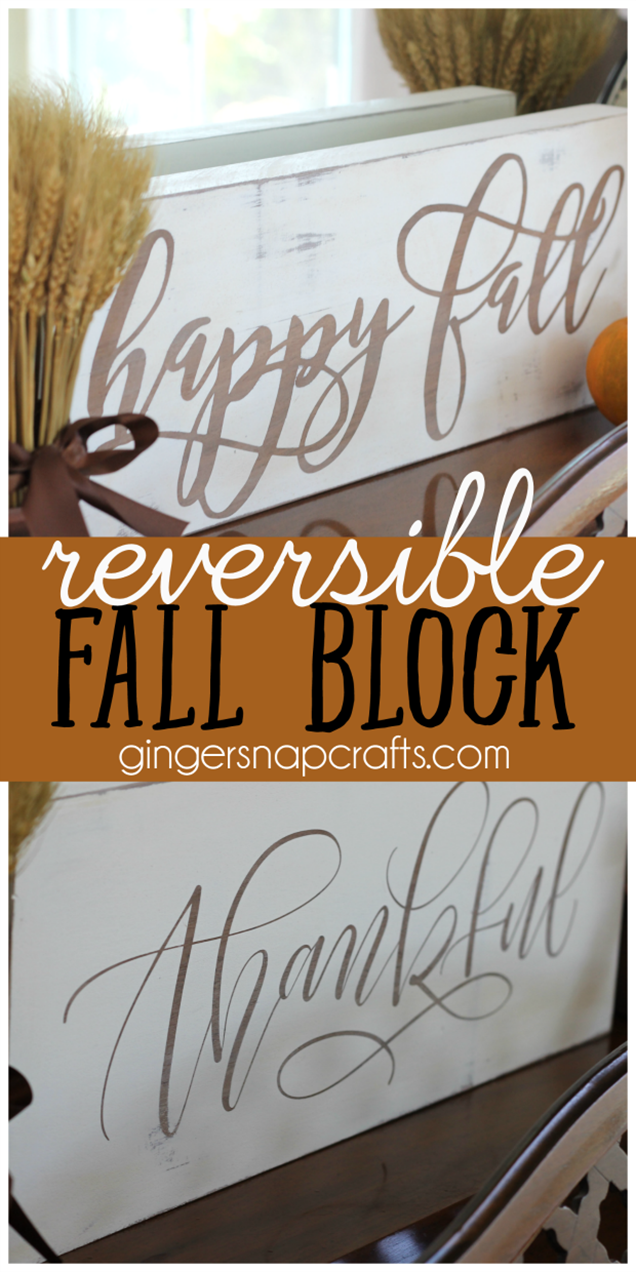
Reversible Fall Block Tutorial


Enjoy all the other fall crafts with the Creative Fall Crafts. Click the button for more. :)

Connect with me on facebook or instagram.
Question or comment? Shoot me an email at ginger@gingersnapcrafts.com. :)
Thank you so much for stopping by my blog!
If this is your first time visiting, I’d love to keep in touch.

.
