
Hello there! It’s time for another fun edition of Team Creative Crafts. Annnnnd this month it’s all about spring! Oh how I love spring! The warmer weather, the new possibilities and the glorious sun! It’s amazing! :) One of most favorite parts is getting outside and working in the garden. That’s why I am excited to share this DIY Ladder Herb or Flower Garden tutorial with you. Let’s get started! (Annnnnd be sure to scroll to the end of this post to see all the other fabulous spring craft ideas from Team Creative Crafts, and there is a another fabulous giveaway!)


For this project you will need:
- (3) 2×4 boards
- Miter saw
- Nail gun
- 2-inch nails
- Wood stain
- Wood glue
- Triangle
- Sander
- Sandpaper
- Tape measure
- Clamps
- these plant holders
- flower pots (mine are from Walmart), plants & potting soil
*Remember when using power tools, follow all safety precautions, wear protective eyewear and use common sense. Build at your own risk.
Step one: Cut your wood.
Cut two 6-foot pieces for the sides of your ladder and five 18-inch pieces for the rungs.

Next, you’ll want to angle the two bottoms of the 6-foot sections to 10°. You need to do this so it will be flush and level when you lean your ladder against the wall when it’s finished.

Step 2: Sand your wood.
After you cut all the wood, sand all the surfaces paying special attention to the ends that were cut until they are all nice and smooth. For a more worn look, round all the hard edges of your 2x4 with the sander if you’d like.

Step 3: Assemble your ladder.
Next, you will use a tape measure to mark 12-inch increments along both sides of your 6-foot pieces. These will be the spots you will nail in your rungs.

Before nailing in the rungs, apply a little bit of wood glue on each end. Once the wood glue dries, it will really be what is holding your ladder in place.

When your ladder is leaning against the wall, you want your rungs to be level and straight. When your rungs are level you will able to hang your flower pots on them and everything will look nice and straight. That said, your rungs need to be angled at 10° when you nail them in.
TIP: To do this we just grabbed the scrap piece of 2×4 that we had cut off the legs in the second part of step 1.

You’ll wedge that tiny scrap piece in place using a triangle as a guide. This is an easy way to make sure you have the right angle without having to measure it over and over again for each rung. Then you’ll pop two or three nails into each end of the rung using a nail gun. Repeat for each rung.
Step 4: Clamp your ladder
To hold everything in place, use two large clamps. Set aside and wait! You’ll want your wood glue to dry a good 24 hours.

Step 5: Stain or paint your ladder.
This is my favorite step. The transformation is fast and amazing! After your wood glue has dried, it’s time to stain your ladder.
Be sure to sand off any spots where the wood glue might have leaked out when you clamped your ladder. The stain will not adhere if there is any wood glue residue.
I love this dark walnut stain. You could also paint your ladder if you’d like to go that route. A distressed painted ladder would look amazing as well.

Since this stain was so dark, I only needed one coat. I used an old rag, dipped it in the stain and rubbed it in until I had a nice smooth finish. Tip: Always use rubber gloves when staining. You don’t want to stain yourself! The final step is to find the perfect spot for your ladder and then hang your plants on! :)

So grab a few supplies, squeeze out a little bit of time and you can make your own DIY flower garden in under 30 minutes (minus the glue drying time!).


Connect with me on facebook or instagram.
Enjoyed this post? Never miss out on future posts by following us here.
Enjoy some more spring inspired projects. Click the picture or link for more. :)


Now check out the amazing ladies from Team Creative Crafts. Enjoy! :)
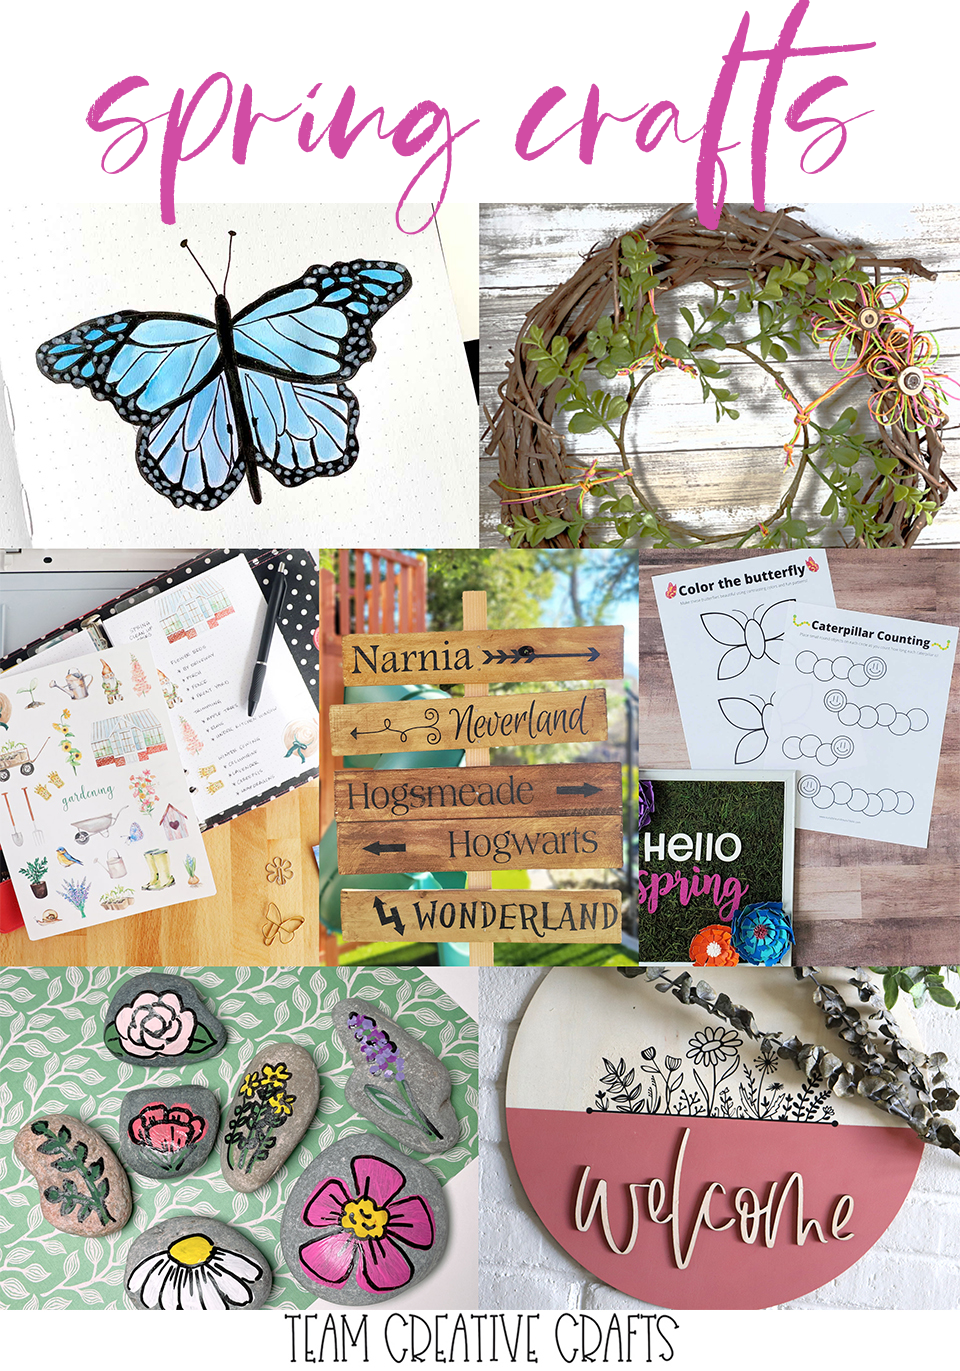
Laura from Me and My Inklings has created DIY Twine Flowers on a Wreath for Spring Décor
Smitha from Smiling Colors is sharing a tutorial How to Draw and Color a Butterfly
Shani from Sunshine and Munchkins has created Springtime Preschool Activity Pages
Laura from Laura’s Crafty Life is sharing a set of Watercolor Inspired Garden Stickers
Justine from Little Dove Blog has created the sweetest DIY Fairytale Signpost for the garden
Erica from 5 Little Monsters is sharing a set of Flower Painted Rocks that are quick and easy
Kelsey from Poofy Cheeks has created Floral Front Door Décor Welcome Sign for Spring

Beth from Creatively Beth is sharing How to Make Felt Succulents complete with patterns
Lindsay from Artsy Fartsy Mama has created a You Grow Girl Planter with a Free SVG File
Liz from Liz on Call is sharing a Home Sweet Home Door Hanger with Free Cut File
Kimberly from Crafting Cheerfully is sharing an adorable DIY Fairy House Planter
Ginger from Ginger Snap Crafts has created a Garden Ladder perfect for Flowers or Herbs
Teresa from Simply Made Fun is sharing a Plant Mom Free SVG Cut File perfect on a tote
Elise from Polka Dotted Blue Jay has created a Live Life in Full Bloom towel for the kitchen
Heather from Homemade Heather is sharing how to make Easy Polymer Clay Plant Markers
Be sure to enter the giveaway below! Good luck!
FYI: One of the giveaway entries is to leave a blog post comment.
I don’t have a comment option on my blog (too many spam comments were coming in! ugh!).
So just leave a comment on my Instagram or Facebook. Sorry for the inconvenience!
Thank you so much for stopping by my blog!
If this is your first time visiting, I’d love to keep in touch.

.
